Quality Reject Transactions
To view all available Quality Reject Transactions in the system, navigate to the  tab and click on the
 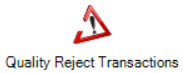 icon. The Quality Reject Transactions screen will be displayed.
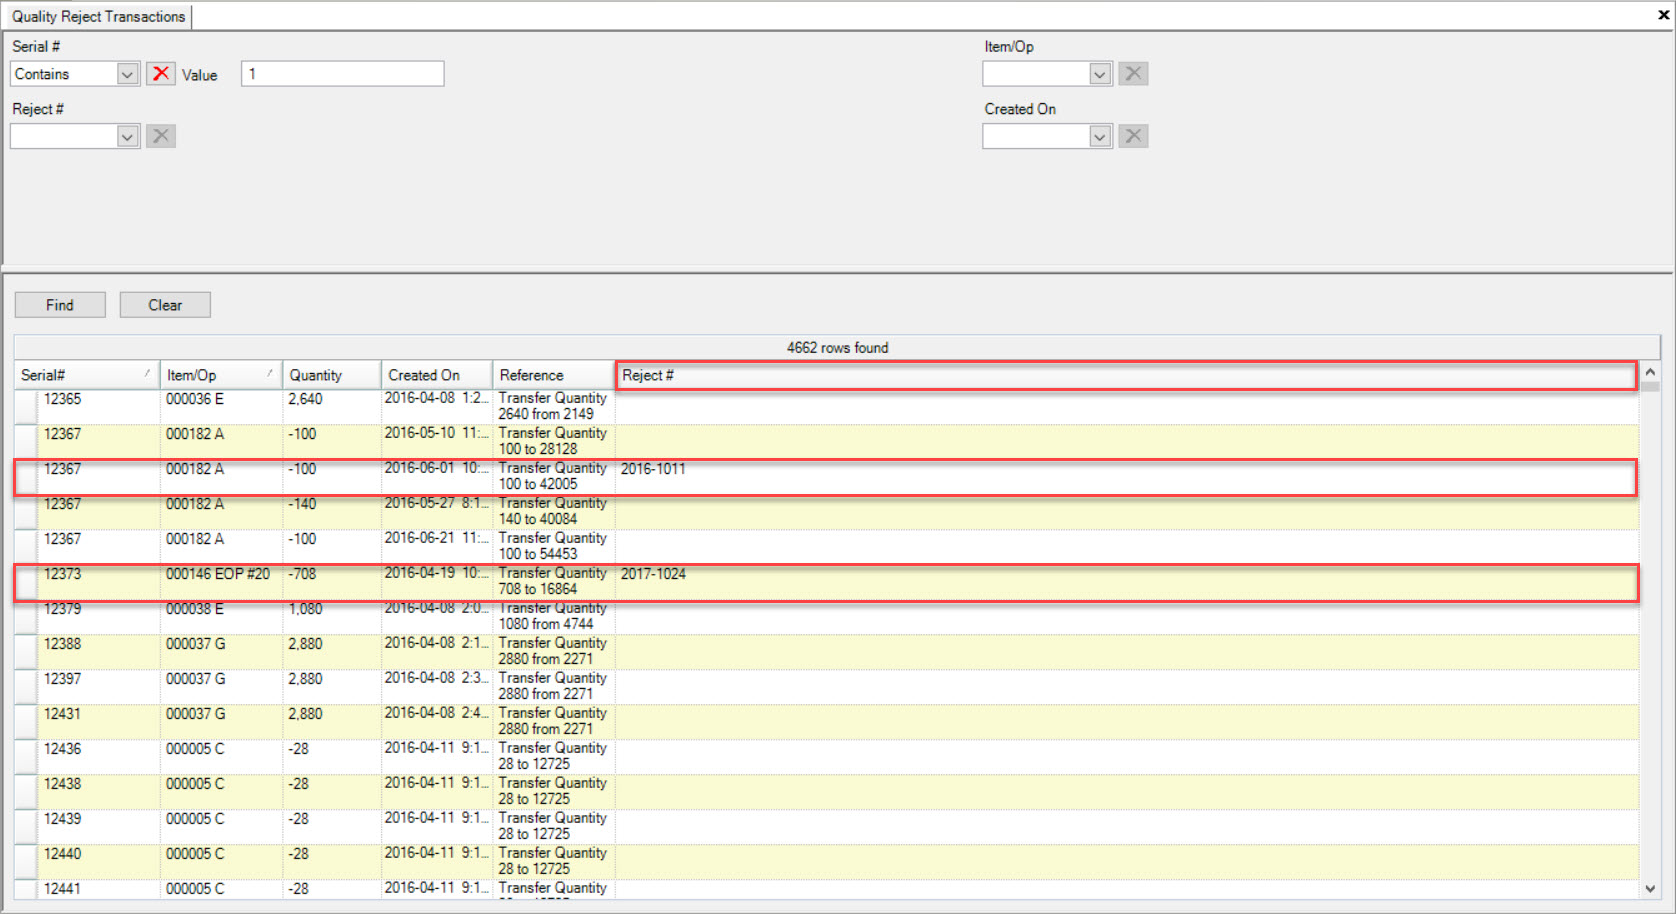
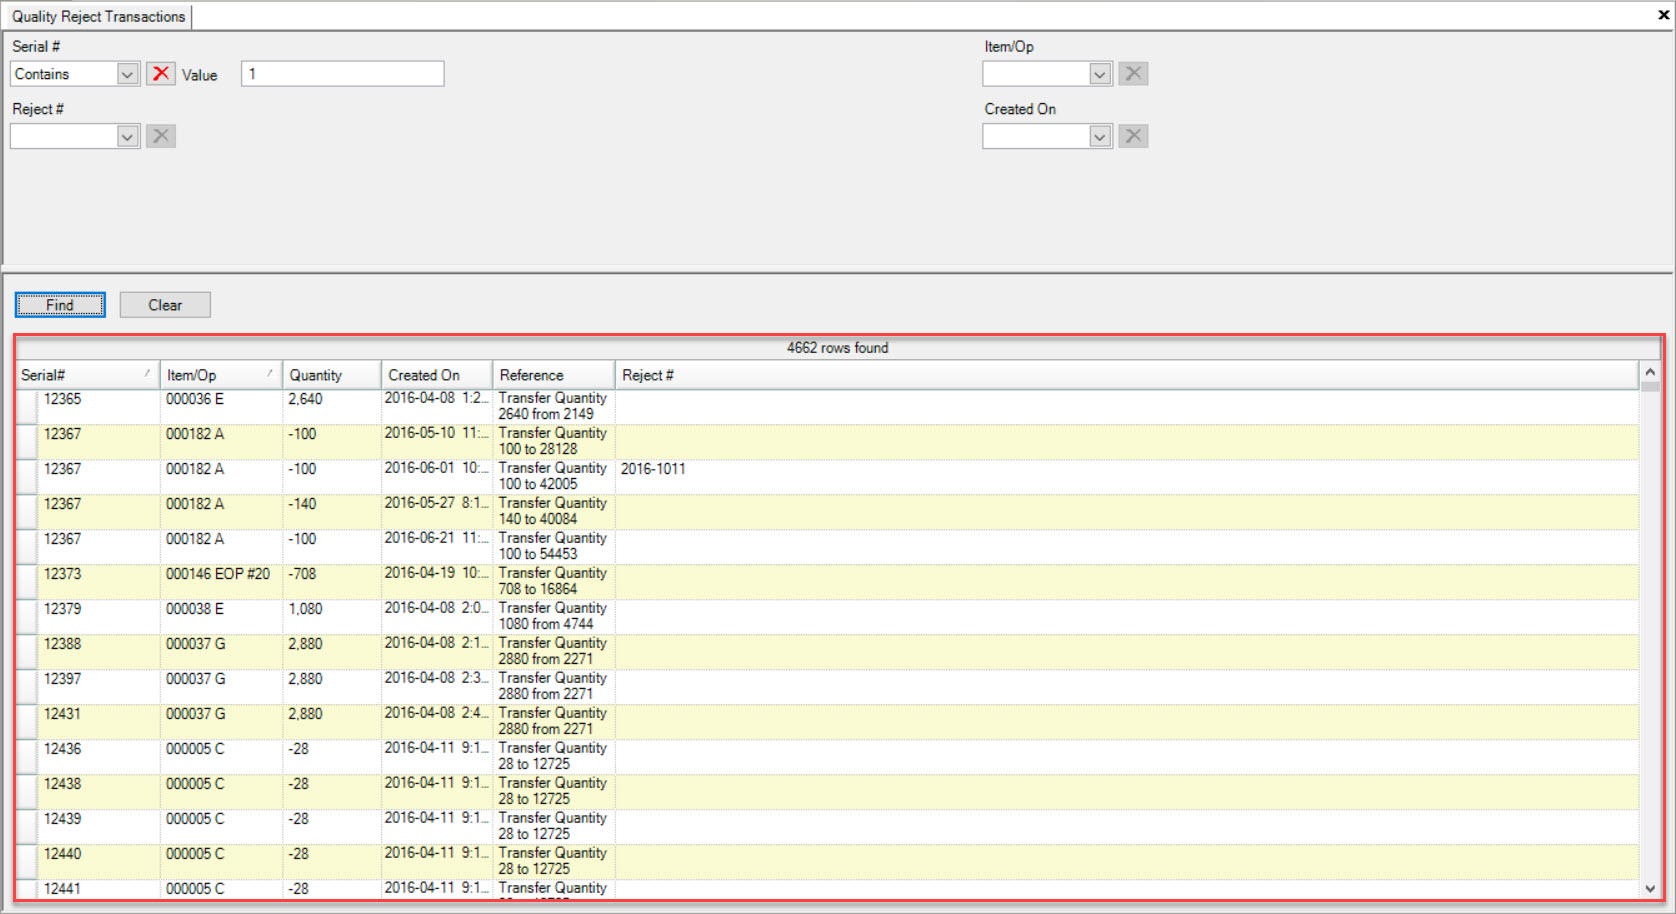
Users have the ability to search for Quality Reject Transactions using the Serial #, Reject #, Item/Operation, and/or Created On search filters.
To search by Serial #, select an option from the drop-down menu (Contains, Exact Match, or Starts With) and then enter in a Value.

To search by Reject #, select an option from the drop-down menu (Contains, Exact Match, or Starts With) and then enter in a Value.

To search by Item/OP, select an option from the drop-down menu (Contains, Exact Match, or Starts With) and then enter in a Value.

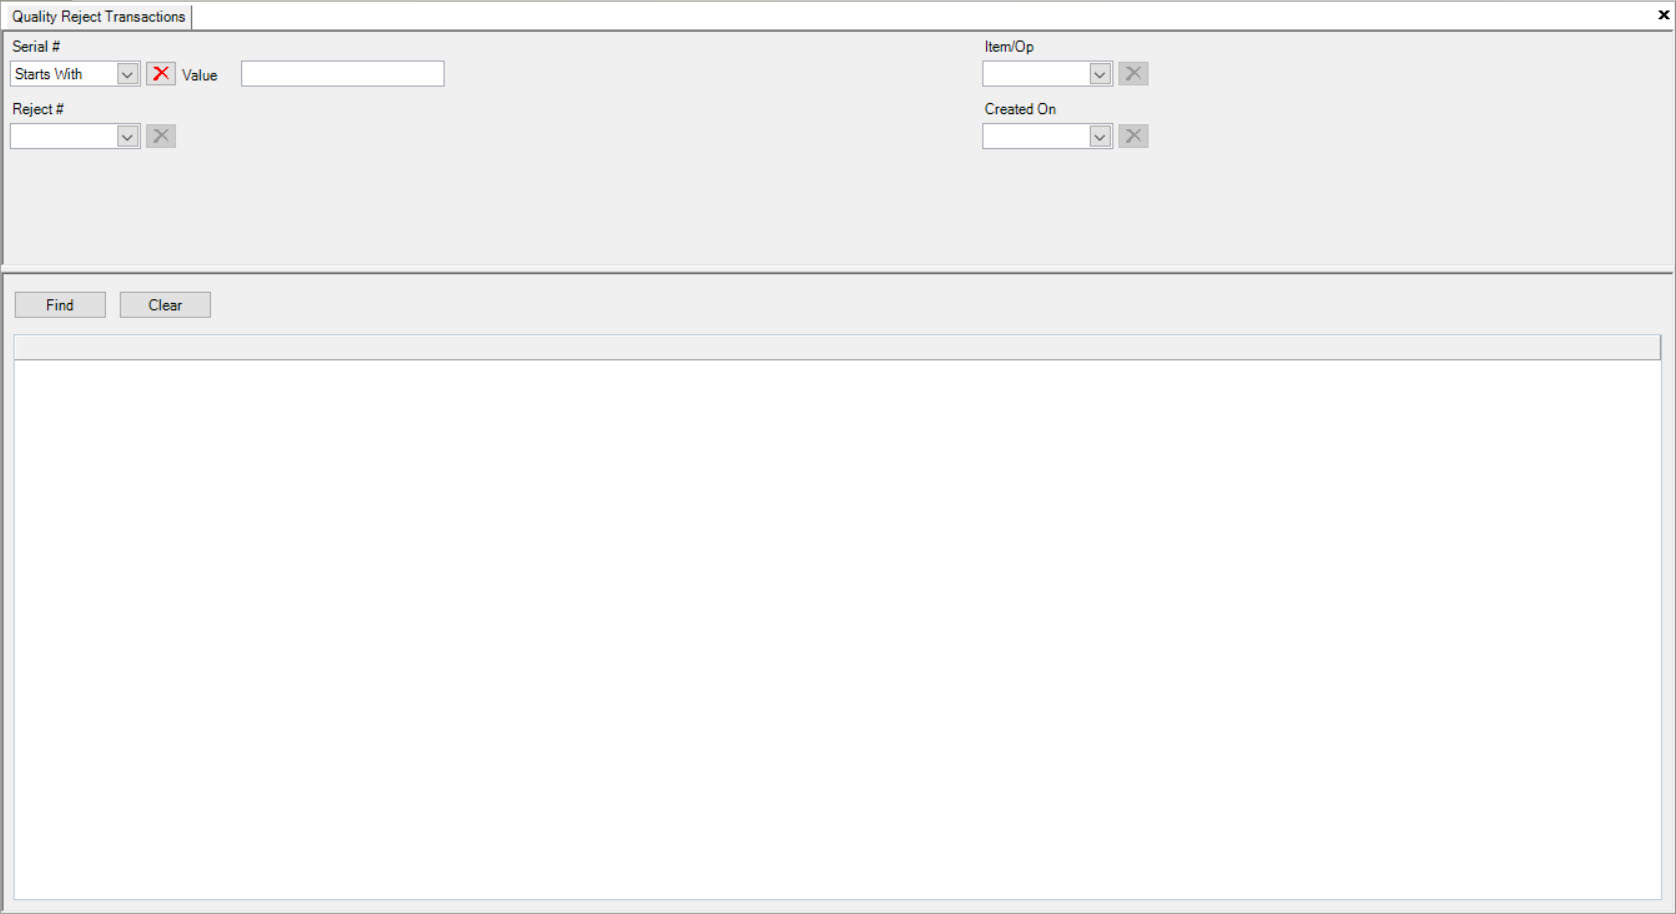
To search by Created On, select an option from the drop-down menu (Equal To, Greater Than, Greater Than or Equal To, Less Than and Greater Than, Less Than, Less Than or Equal To, or Range) and then select a date using the Value drop-down.
Once the appropriate search filters have been selected, click on the  button. The system will populate the Quality Reject
Transactions accordingly.
button. The system will populate the Quality Reject
Transactions accordingly.
Note
Users can use more than one search filter if necessary.
Assigning a Quality Reject Transaction to a Reject #
Users have the ability to assign a Quality Reject Transaction to a Reject # in the system from the Quality Reject Transaction screen.
To do so, navigate to the tab and click on the
icon. The Quality Reject Transactions screen will be displayed.
Select one or more of the search filters and click on the button. The system will populate the Quality Reject
Transactions accordingly.
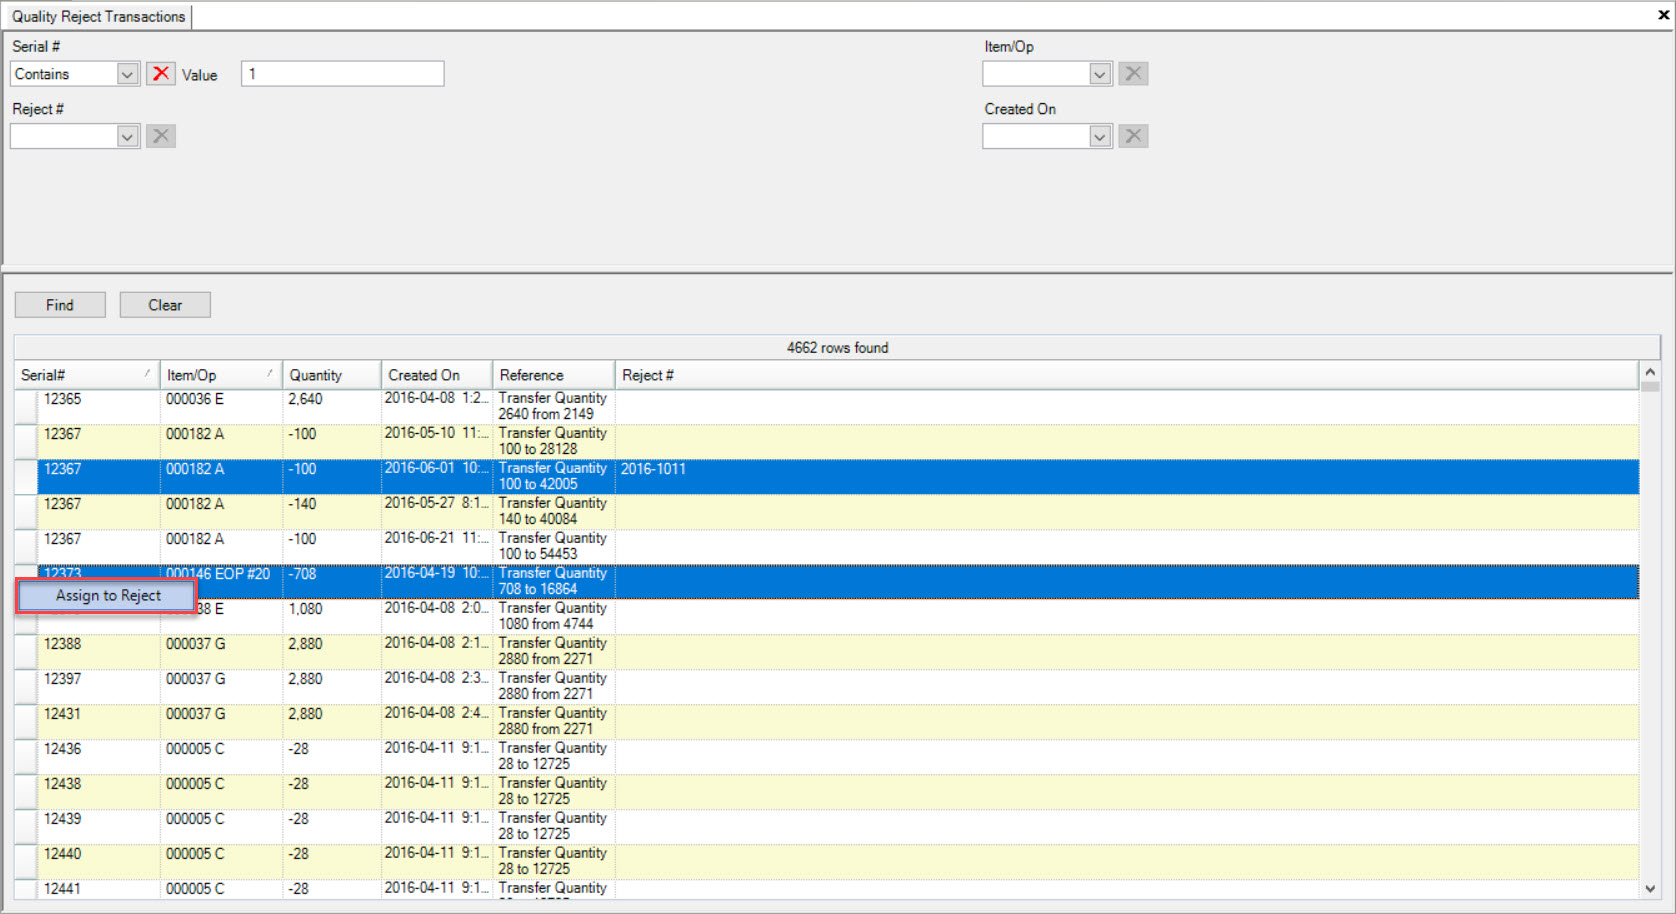
Locate the Quality Reject Transaction you wish to assign to a Reject # and right-click on the appropriate row. Select the Assign to Reject option.
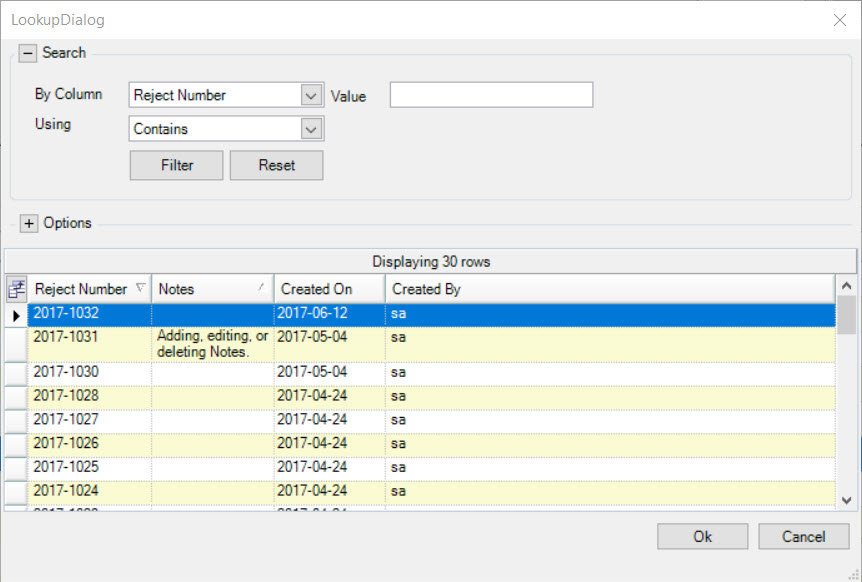
The Lookup Dialogue will be displayed. Users must select a Reject # and then click on the  button.
A window will appear stating that the selected Quality Reject Transaction was assigned to the selected Reject #. Click on the
button.
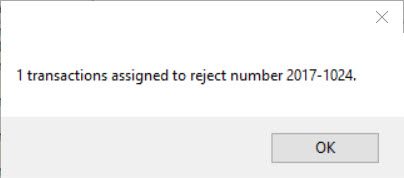
The system will automatically update the selected Quality Reject Transaction to be assigned to the selected Reject # and will be displayed in the Reject # column on the Quality Reject Transaction screen.