Active Heats
Active Heats displays all Heats that are active in the ShopEdge system.
To view all Active Heats in the system, navigate to the  tab and click on the
  icon. The Active Heats screen will
be displayed.
icon. The Active Heats screen will
be displayed.
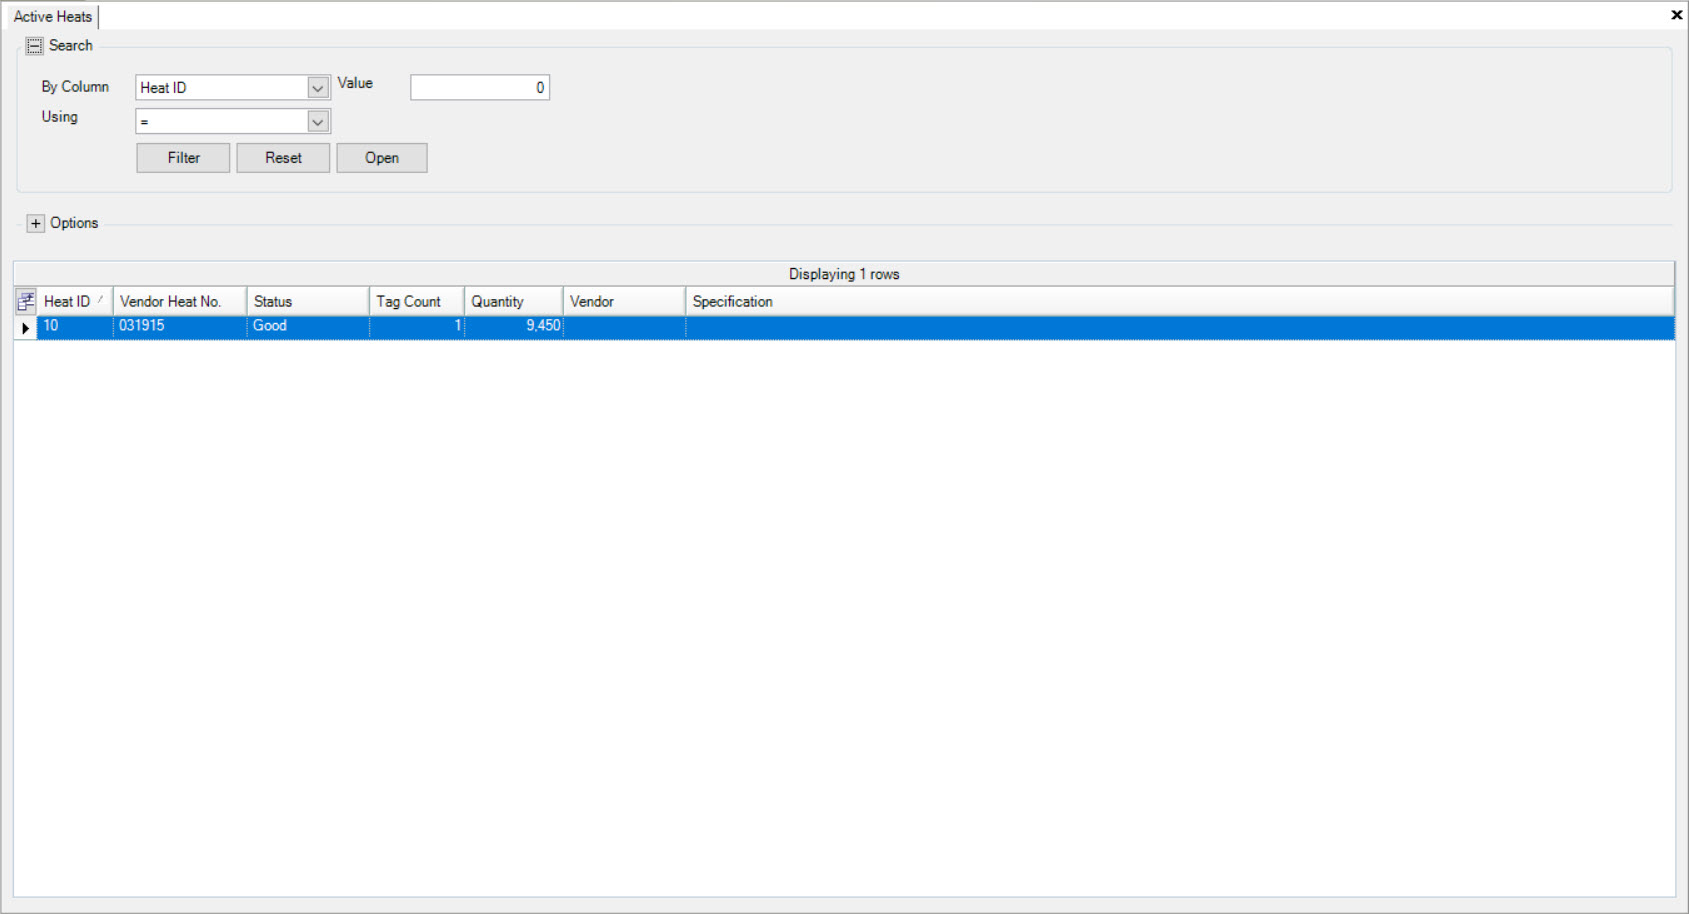
Users will be able to view all Active Heats in the system with details including the Head ID, Vendor Heat No., Status, Tag Count, Quantity, Vendor, and Specification.
To open an Active Heat, simply double-click on the appropriate row. The Active Heat detail screen will be displayed.
Creating a New Material Heat
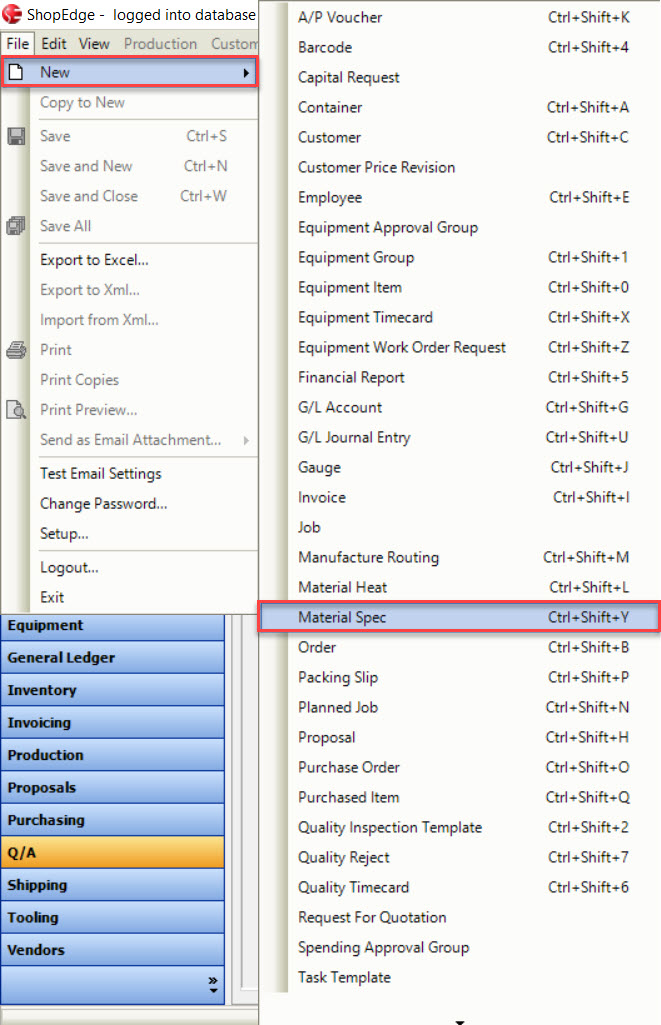
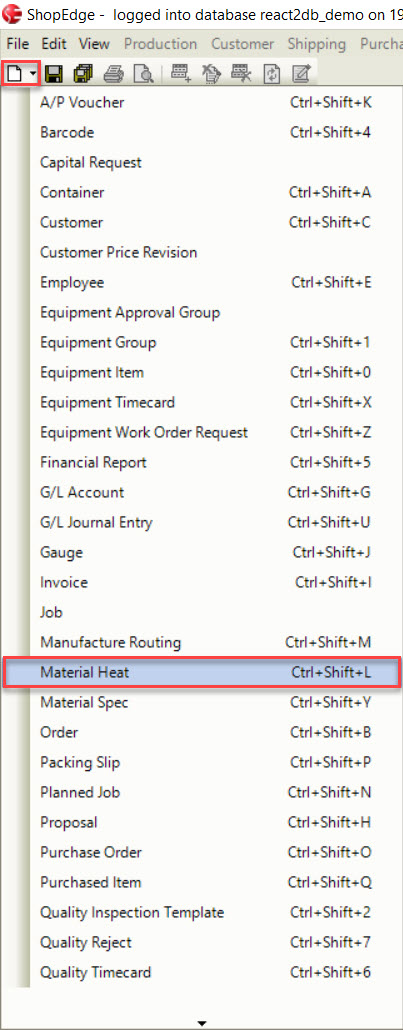
There are three ways to create a Material Heat in the system. The first was is to use the Ctrl + Shift + Y keys. The second way is to navigate to File > New > Material Heat.
The last way is to click on the  button and select the Material Heat option.
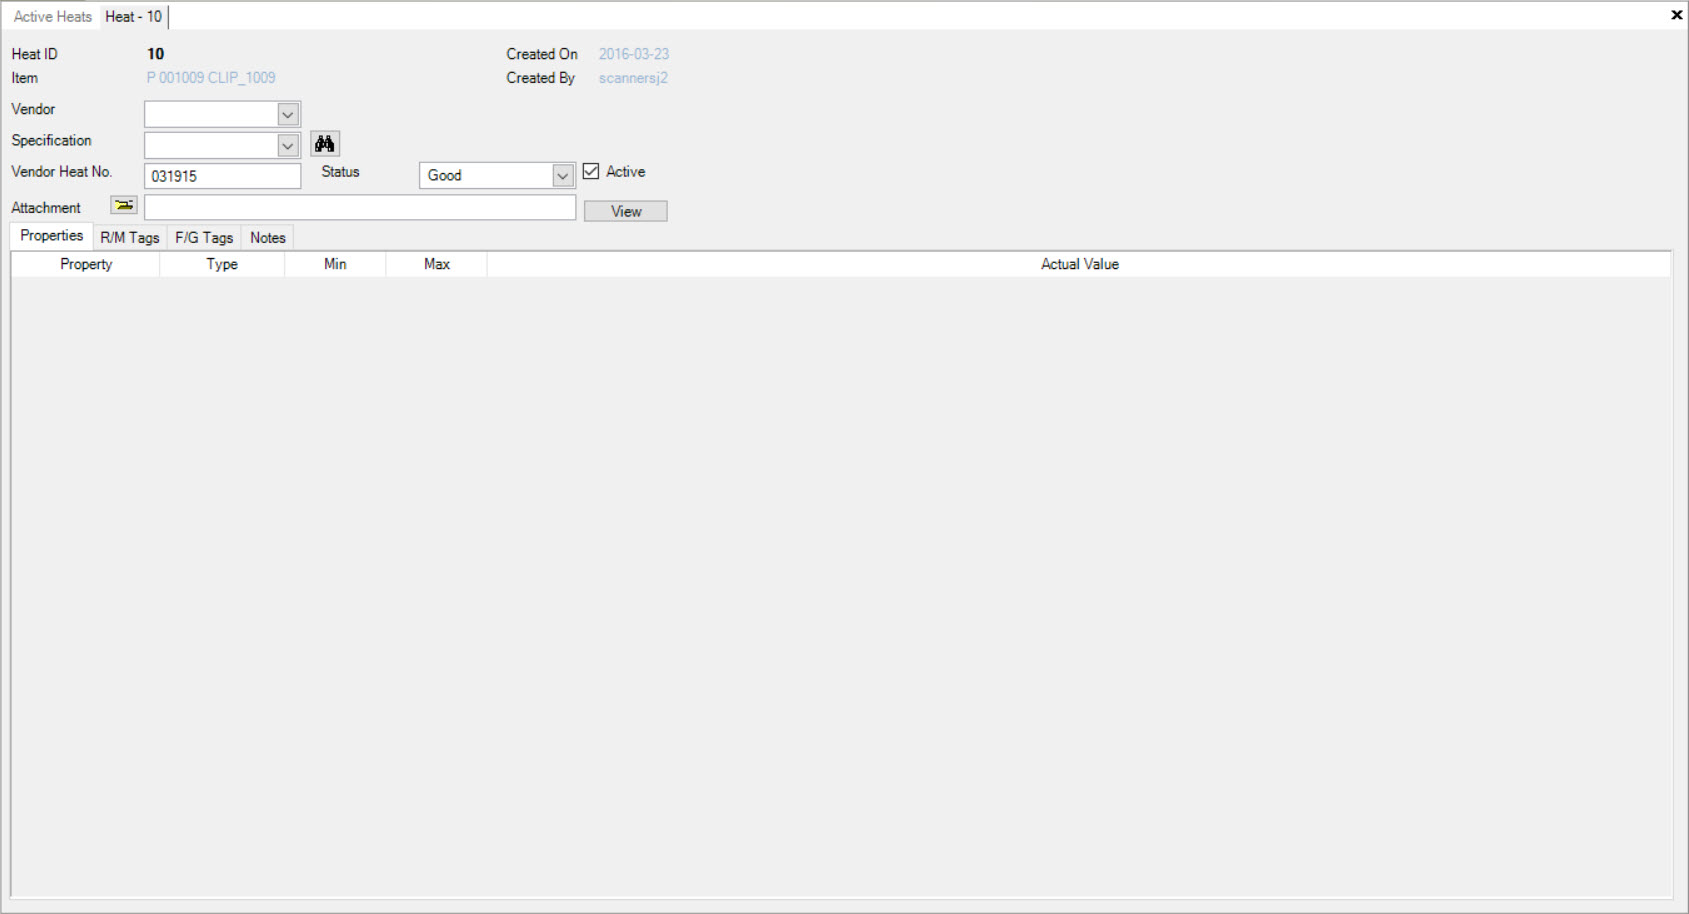
All of three ways will open a new Heat screen.
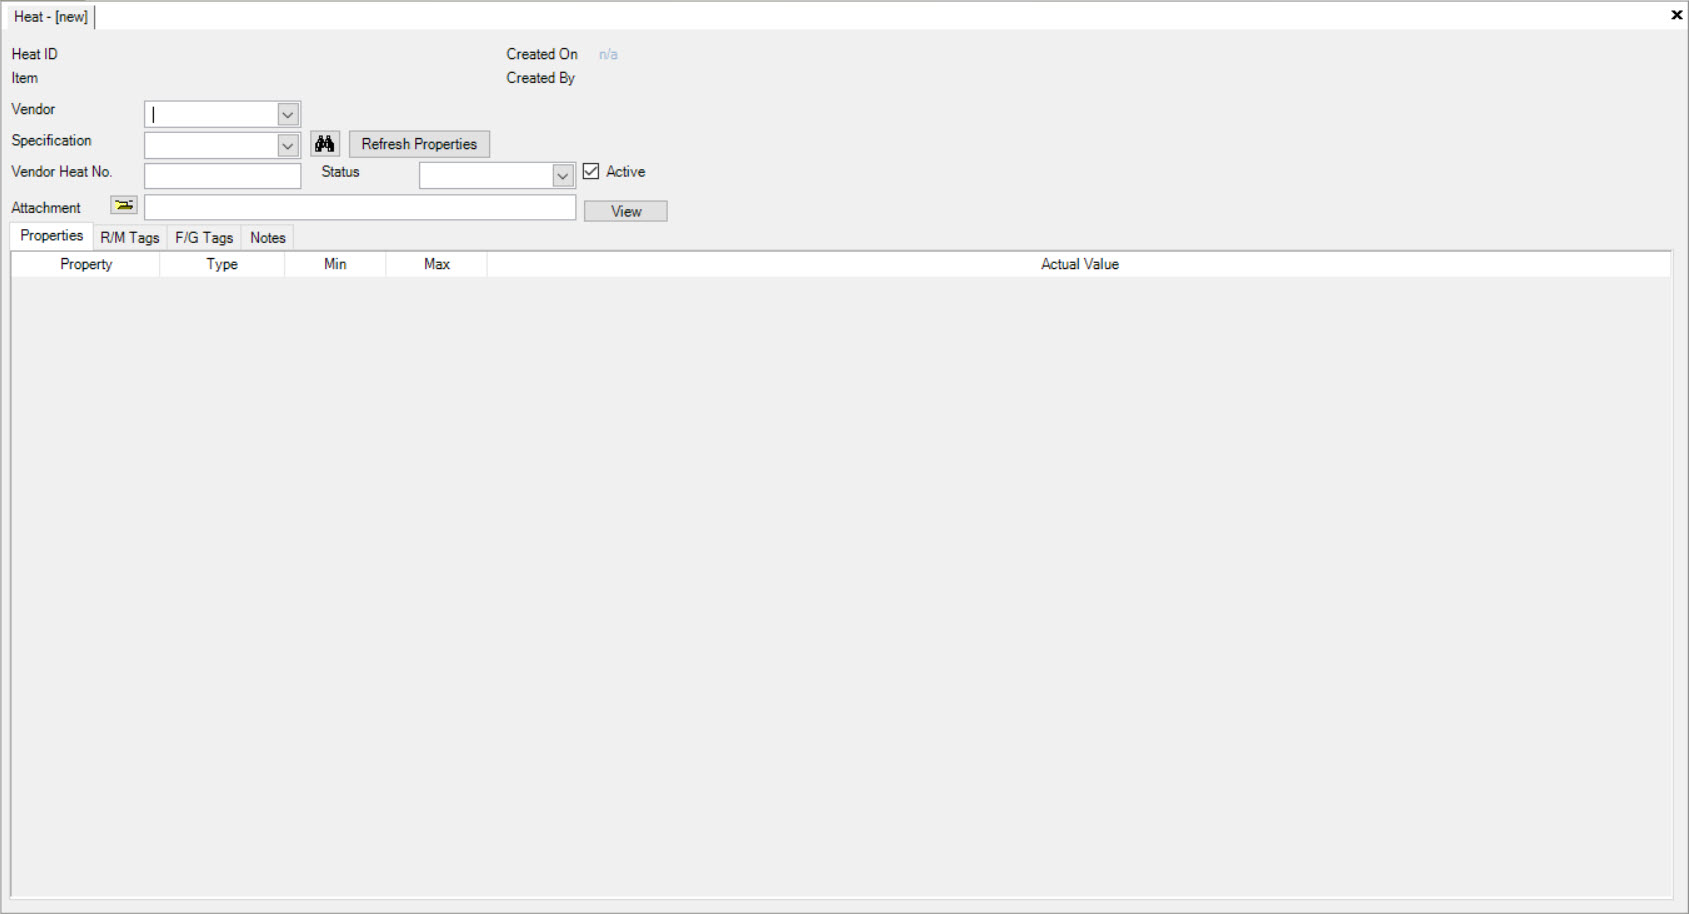
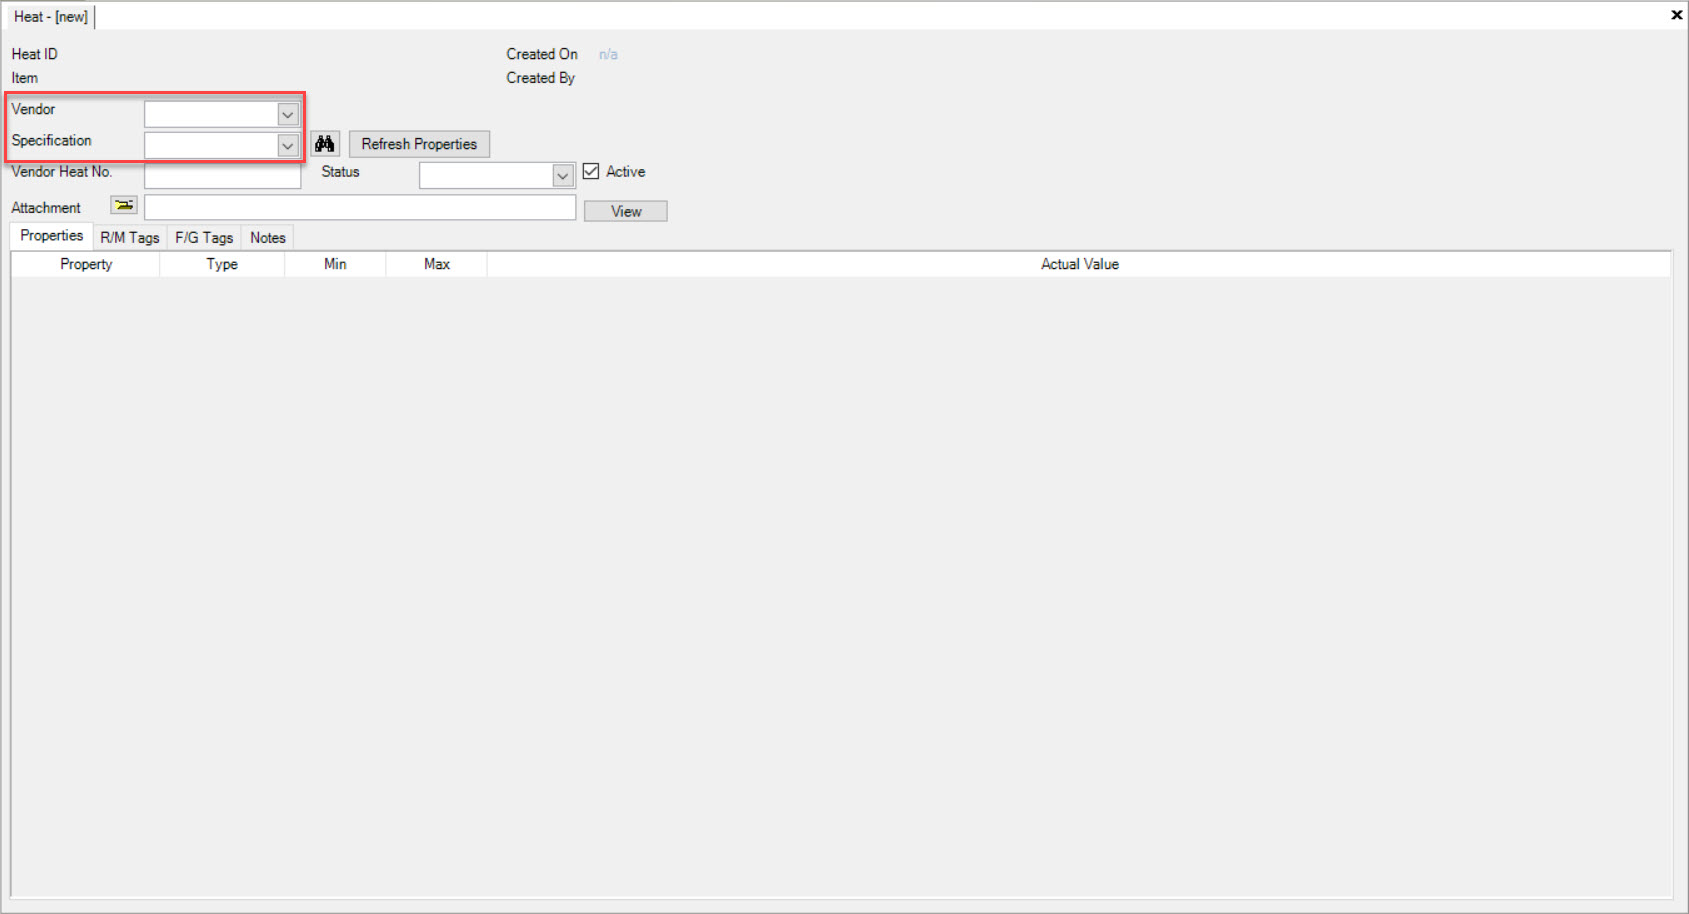
Users must select a Vendor and Specification using the available drop-down menus.
Note
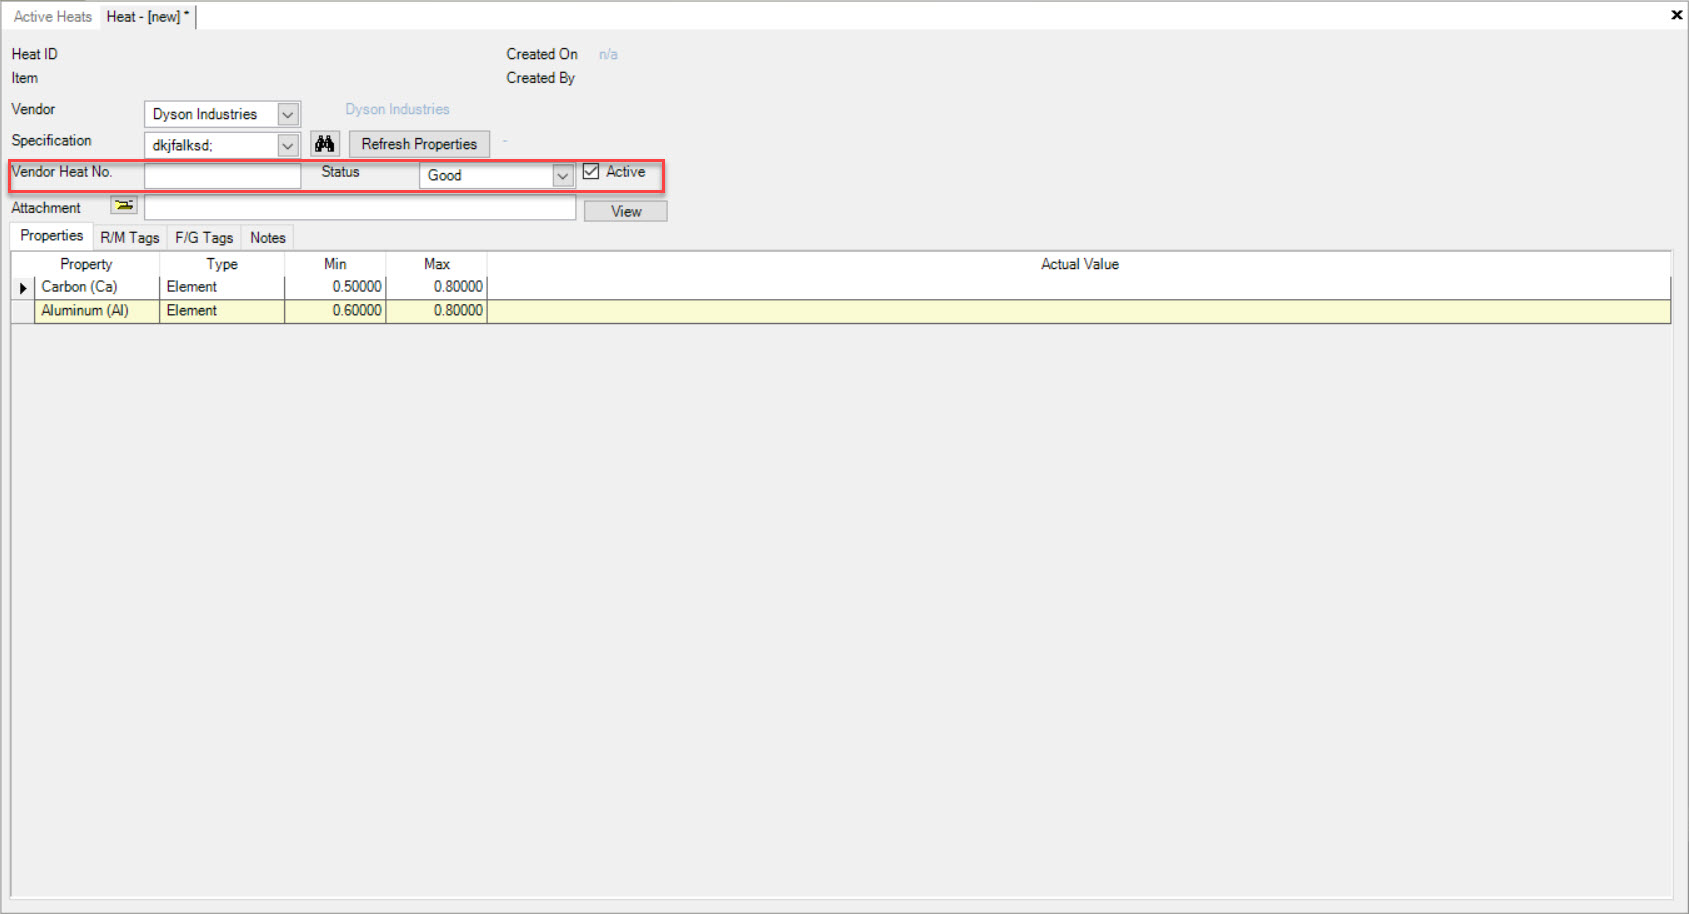
Once a Specification has been selected, you will notice that under the  tab, Properties will appear if available.

To select a Specification, users can also click on the  button.
The Material Specification Lookup window will appear. Users can search for the Specification, highlight the appropriate row, and click on the  button.
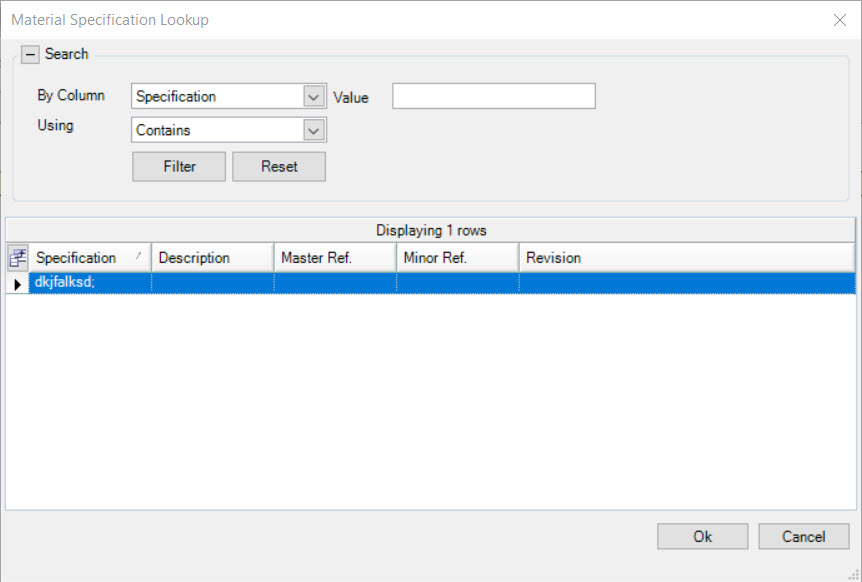
The Specification will be added.
Next, users can enter in a Vendor Heat No. and select a Status using the available drop-down menu. Users can also select or de-select the Active checkbox.
Users can add an attachment to the Material Heat by clicking on the  button located beside Attachment.
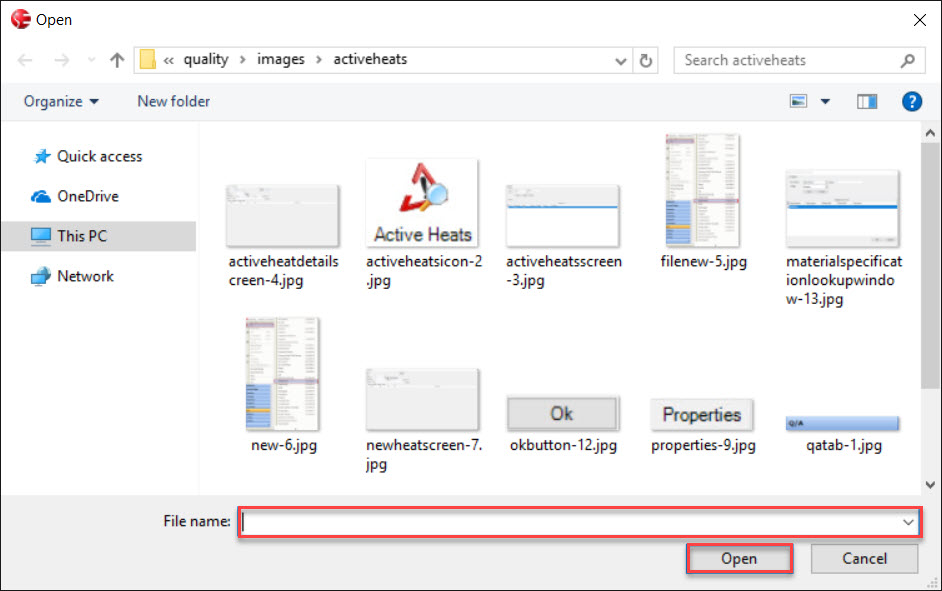
Users are then able to search for an Attachment on their computer. Select an Attachment and then click on the  button. The selected Attachment will be added
to the Material Heat in the Attachment textbox.
button. The selected Attachment will be added
to the Material Heat in the Attachment textbox.
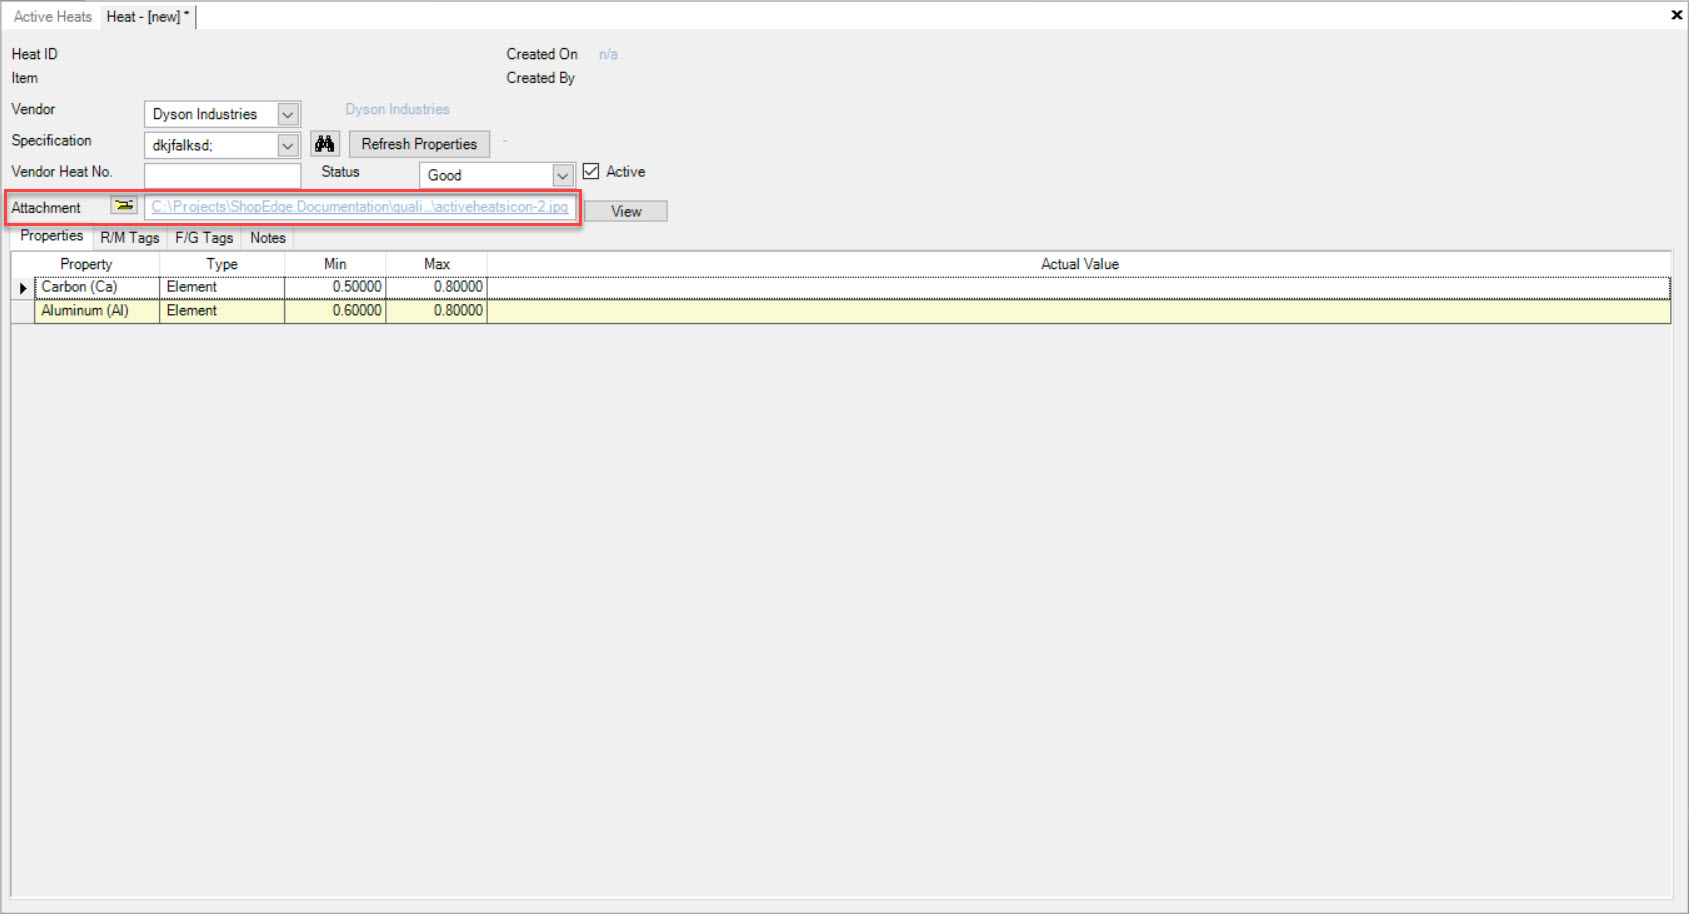
To view the added Attachment, users must click on the  button. The Attachment will open and users will be able to view the details.
If users wish to refresh the Status and Attachment fields, simply click on the  button.
The Status will default to Good and the Attachment textbox will be cleared.
Once all the necessary fields are completed, make sure to save your changes before exiting the screen.
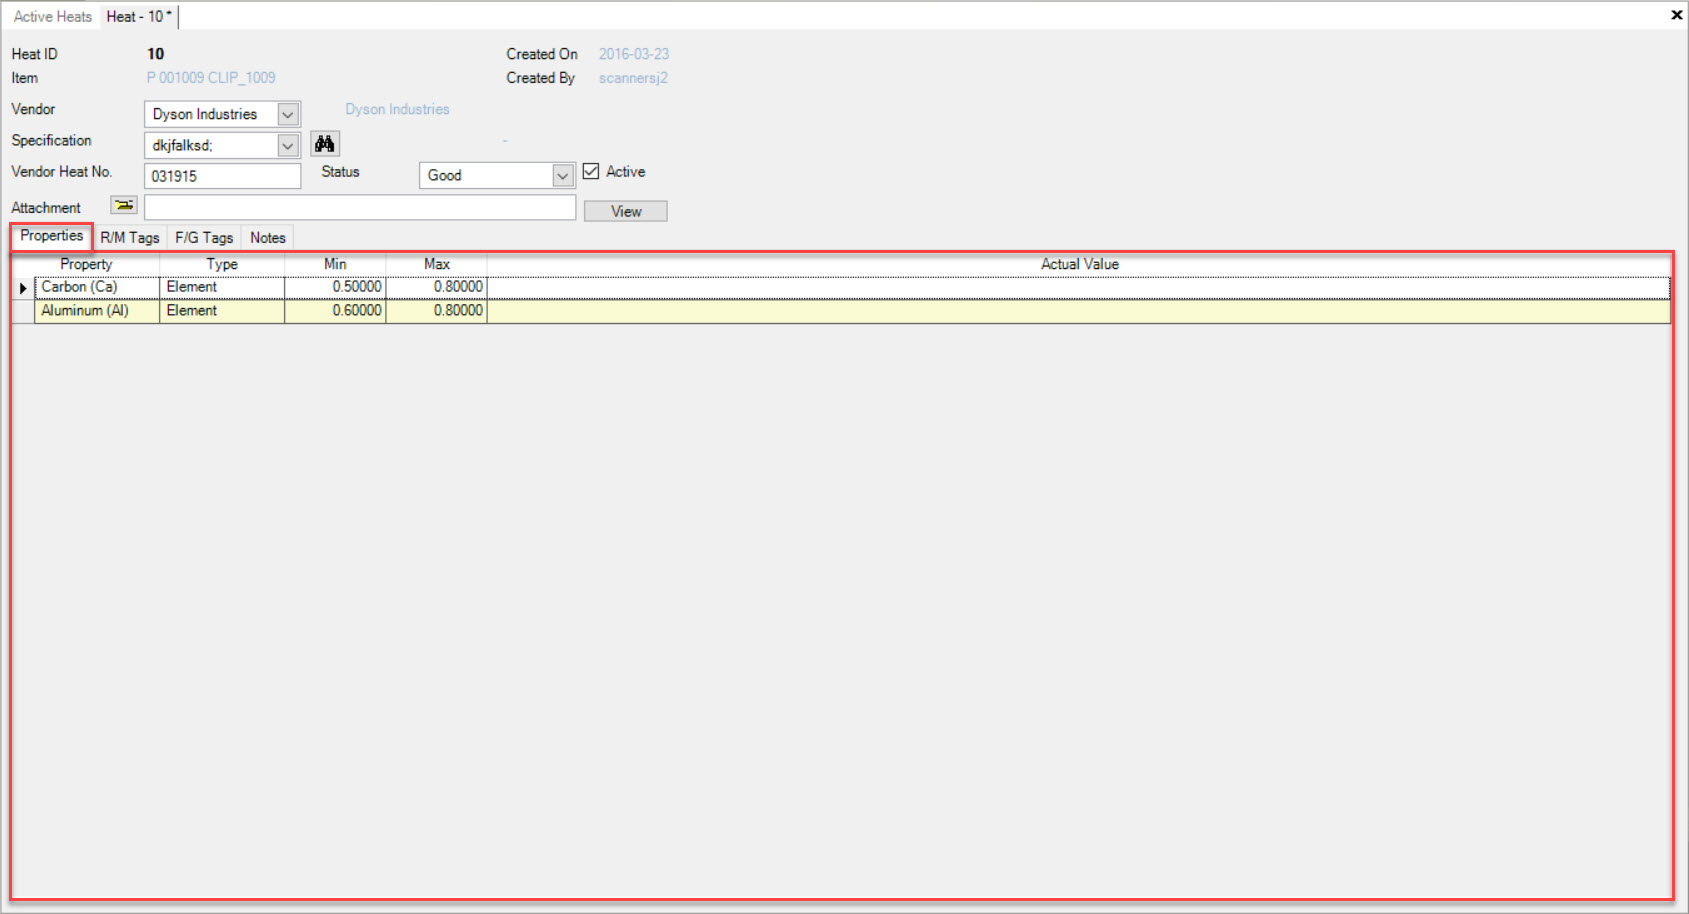
Properties Tab
To view Properties on a new or existing Material Heat, make sure to select the tab.
Users will be able to view Properties, if available, including details such as the Property, Type, Minimum, Maxiumu, and Actual Value.
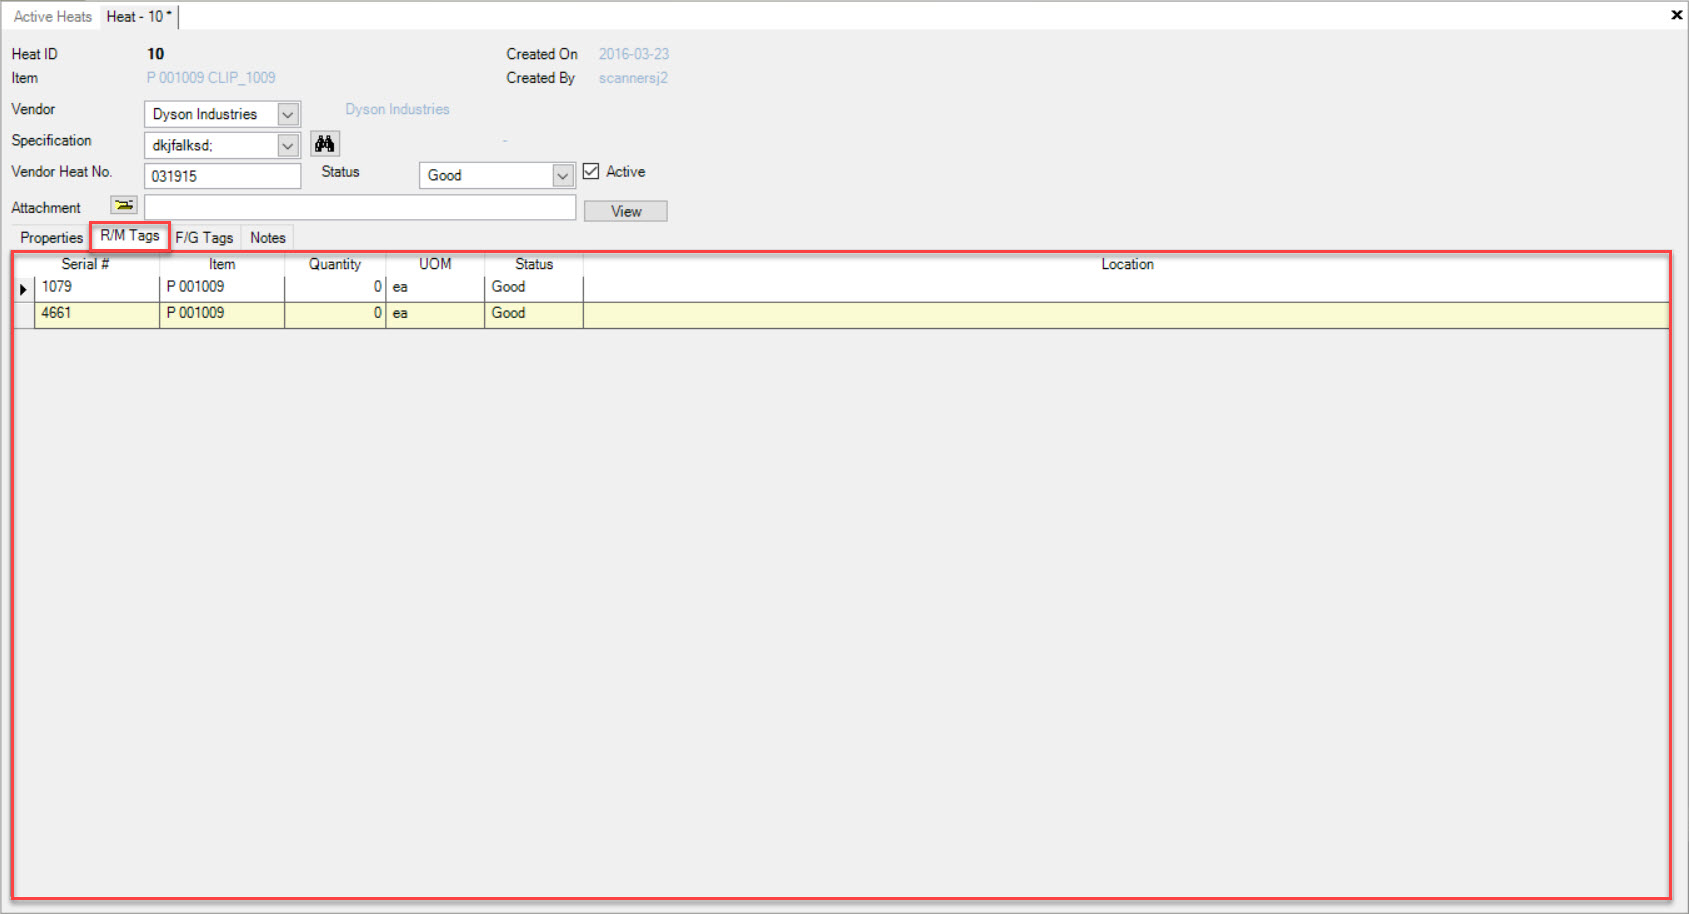
R/M Tags Tab
To view R/M Tags on a new or existing Material Heat, make sure to select the  tab.
tab.
Users will be able to view all available R/M Tags including details such as the Serial #, Item, Quantity, U/M, Status, and Location.
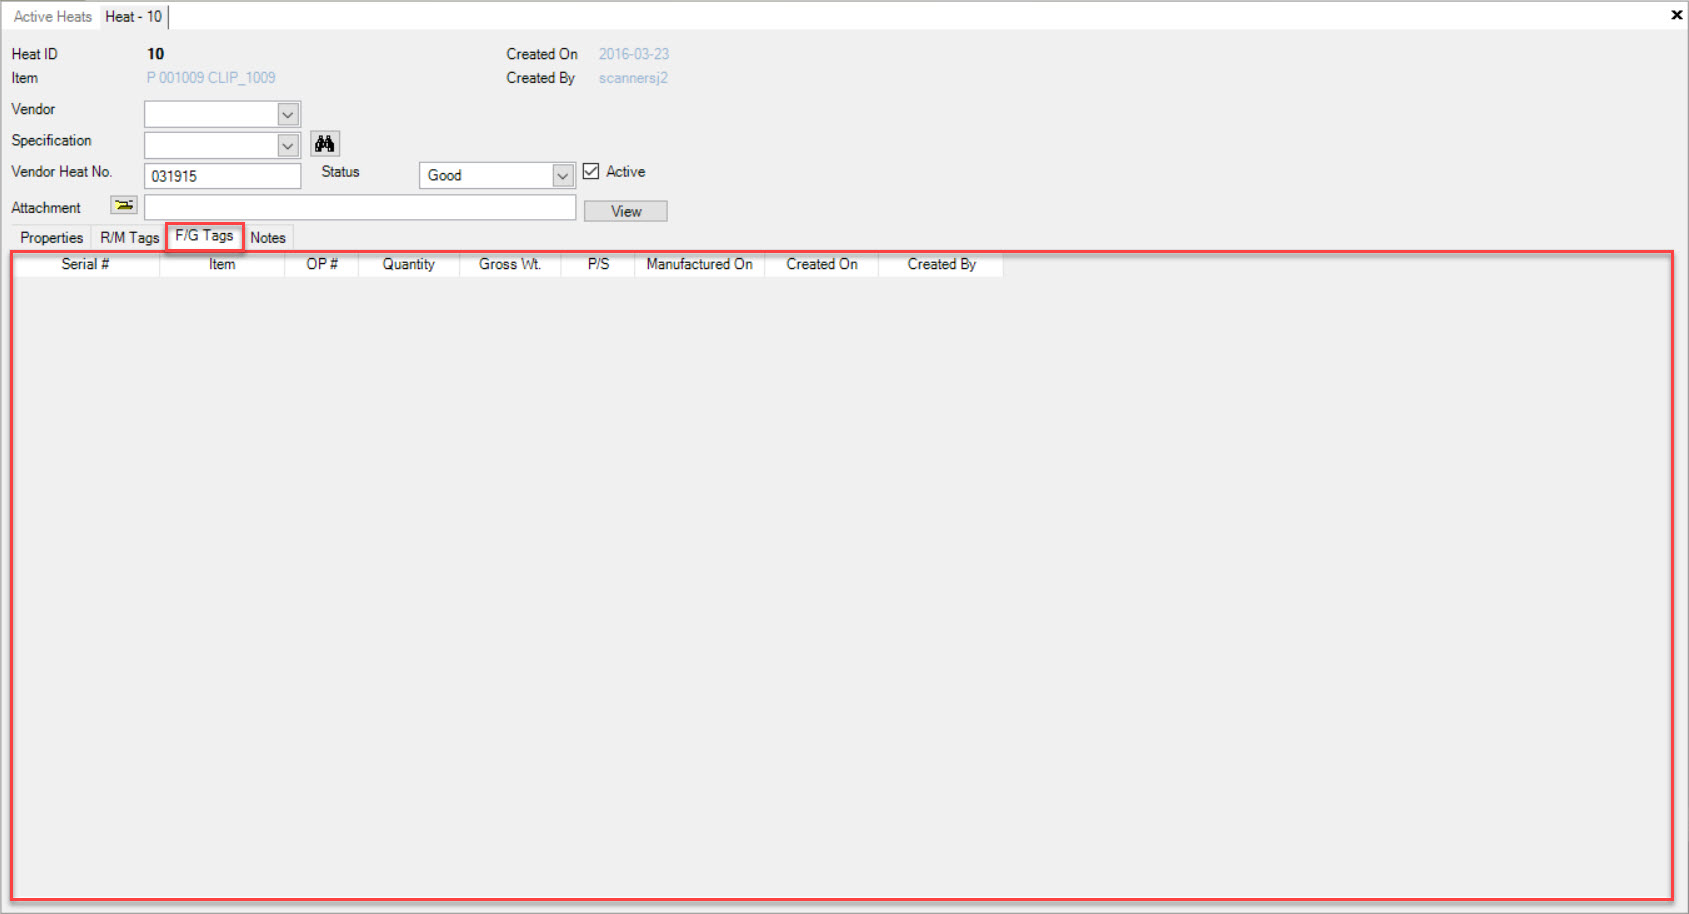
F/G Tags Tab
To view F/G Tags on a new or existing Material Heat, make sure to select the  tab.
tab.
Users will be able to view all available F/G Tags including details such as the Serial #, Item, OP #, Quantity, Gross Wt., P/S, Manufactured On date, Created On date, and Created By.
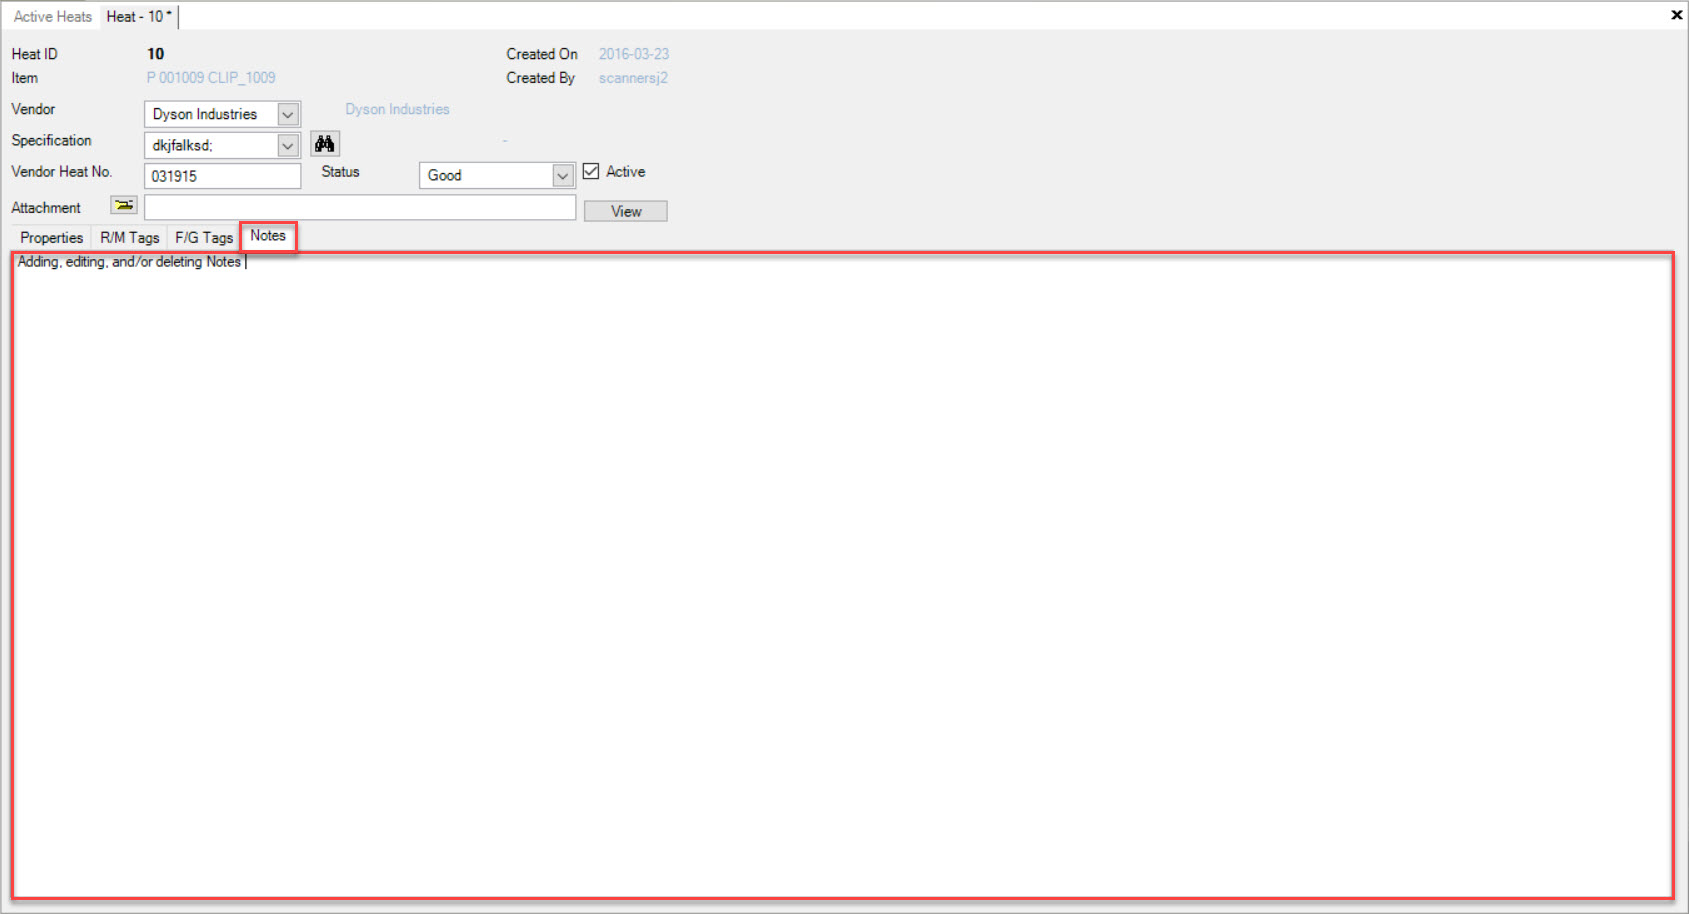
Notes Tab
Users have the ability to add, edit, and/or delete Notes on a new or existing Material Heat.
To add, edit, and/or delete Notes, make sure to select the  tab.
tab.
Users may use the available textbox to add, edit, and/or delete any necessary Notes for a new or existing Material Heat.
Once the necessary changes have been made, make sure to save your changes before exiting the screen.
Deleting a Material Heat
To delete a Material Heat, navigate to the tab and click on the icon. The Active Heats screen will
be displayed.
Locate the Material Heat you wish to delete and highlight the appropriate row. Click on the  button.
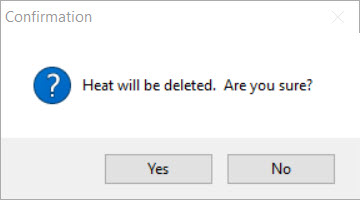
A confirmation window will appear where users must click  to confirm. The Material Heat will be deleted.
Make sure to save your changes before exiting the screen.