Security
The Security section deals with all aspects of Security in the ShopEdge ERP system in regards to creating or deleting Users, creating or deleting Groups and adding or changing Permissions.
Security and Permissions for the Android Application for users can be found in the Android Application. You must first create a user in the main ShopEdge Application, and then you can establish Permissions for users in the Android Application. See Secturity Permissions under Admin in the ShopEdge Mobile Android Application module for more information.
To access Security, navigate to the  tab and click on the
 ![]() icon.
icon.
The Security screen will be displayed.
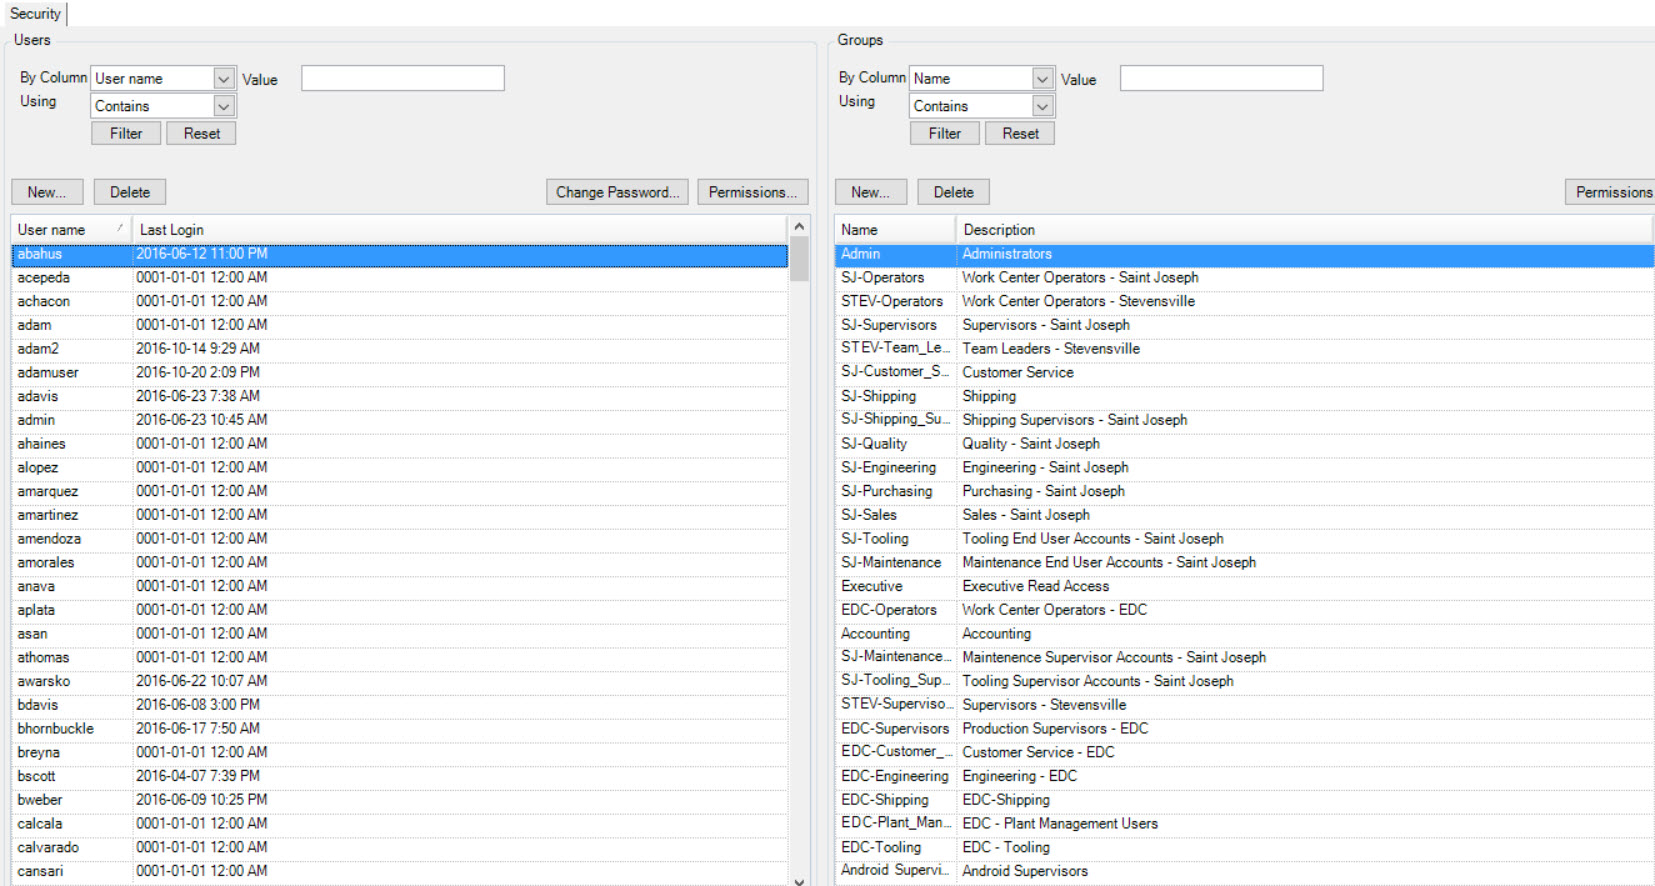
Users
The system allows you to create new users, delete existing users, and change user passwords and permissions.
Creating a New User
To add a new User, navigate to the  tab and click on the
 ![]() icon.
icon.
The Security screen will be displayed.

Click on the  button. This will display a blank User screen.
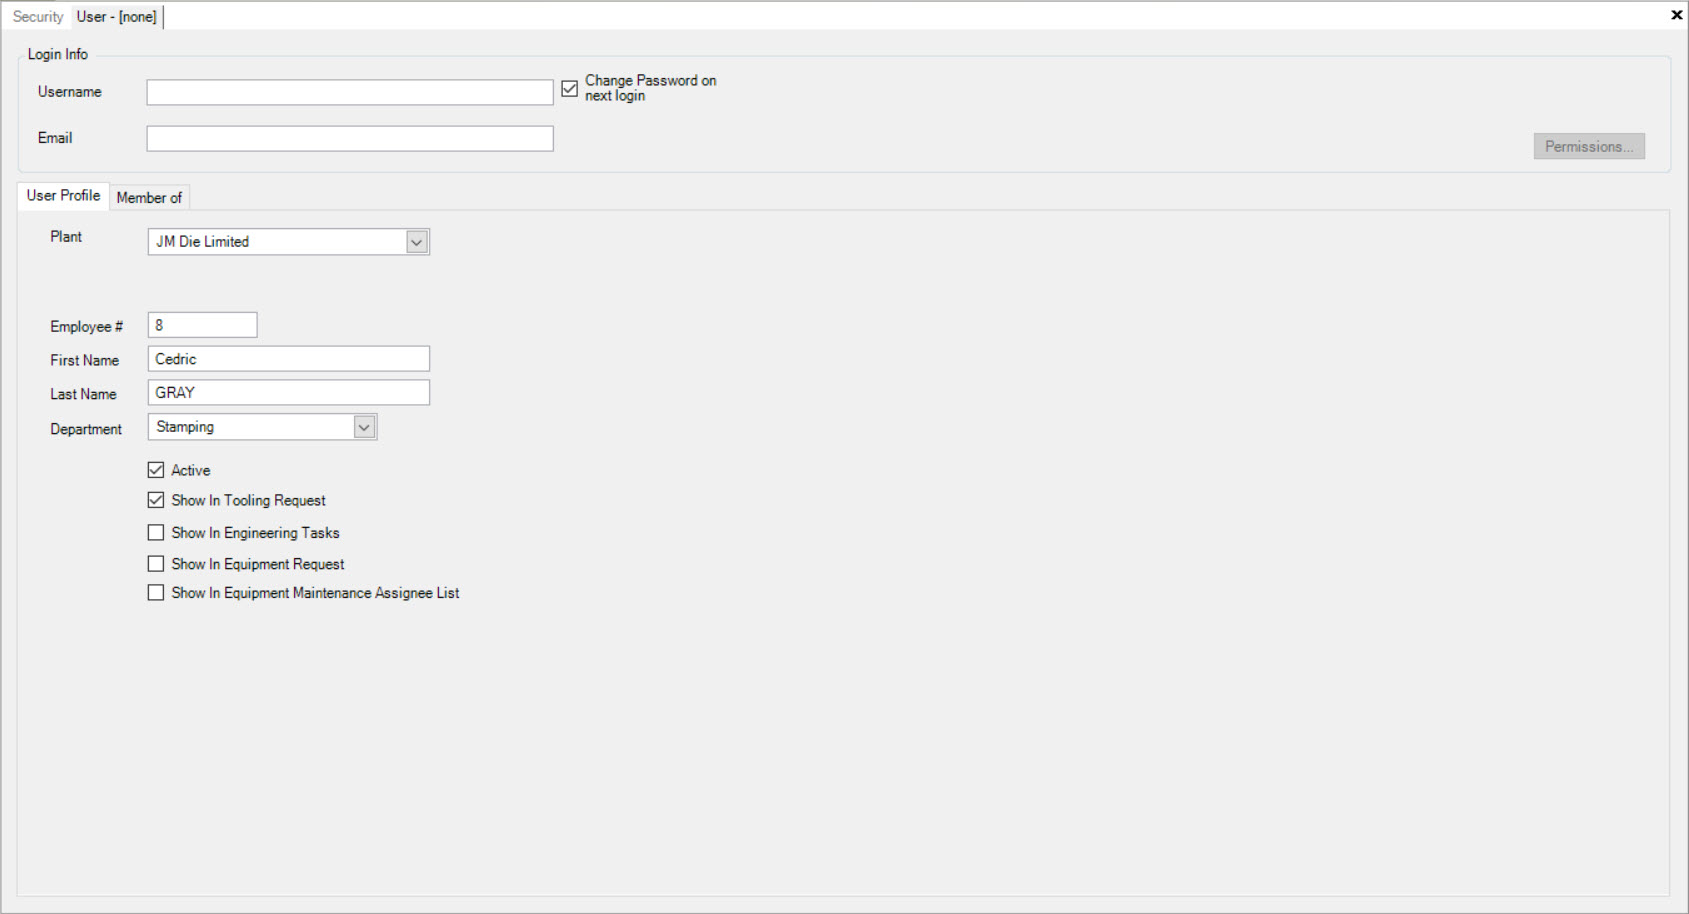
Enter the Username, Email Address and check the Change Password on next login box if you wish the user to prompted to change their password when logging in. Under User Profile, select the Plant from the drop-down box. If you wish to add a new Employee at the same time, create a new User by entering in the Employee #, First Name, and Last Name. Select the Department by using the drop-down menu provided.
The system also allows you to select or de-select Active, Show in Tooling Request, Show in Engineering Tasks, Show in Equipment Request, and Show in Equipment Maintenance Assignee List.
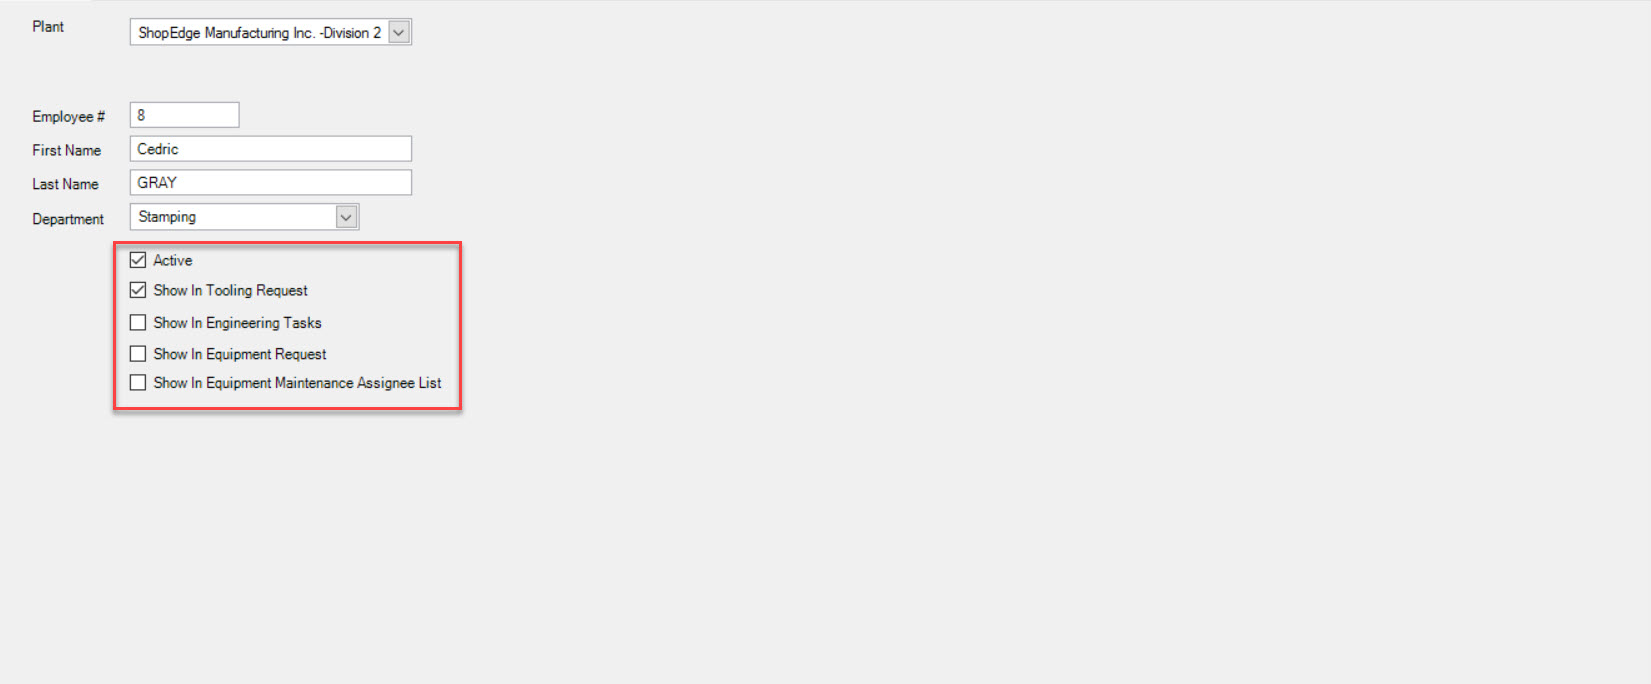
Make sure to save your changes before exiting the screen.
The Confirm Password window will be displayed. Enter the password and confirm password and click on the  button.
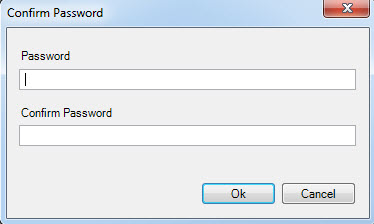
Once you have save the User, you will then be able to establish Permissions. Until you save, the Permissions button will be greyed out.
Note
You may also click on the  tab which shows available Security Groups created in the system. If you wish the user to be part of a group and inherit the established Group Permissions, select the appropriate box.
Deleting a User
To delete a User, navigate to the  tab and click on the
 ![]() icon.
icon.
The Security screen will be displayed.

Locate and highlight the user on the Security screen under the Users section to the left of the screen. Then click on the  button.
A Delete Confirmation window will appear.
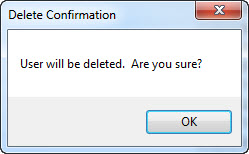
Click on the  button and the selected user will be deleted.
Changing a User Password
To change a user’s Password, navigate to the  tab and click on the
 ![]() icon.
icon.
The Security screen will be displayed.

Locate and highlight the user, then click on the  button under the Users section to the left of the screen.
The Change Password window will be displayed. Enter the Password and Confirm Password, then click on the  button.
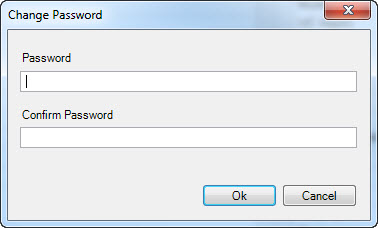
Make sure to save your changes before exiting the screen.
Note
You can also set User Permissions by highlighting the appropriate User and clicking on the  button which will allow you to select or de-select the necessary permissions. Make sure to save your changes before exiting the screen. Please see Permissions for more details.
Groups
The system allows you to create new groups, delete existing groups, and change group passwords and permissions.
Creating a New Group
To add a new Group, navigate to the  tab and click on the
 ![]() icon.
icon.
The Security screen will be displayed.

On the right-side of the screen, click on the  button. A blank Security Group screen will be displayed.
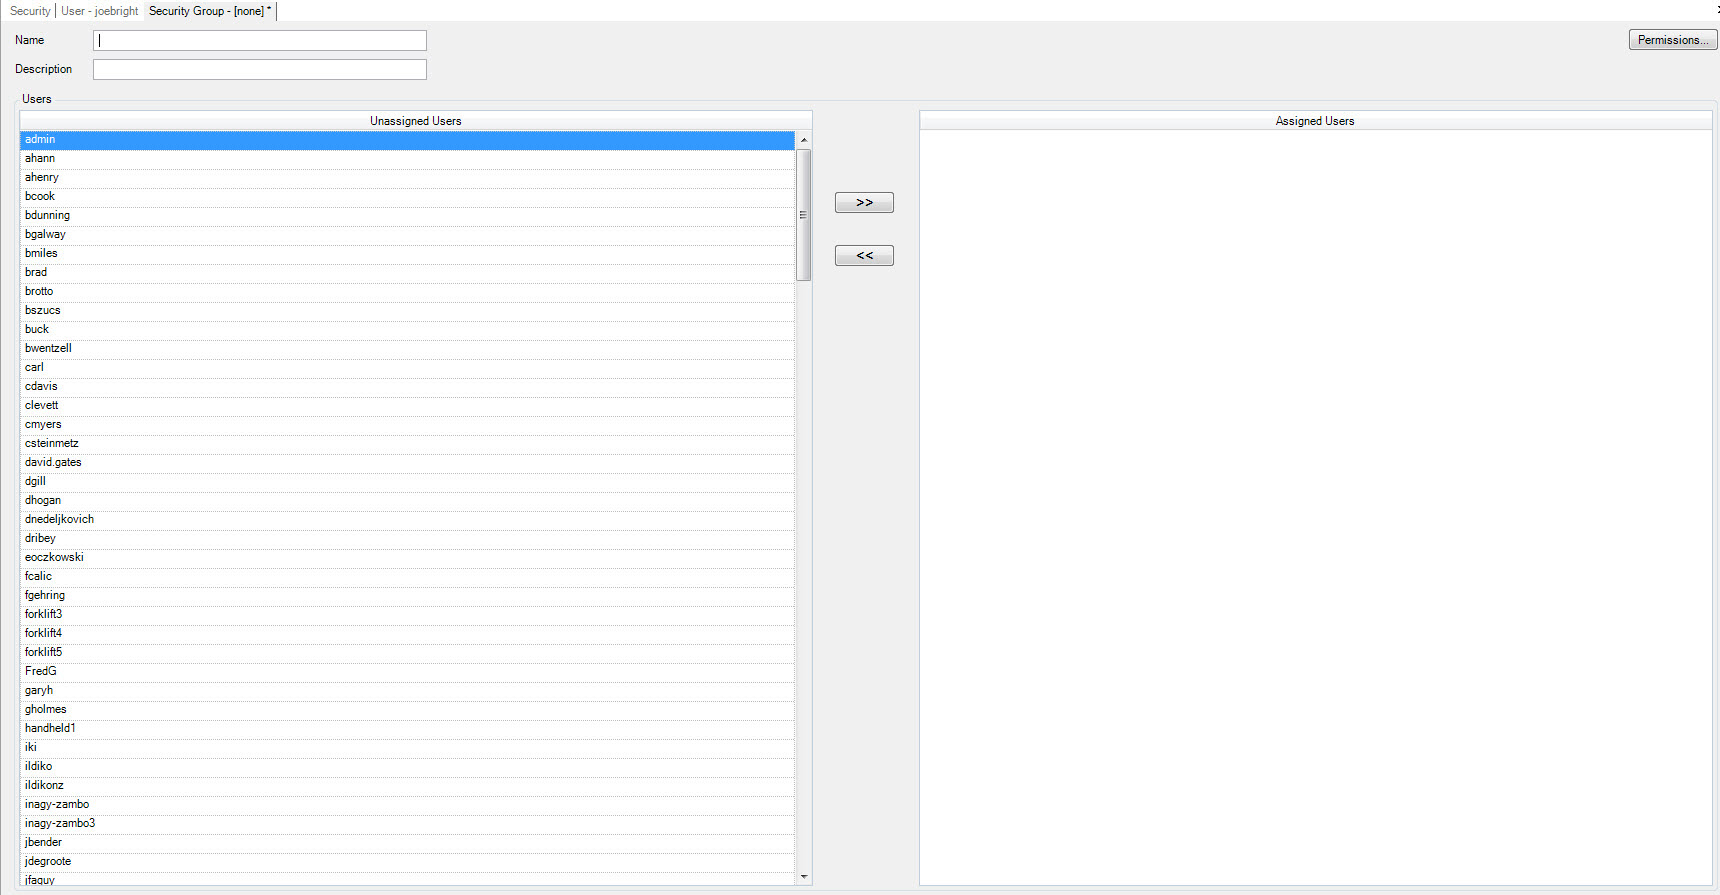
Enter in the Group Name and Description. Then, select the Unassigned Users that you wish to add to the group. Highlight them and click on the  button. They will now
be listed under Assigned Users.
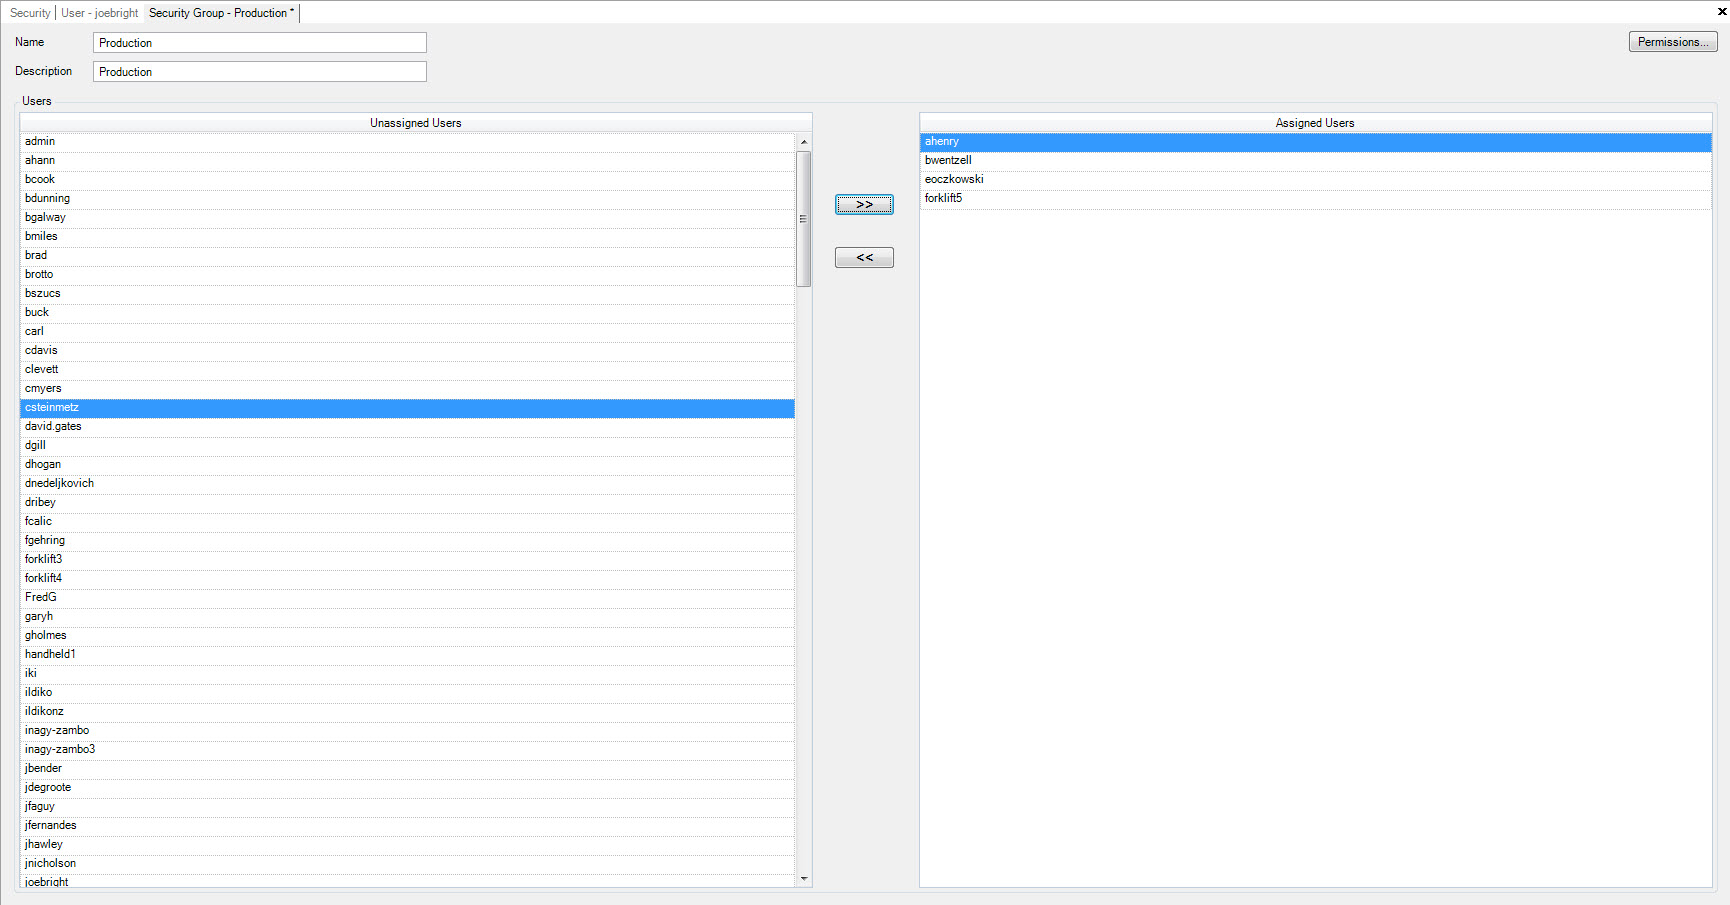
If a User is incorrectly assigned, select the Assigned User that you wish to unassign from the group by highlighting the user and clicking on the  button.
This will move the user back to Unassigned Users.
Make sure to save your changes before exiting the screen.
Note
When add a new Group, you cannot create Permissions for it until you save the Security Group after enterig in the Name and Description.
Deleting a Group
To delete a Group, navigate to the  tab and click on the
 ![]() icon.
icon.
The Security screen will be displayed.

Locate and highlight the Group you wish to delete. Then, click on the  button.
A Delete Confirmation window will appear.
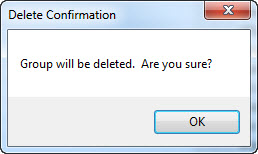
Click on the  button and the Group will be deleted.
Adding or Removing Users from a Group
To add or remove the users from a Group, navigate to the  tab and click on the
 ![]() icon.
icon.
The Security screen will be displayed.

Locate and double-click on the Group you wish to add or remove users from on the right side of the screen under the Groups section.
To ADD a user, select the Unassigned User that you wish to add to the Group by highlighting the user and clicking on the  button.
To REMOVE a user, select the Assigned User that you wish to unassign from the group by highlighting the user and clicking on the  button.

Make sure to save your changes before exiting the screen.
Note
You can also set Group Permissions by highlighting the appropriate Group and clicking on the  button which will allow you to select or de-select the necessary permission. Make sure to save your changes before exiting the screen. Please see Permissions for more details.
Permissions
ShopEdge Security is based on Users and Groups. The system allows permission to perform different tasks or roles to be set-up at the Group or User level.
Using Group-Based Security enables users to access the data that they require without requiring the granting of specific permissions to each user. This reduces the administrative overhead of managing user permissions for each user. You can create custom groups with specific permissions to better fit your security model.
For each role in the business, you must determine what permissions the Group or User will require to accomplish their tasks. A User within a Group may also require permission to perform additional tasks, which can be achieved by granting permissions directly to that User.
The main permissions that are found in the system are:
- Create - the user will be able to create Customers, Vendors, Equipment or Items within the module where the permission is granted.
- Modify - the user will be able to modify Customers, Vendors, Equipment or Items within the module where the permission is granted.
- Delete - the user will be able to delete Customers, Vendors, Equipment or Items within the module the permission is granted.
- View - the user will be able to view (Read Only) Customers, Vendors, Equipment or Items within the module where the permission is granted.
Some of the additional permissions that are also found in the system are:
- Close - the user will be able to close a Planned Maintenance, Unplanned Maintenance or Tooling Requests within the module where the permission is granted.
- Create Work Orders - the user will be able to create a Work Order if the permission is granted within the module.
- Enter Timecard - the user will be able to enter a Timecard if the permission is granted within the module.
- Close Work Orders - the user will be able to close Work Orders if the permission is granted within the module.
- Override Requested By - the user will be able to override the requested user on Work Orders or Work Order Requests if the permission is granted within the module.
- Override User - the user will be able to override the user in Preventative Maintenance or Tooling Requests if the permission is granted within the module.
- Generate Picklist - the user will be able to Generate a Picklist if the permission is granted within the module.
- Show All Warehouses - the user will be able to view all Warehouses if the permission is granted within the module.
- Change Status - the user will be able to change the status for a Vendor Return if the permission is granted within the module.
- Reactivate - the user will be able to reactivate Manufactured or Purchased Item Tags if the permission is granted within the module.
Adding and Changing User Permissions
To add or change permissions for a User, navigate to the  tab and click on the
 ![]() icon.
icon.
The Security screen will be displayed.

Locate and highlight the User and click on the  button under the Users section on the left side of the screen.
The Permissions screen for the User will be displayed. In most cases, Permissions are listed by module, and then by icons within it. The modules can be expanded by
clicking on the  button or collapsed by clicking on the
  button. The modules can also be
expanded or collapsed by clicking the + or - next to the item.
To allow a User to have access to an Item in a particular module, the Item must be checked. If you wish the User to have no access, simply un-check the Item(s).
Make sure to save your changes before exiting the screen.
Adding and Changing Group Permissions
To add or change permissions for a Group, navigate to the  tab and click on the
 ![]() icon.
icon.
The Security screen will be displayed.

Locate and highlight the Group and click on the  button under the Users section on the left side of the screen.
The Permissions screen for the Group will be displayed. The modules can be expanded by clicking the  button or
collapsed by clicking the
  button. The modules can also be expanded or collapsed by clicking the + or - next to the Item.
To allow access for the Group to an Item in a particular module, the Item must be checked. If you wish the Group to have no access, simply un-check the Item(s).
Make sure to save your changes before exiting the screen.