Printed Forms
The Printed Forms section of the Admin module gives users the ability to set what is able to be printed within the application.
To view the Printed Forms screen, navigate to the  tab and click on the
  icon. This will open the
Printed Forms screen.
icon. This will open the
Printed Forms screen.
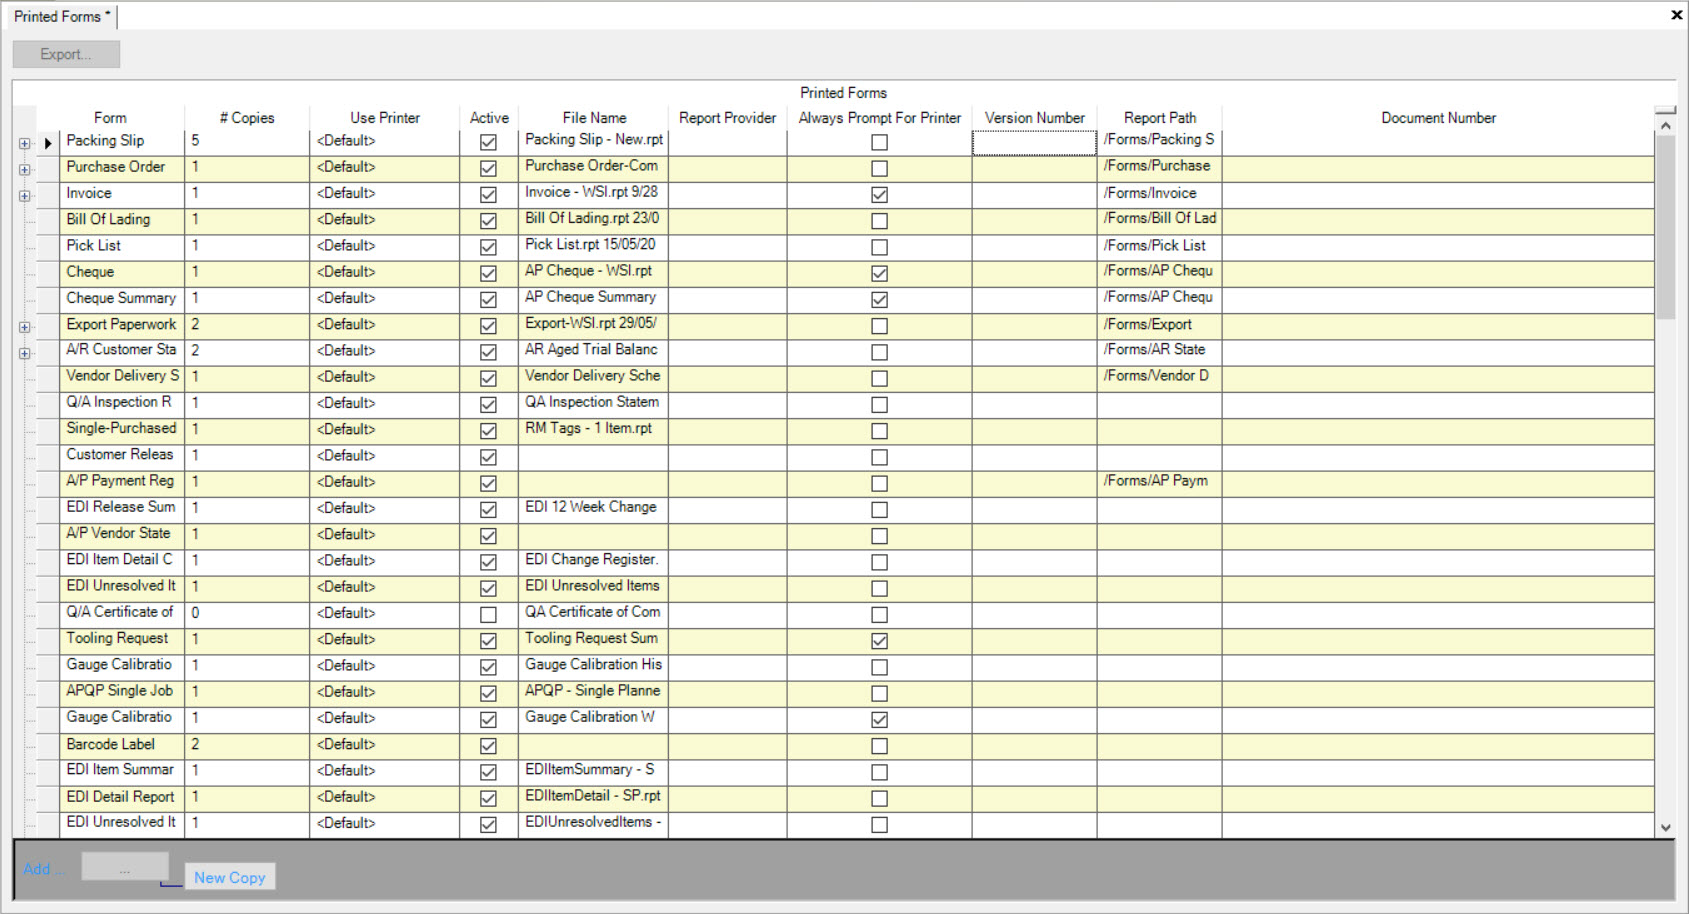
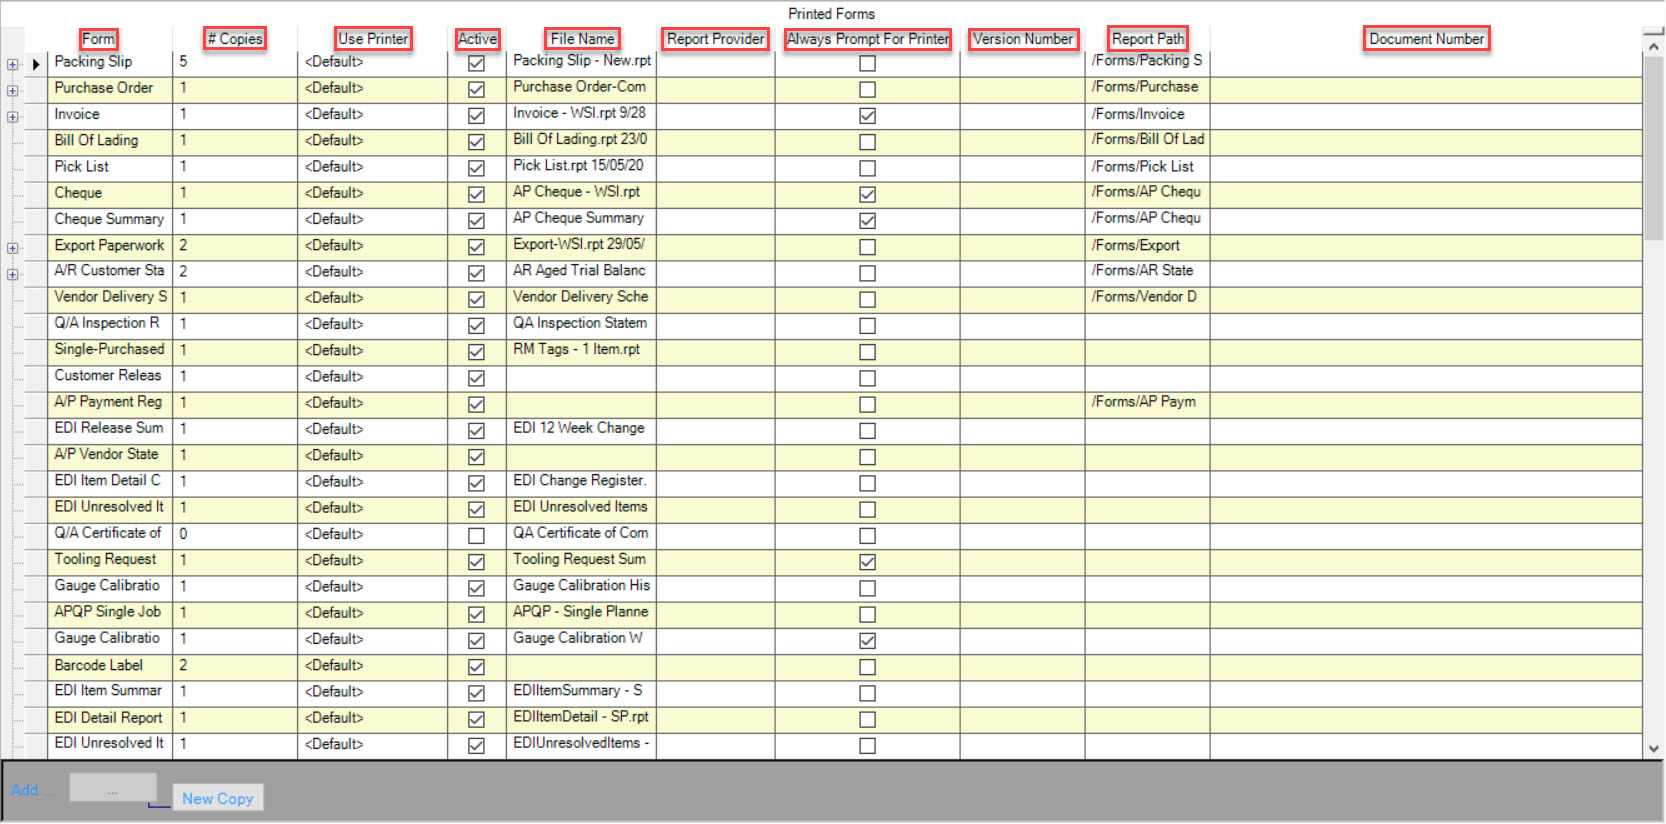
Users are now able to view all Printed Forms in the system. You also have the ability to set the following settings:
- Form - The form that has the option of being printed within the application.
- # Of Copies - The amount of copies the user wishes to print off.
- Use Printer - Allows the user to select which printer is used for the form.
- Active - Whether or not the user is able to print this form.
- File Name - The name of the report created.
- Report Provider - The name of the service that provides the report such as, Crystal Reports, and Reporting Service.
- Always Prompt for Printer - Whether or not the user is prompted to print.
- Version Number - The version number of the form.
- Report Path - The path of the form.
- Document Number - The number of the document being printed.
Make sure to save any changes before exiting the screen.
Adding a New Copy
To add a new copy of a Printed Form, navigate to the tab and click on the icon. This will open the
Printed Forms screen.
Locate the Printed Form that you wish to add a new copy to, and highlight the appropriate row. Then, click on the  button located at the bottom
of the screen.
button located at the bottom
of the screen.
A new row will appear where users can fill in the Sequence (The Sequence numbers should coincide with the # of Copies), as well as titling the Copy Text.

Once you have filled in the appropriate information, make sure to save your changes before exiting the screen.
Exporting a Printed Form
To export a Printed Form, navigate to the tab and click on the icon. This will open the
Printed Forms screen.
Locate the Printed Form that you wish to export and click on the  button.
Note
The system will only allow you to export one Printed Form at a time.
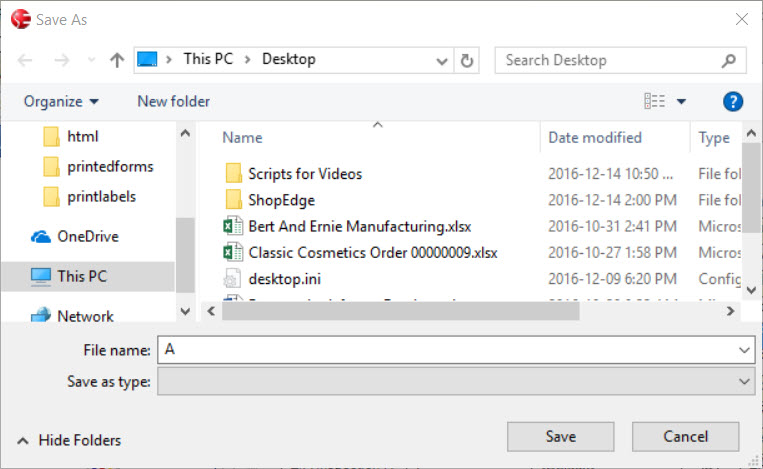
A Save As window will appear where users can save the selected Printed Form to a location on their computer. Once the location is chosen and the File Name is filled in, click
on the  button. The Printed Form will now be in the specified location on your computer and can be opened and printed.
The selected Printed Form will now be located on your computer to export to a different source.
Make sure to save your changes before exiting the screen.