Data Import
The Data Import section gives users the ability to import data into various sections of the application using specific formatting to do so.
To view the Data Import screen, navigate to the  tab and click on the
  icon. This will open the Import Data
screen.
icon. This will open the Import Data
screen.
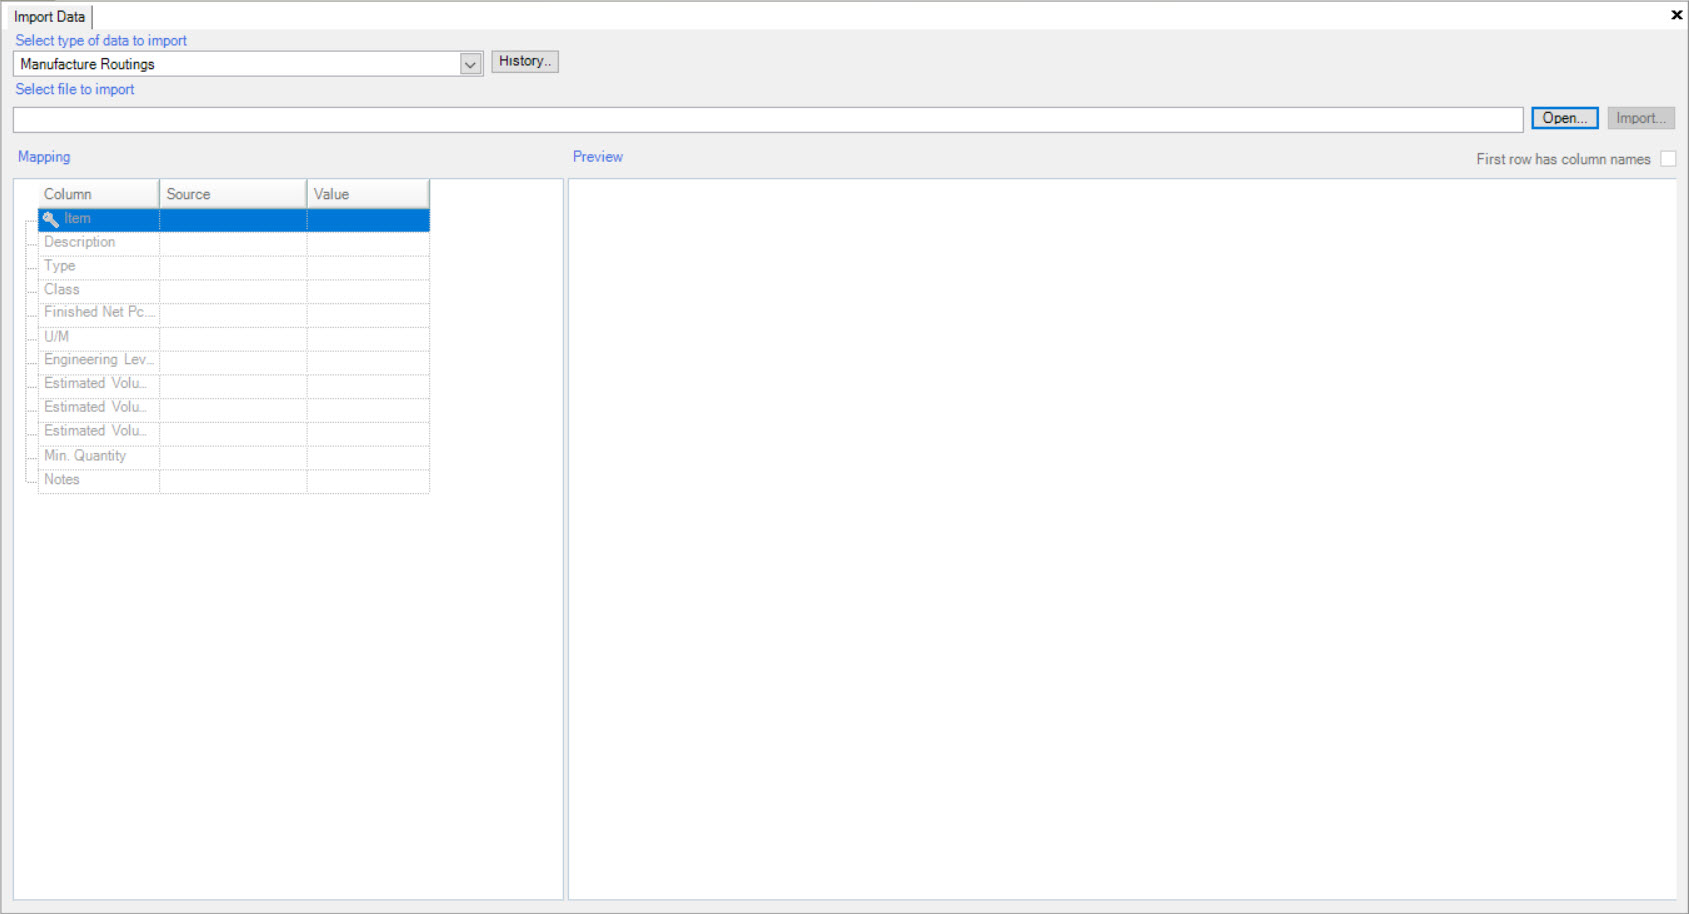
Users must select the Type of Data to Import.
For example, if a user wishes to import data into Manufacture Routings, they would simply select the data type as Manufacture Routings using the drop-down menu.
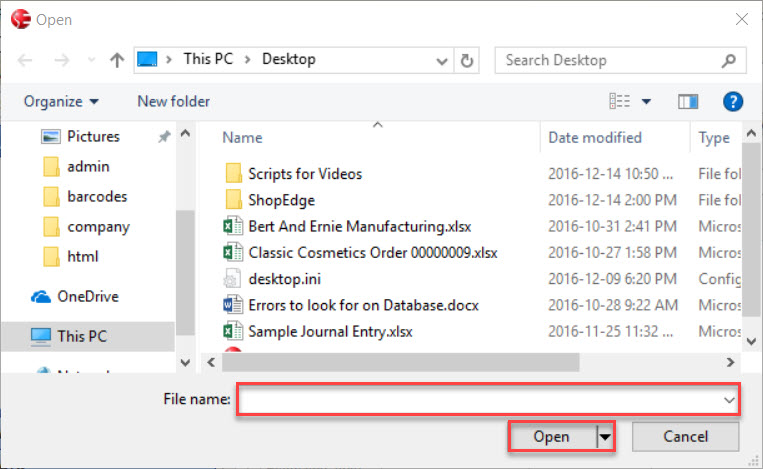
Next, you must select a File to Import by clicking on the  button. This will display the Open window which allows users to select a file from their
computer. Once you have selected the appropriate file, click on the Open button.
button. This will display the Open window which allows users to select a file from their
computer. Once you have selected the appropriate file, click on the Open button.
You will notice the file that you have selected will now show in the Mapping and Preview sections of the Import Data screen.
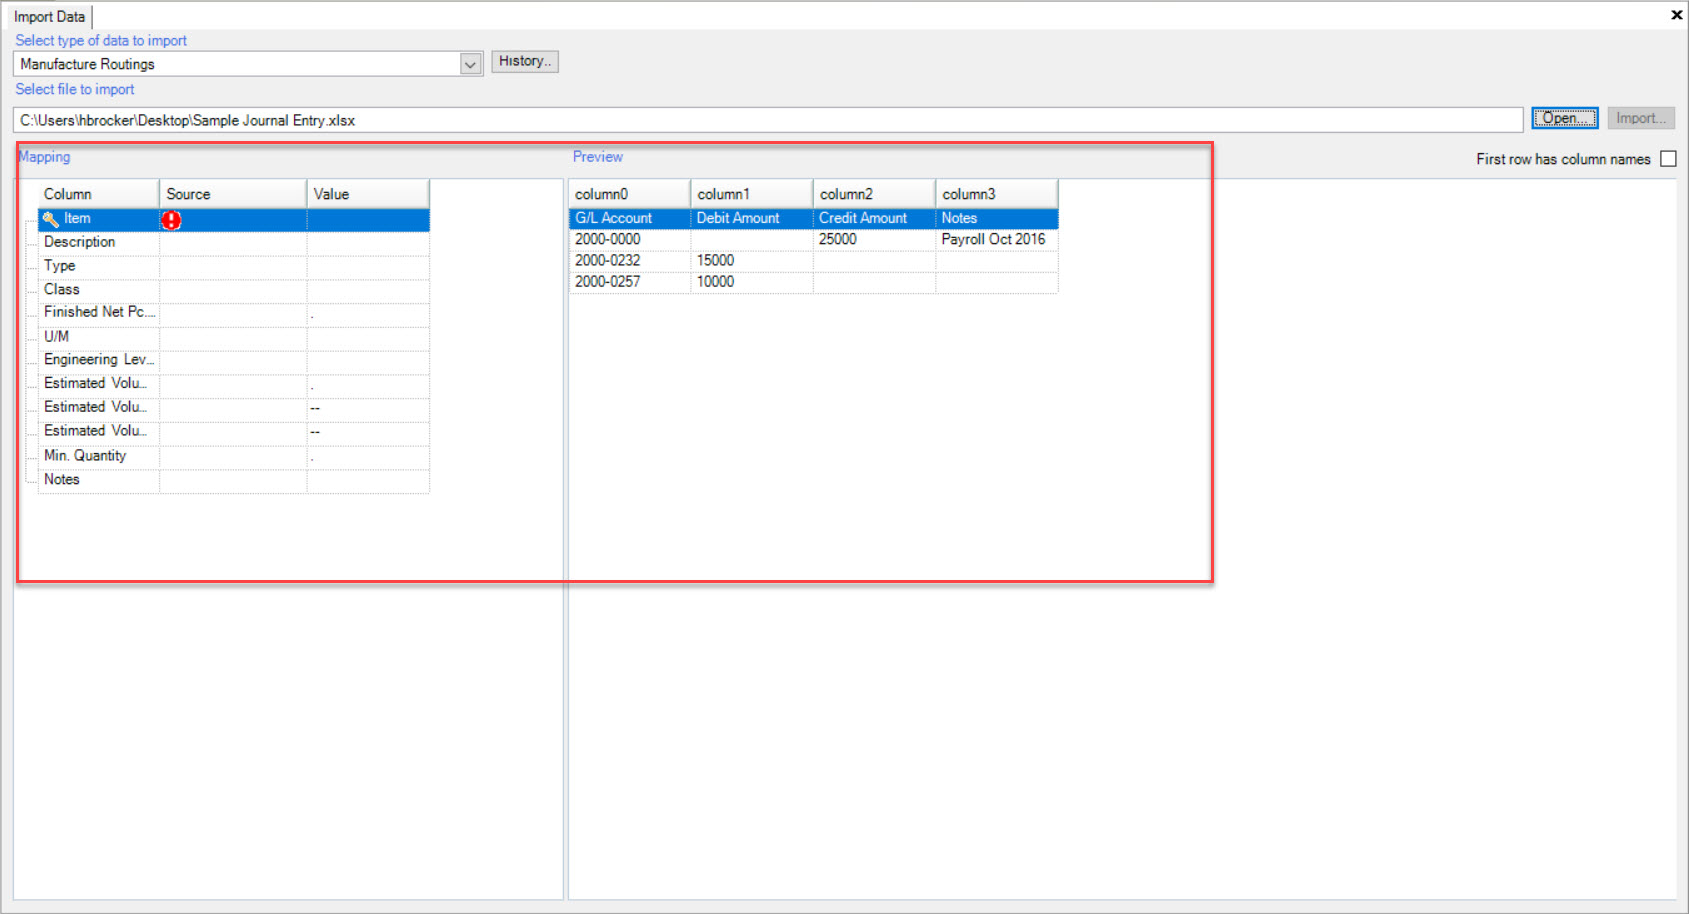
Now, users must map the data located in the Mapping section to show in the Preview section. To do so, use the drop-down menus to map appropriately. You will notice that the Preview section will change accordingly, to the mappings that you create.
Once all necessary columns are mapped, click on the  button to import your data.
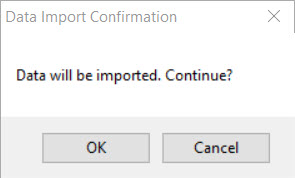
A Data Import Confirmation window will appear. Select the  button to confirm.
An Import Successful window will appear confirming the successful completion of the data import. Click on the button.
Note
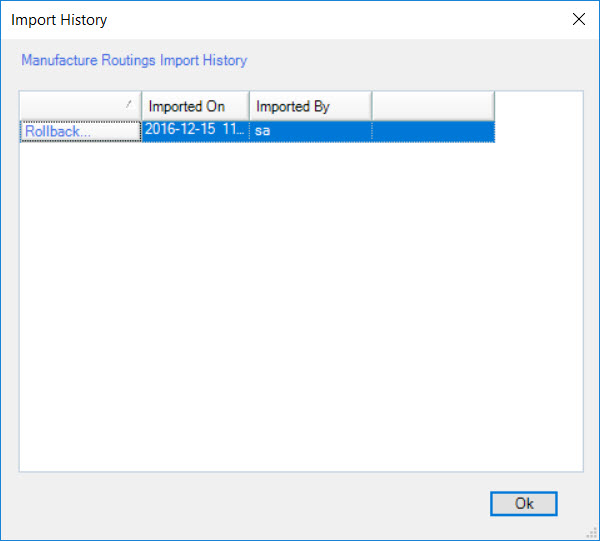
- The data that was just imported will be recorded in History. To view, click on the
 button. The Import History screen will be displayed.
 - Users can also review what other users have previously imported data. The system also gives the users the ability to Rollback previously imported data before proceeding with an import by clicking on
the
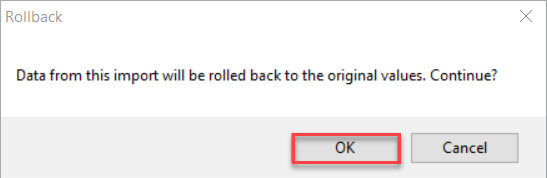
 button. A Rollback confirmation window will appear, confirming that you wish to continue. Click on the button to continue.
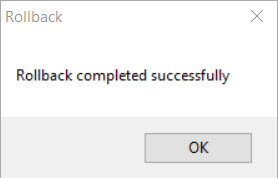
Another window will appear confirming the successful completion of the rollback. Click on the button.
button. A Rollback confirmation window will appear, confirming that you wish to continue. Click on the button to continue.
Another window will appear confirming the successful completion of the rollback. Click on the button.