Print Address Labels
Users are able to use the Print Address Labels section to print labels for the purposes of Shiping and Receiving.
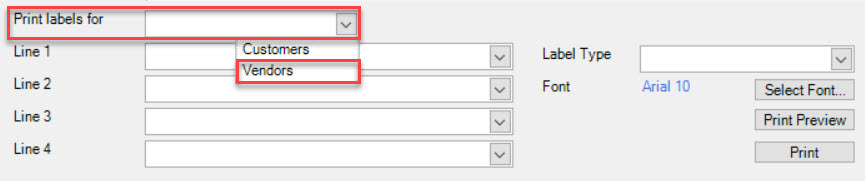
To view Print Address Labels screen, navigate to the  tab and click on the
  icon.
icon.
Printing Address Labels for Customers
To print an address label for Customers, navigate to the tab and click on the icon.
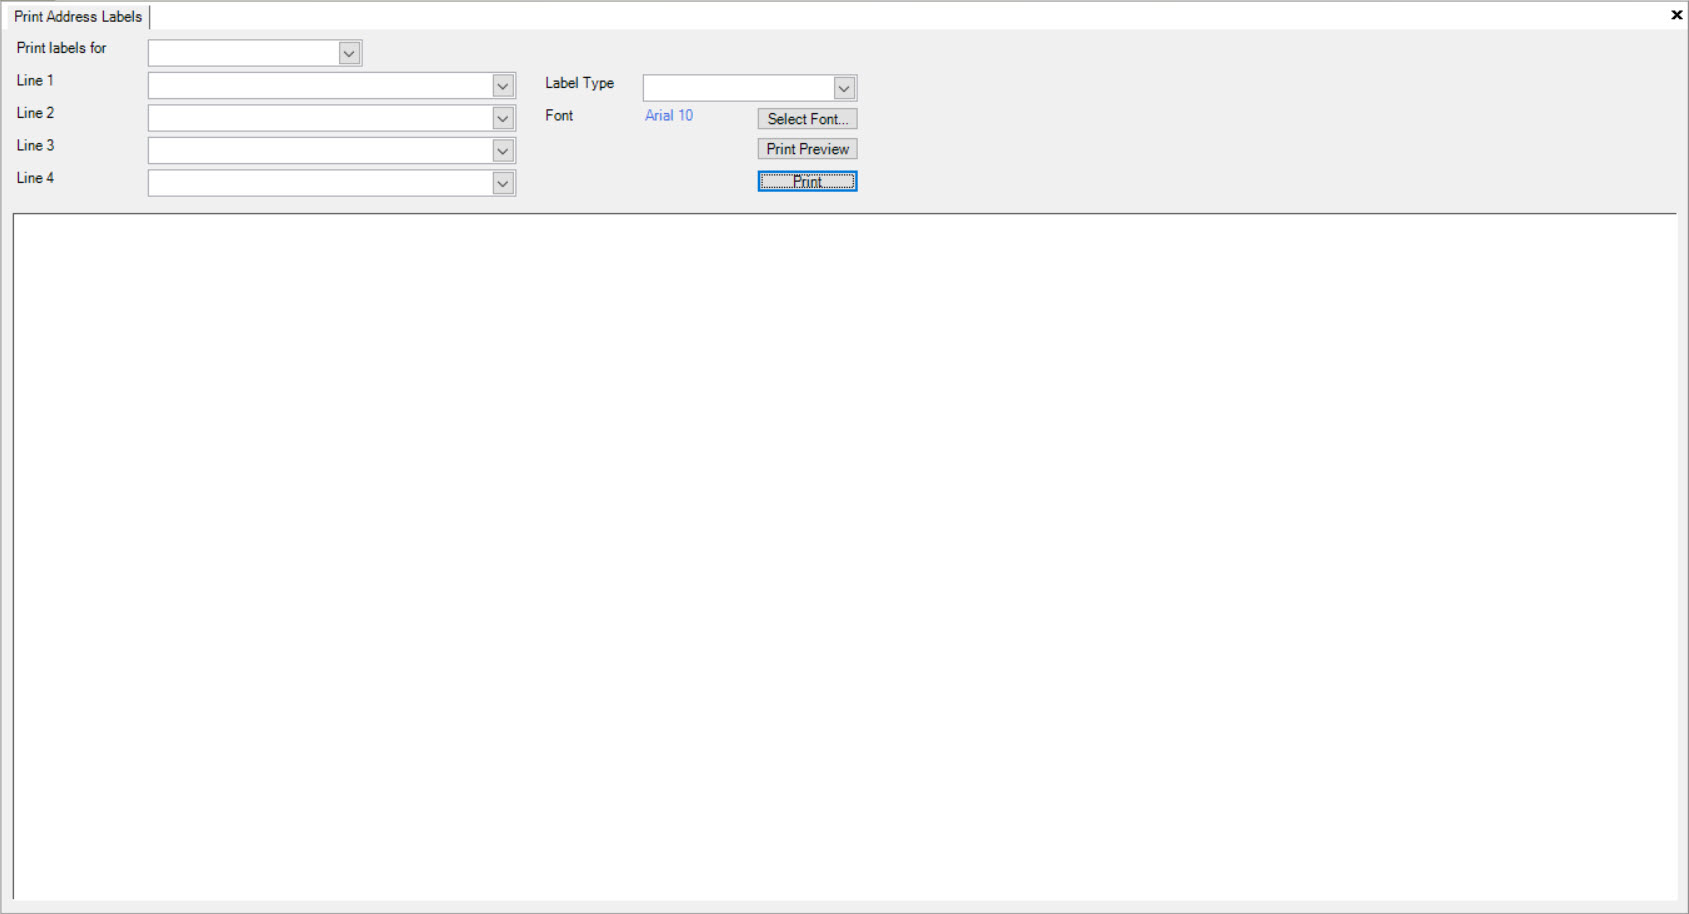
The Print Address Labels screen will be displayed.
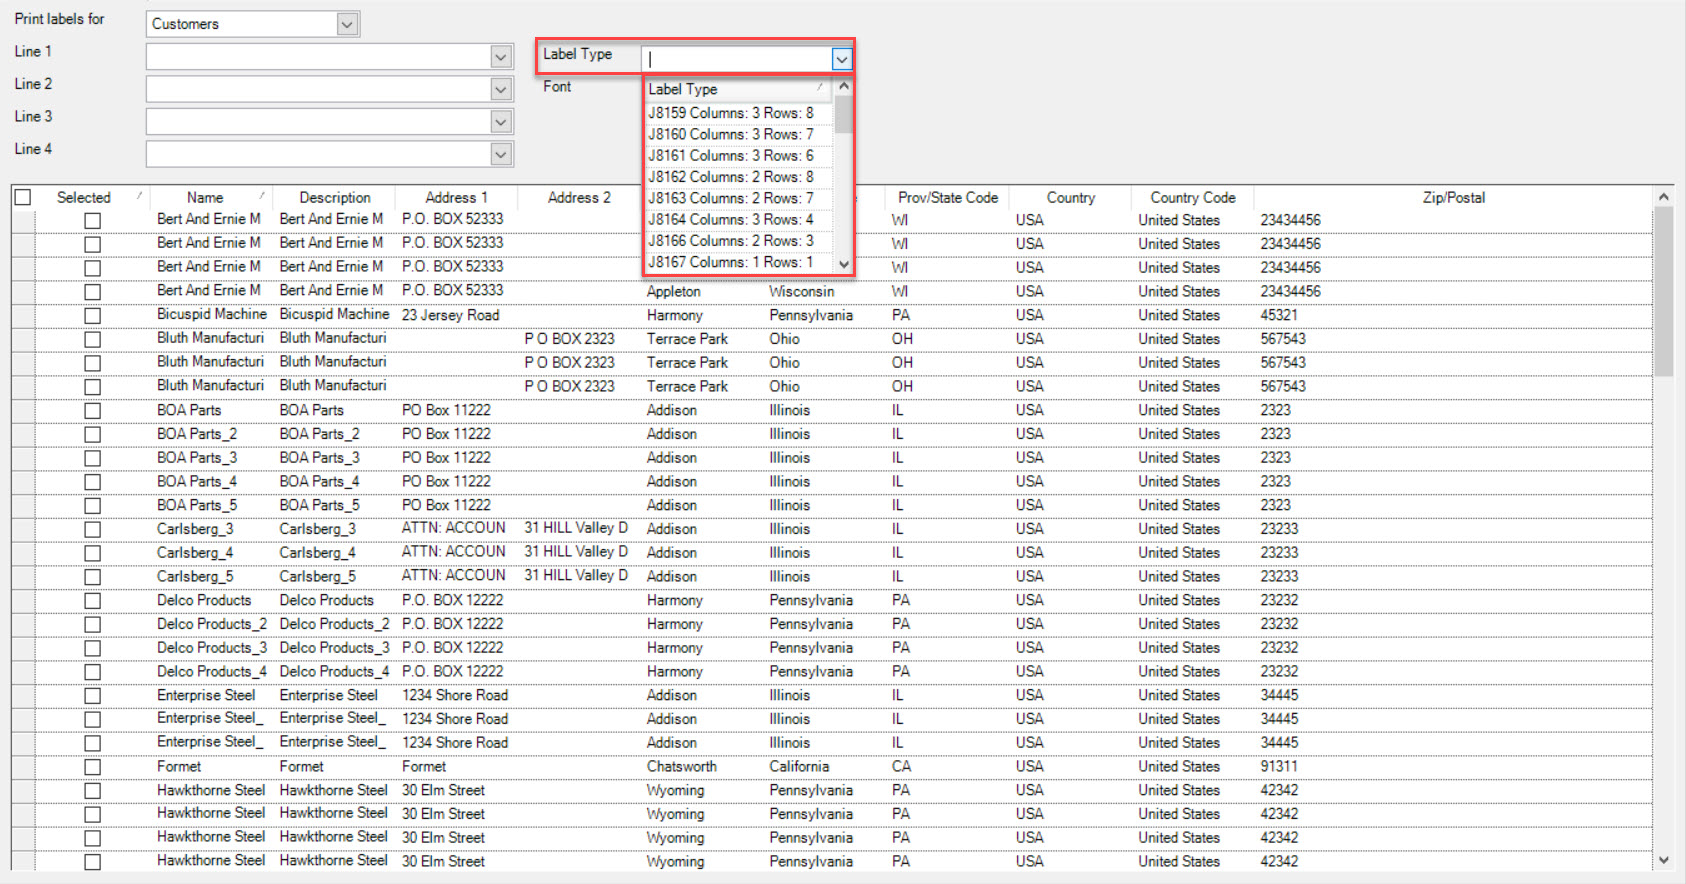
Select Customers from the Print labels for drop-down menu. The system will populate the appropriate Customer Addresses.

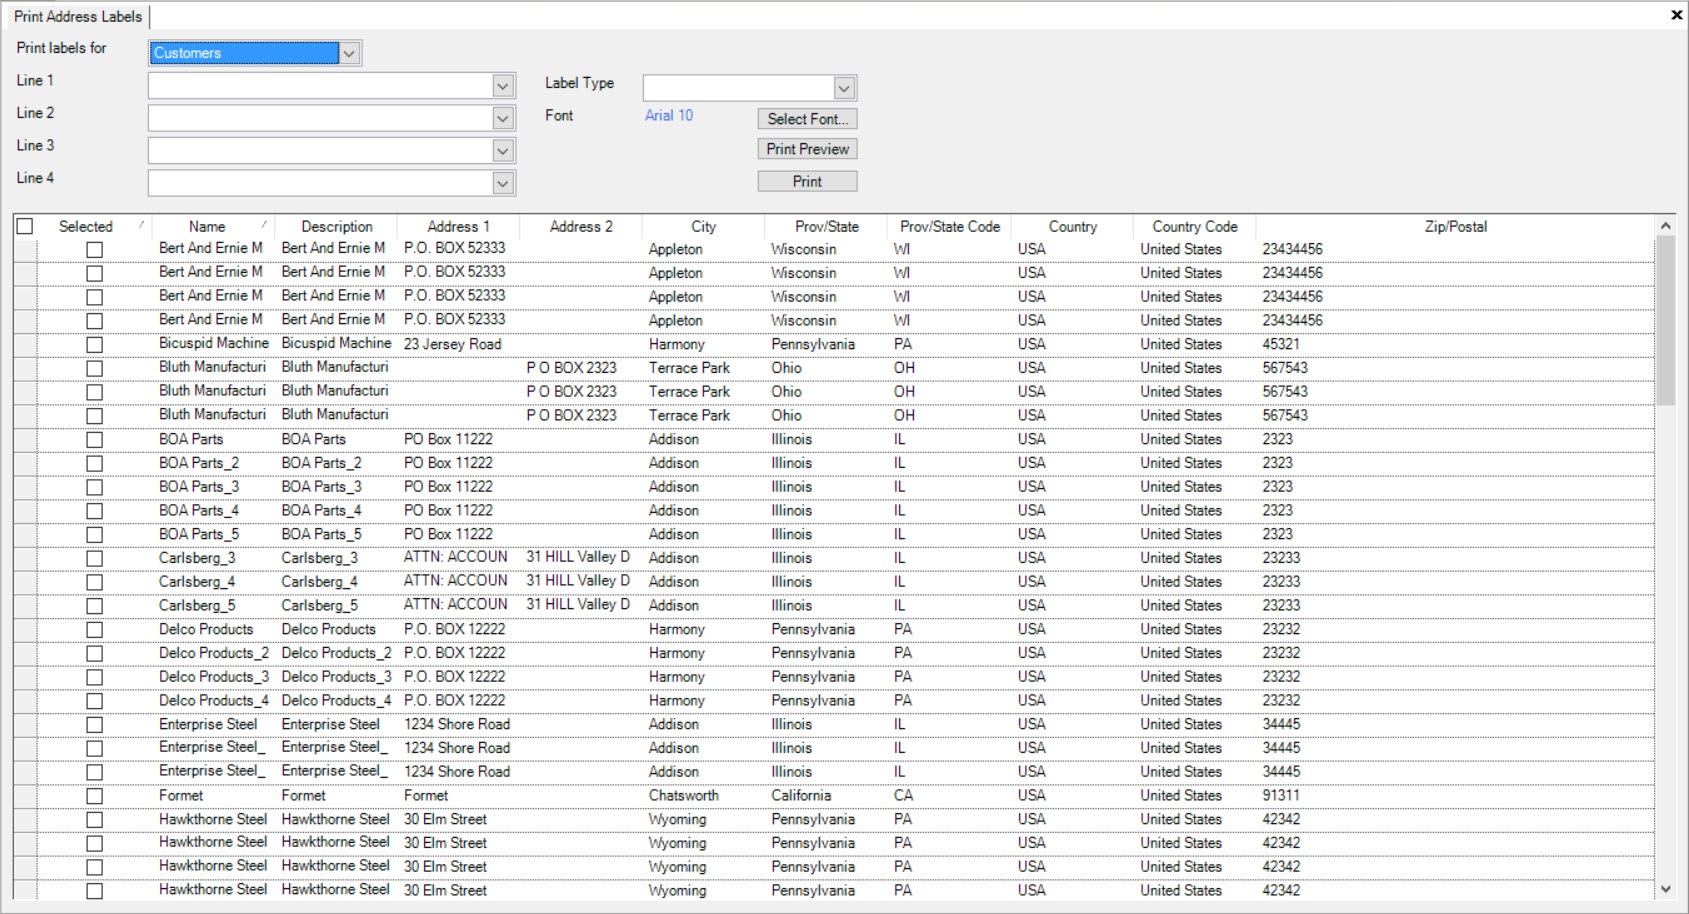
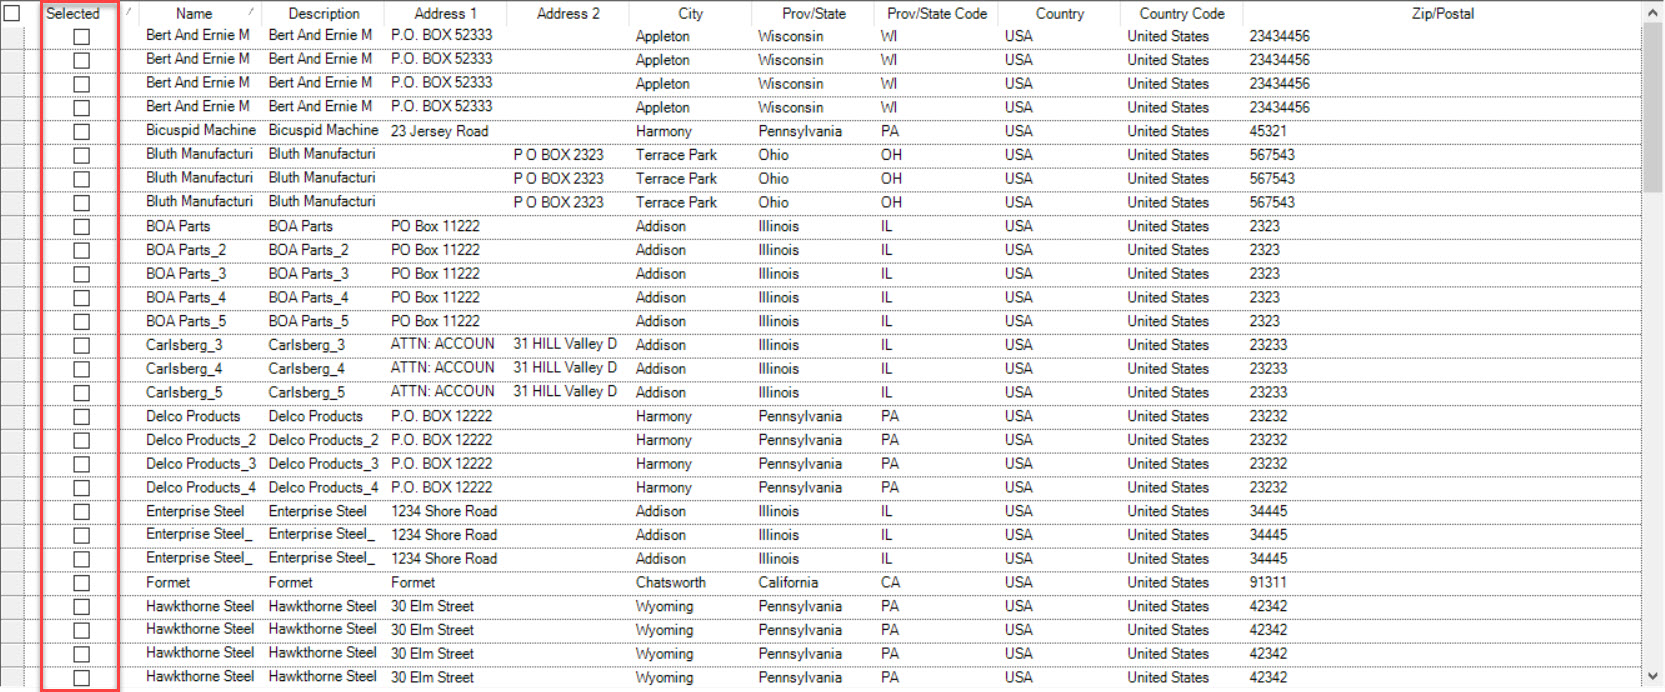
Now, users are able to select the appropriate Customers by checking the box below the Selected column.
You must also select the information that you would like to be printed on each Line of the label. To do so, select the appropriate information with each Line drop-down menu.
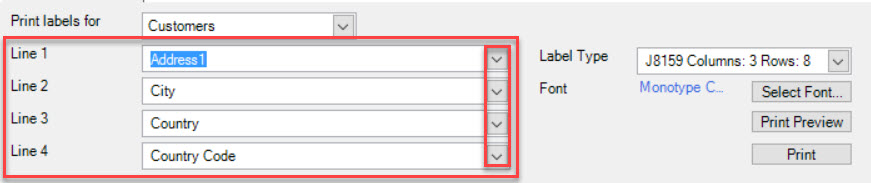
Users must select a Label Type and Font. The Label Type can be selected from the drop-down menu.
To select a Font, click on the  button. The Font window will appear.
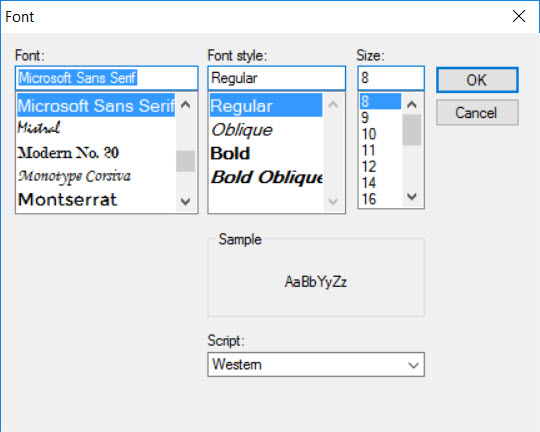
Using the Font options, Font style options, Size, and Script options in the Font window, select the appropriate settings and click on the  button.
Click on the  button to make sure you are satisfied with the layout of the Customer Label.

Note
You are able to change the view size in the Print Preview window in order to view the Customer Label clearly. To do so, click on the  button and select the percentage. The image will change accordingly.
To print the Customer Label, click on the  button. The Customer Label document will be printed.
Printing Address Labels for Vendors
To print an address label for Vendors, navigate to the tab and click on the icon.
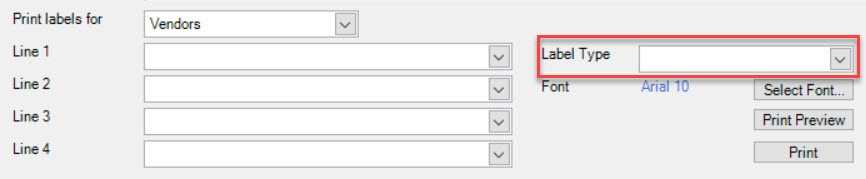
The Print Address Labels screen will be displayed.
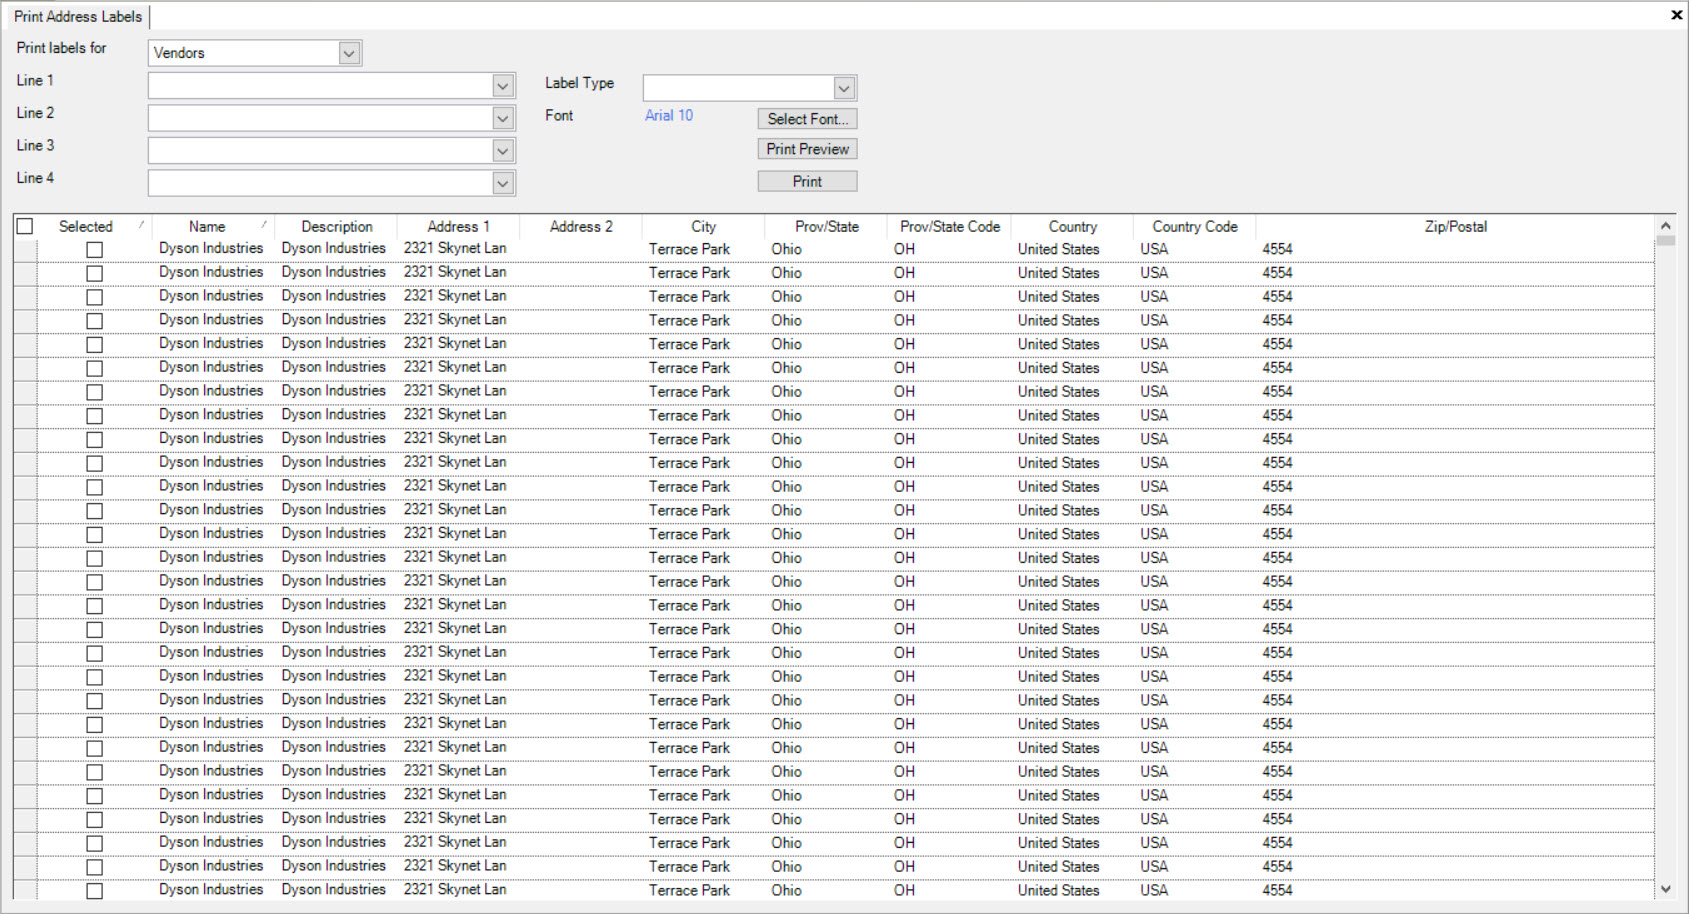
Select Vendors from the Print labels for drop-down menu. The system will populate the appropriate Vendor Addresses.
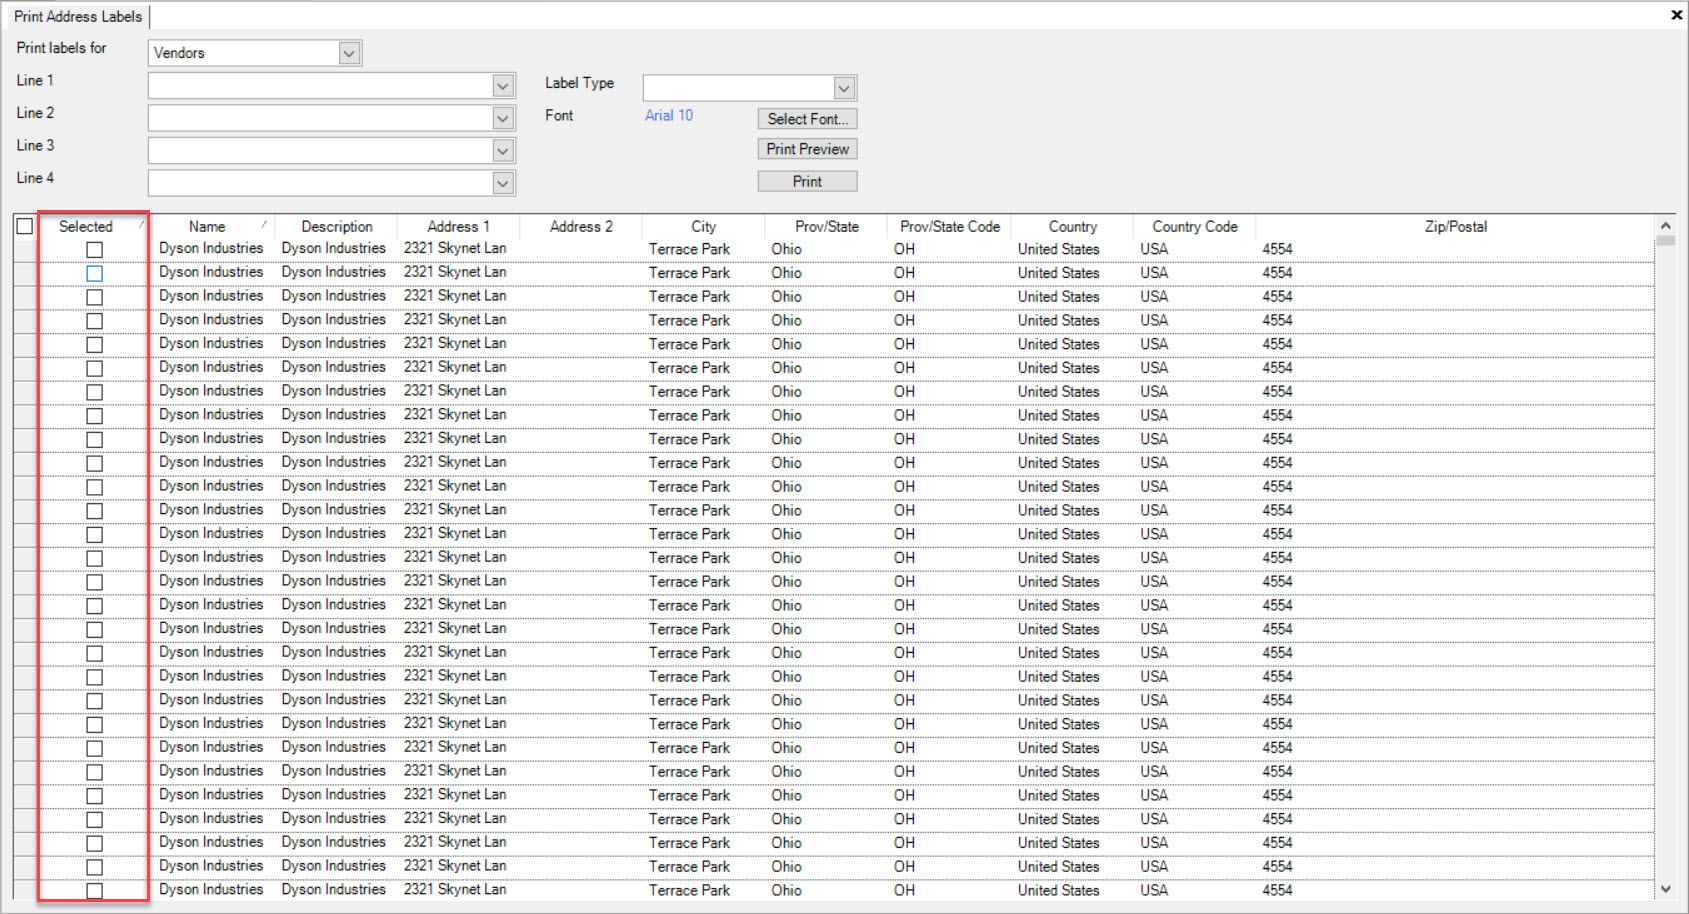
Now, users are able to select the appropriate Vendors by checking the box below the Selected column.
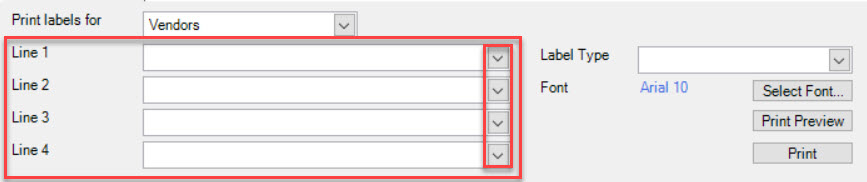
You must also select the information that you would like to be printed on each Line of the label. To do so, select the appropriate information with each Line drop-down menu.
Users must select a Label Type and Font. The Label Type can be selected from the drop-down menu.
To select a Font, click on the button. The Font window will appear.
Using the Font options, Font style options, Size, and Script options in the Font window, select the appropriate settings and click on the button.
Click on the button to make sure you are satisfied with the layout of the Customer Label.
Note
You are able to change the view size in the Print Preview window in order to view the Vendor Label clearly. To do so, click on the button and select the percentage. The image will change accordingly.
To print the Vendor Label, click on the button. The Vendor Label document will be printed.