P/O Receipts
To view all available P/O Receipts of an Item in the system, navigate to the 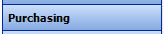 tab and click on the
  icon.
icon.
The Item Receipts screen will be displayed.
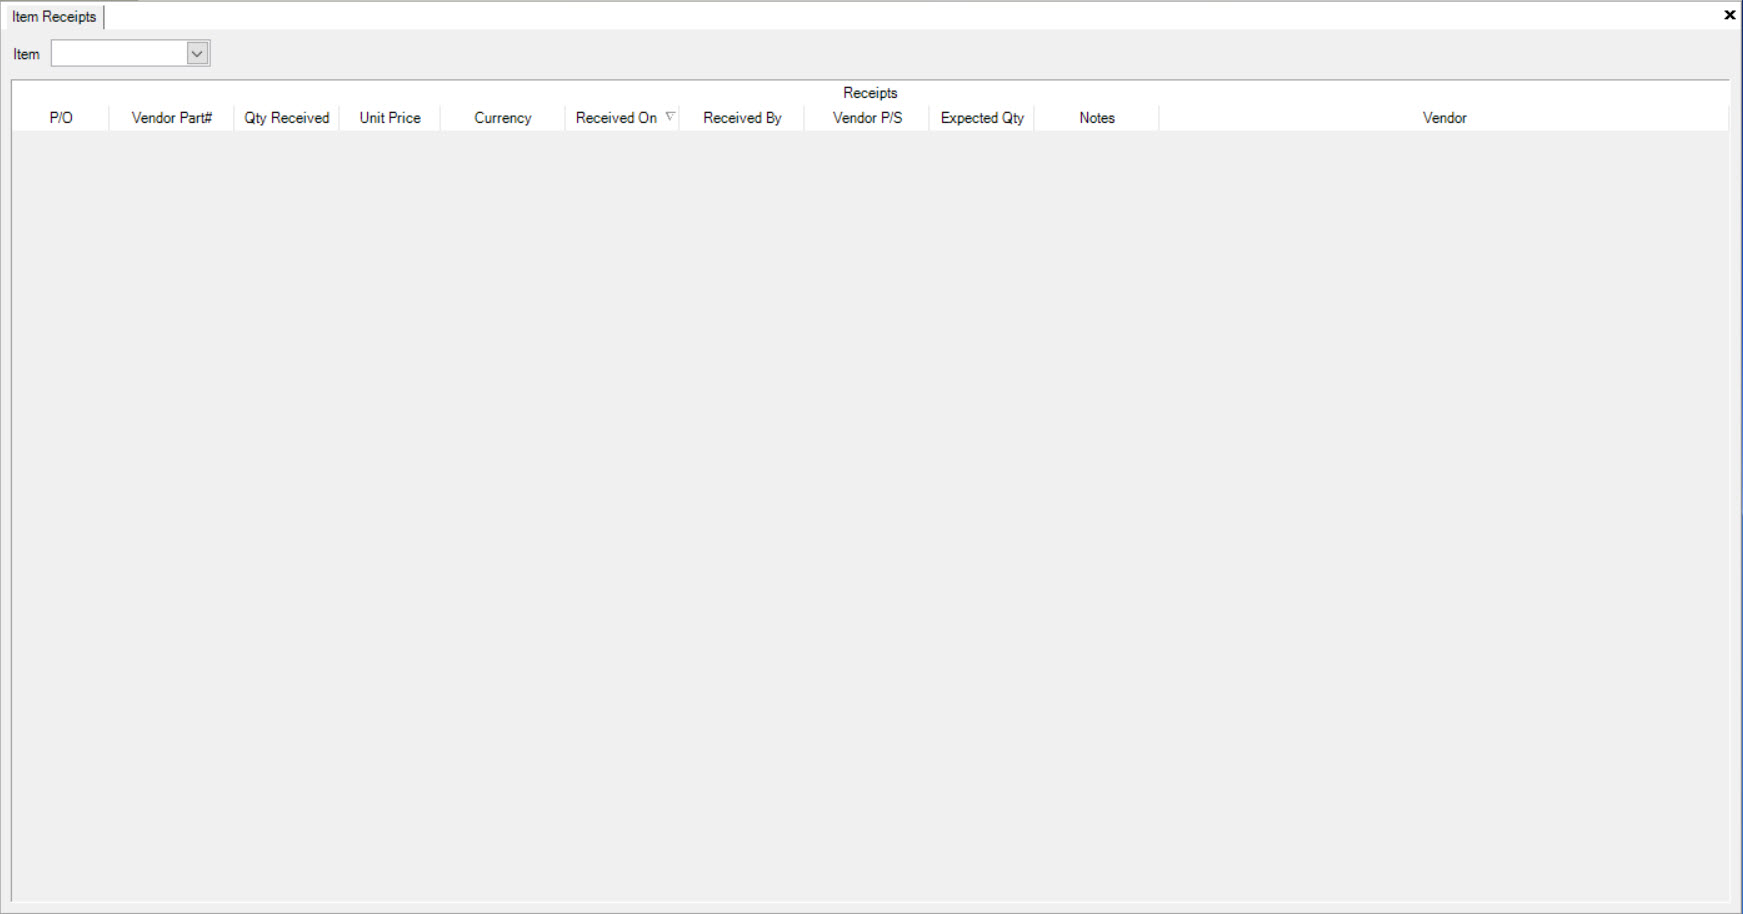
Select an Item using the drop-down menu and the system will then populate all of the P/O Receipts for the selected Item.
Details for each P/O Receipt include the P/O, Vendor Part #, Qty Received, Unit Price, Currency, Received On date, Received By, Vendor P/S, Expected Qty, Notes, and the Vendor.
Adjusting P/O Receipts
To adjust a P/O Receipt, navigate to the tab and click on the  icon.
icon.
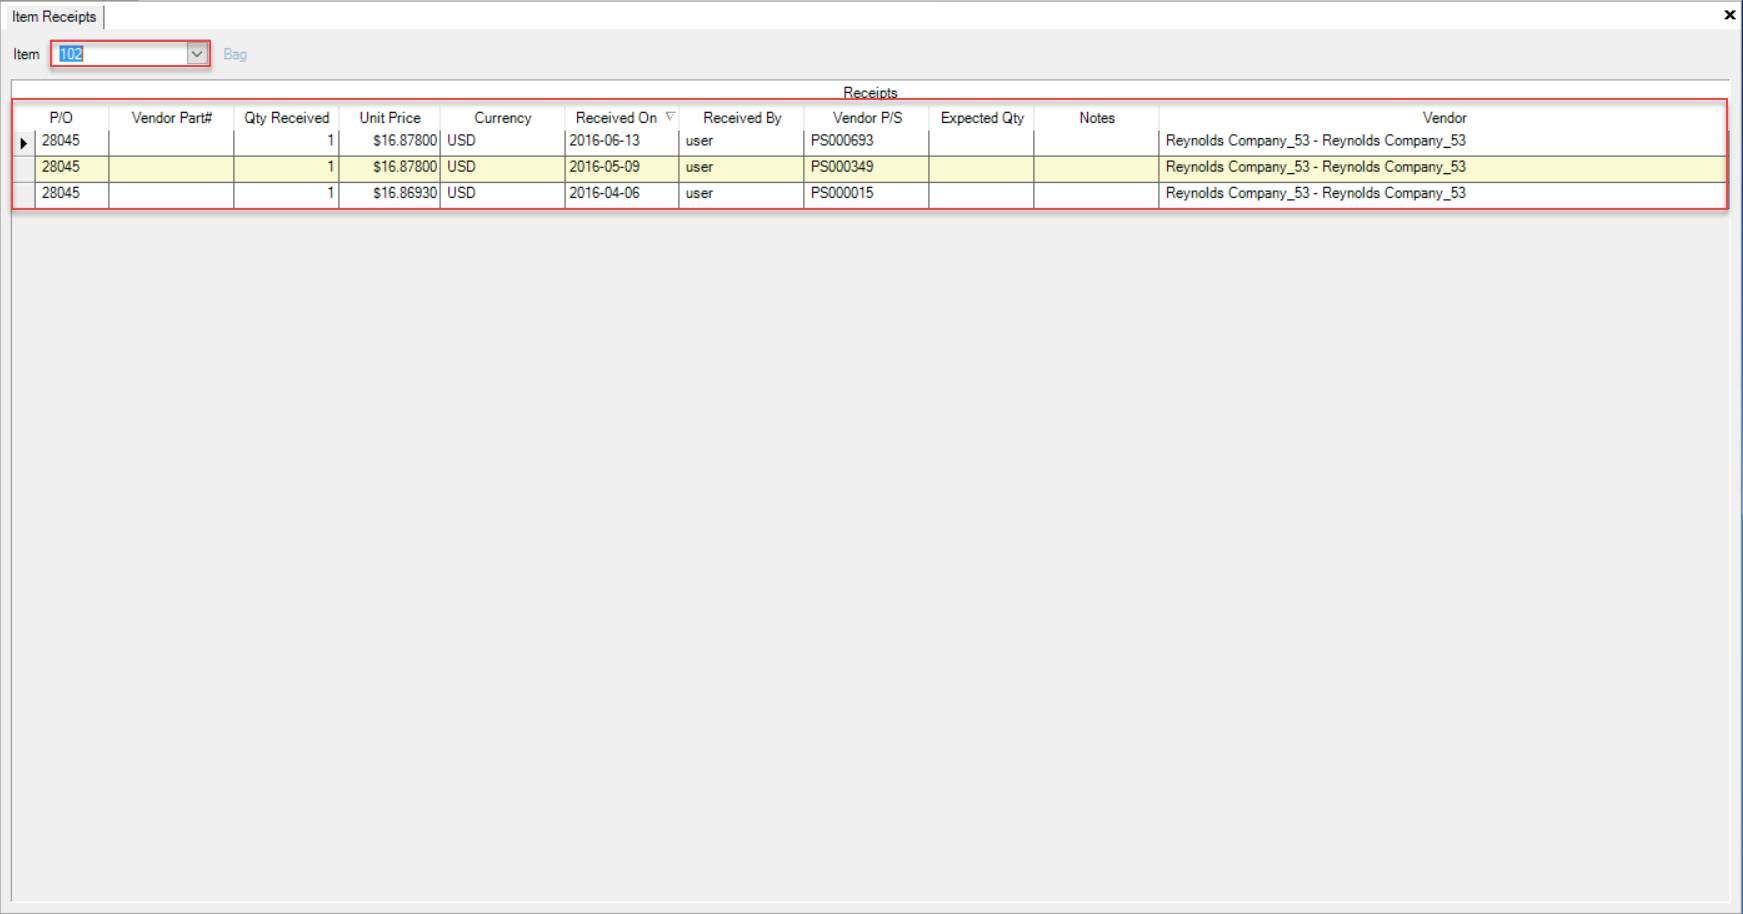
The Purchase Orders screen will be displayed.
Located the P/O # that you wish to adjust the receipt for and double-click on the appropriate row. The Purchase Order detail screen will appear.

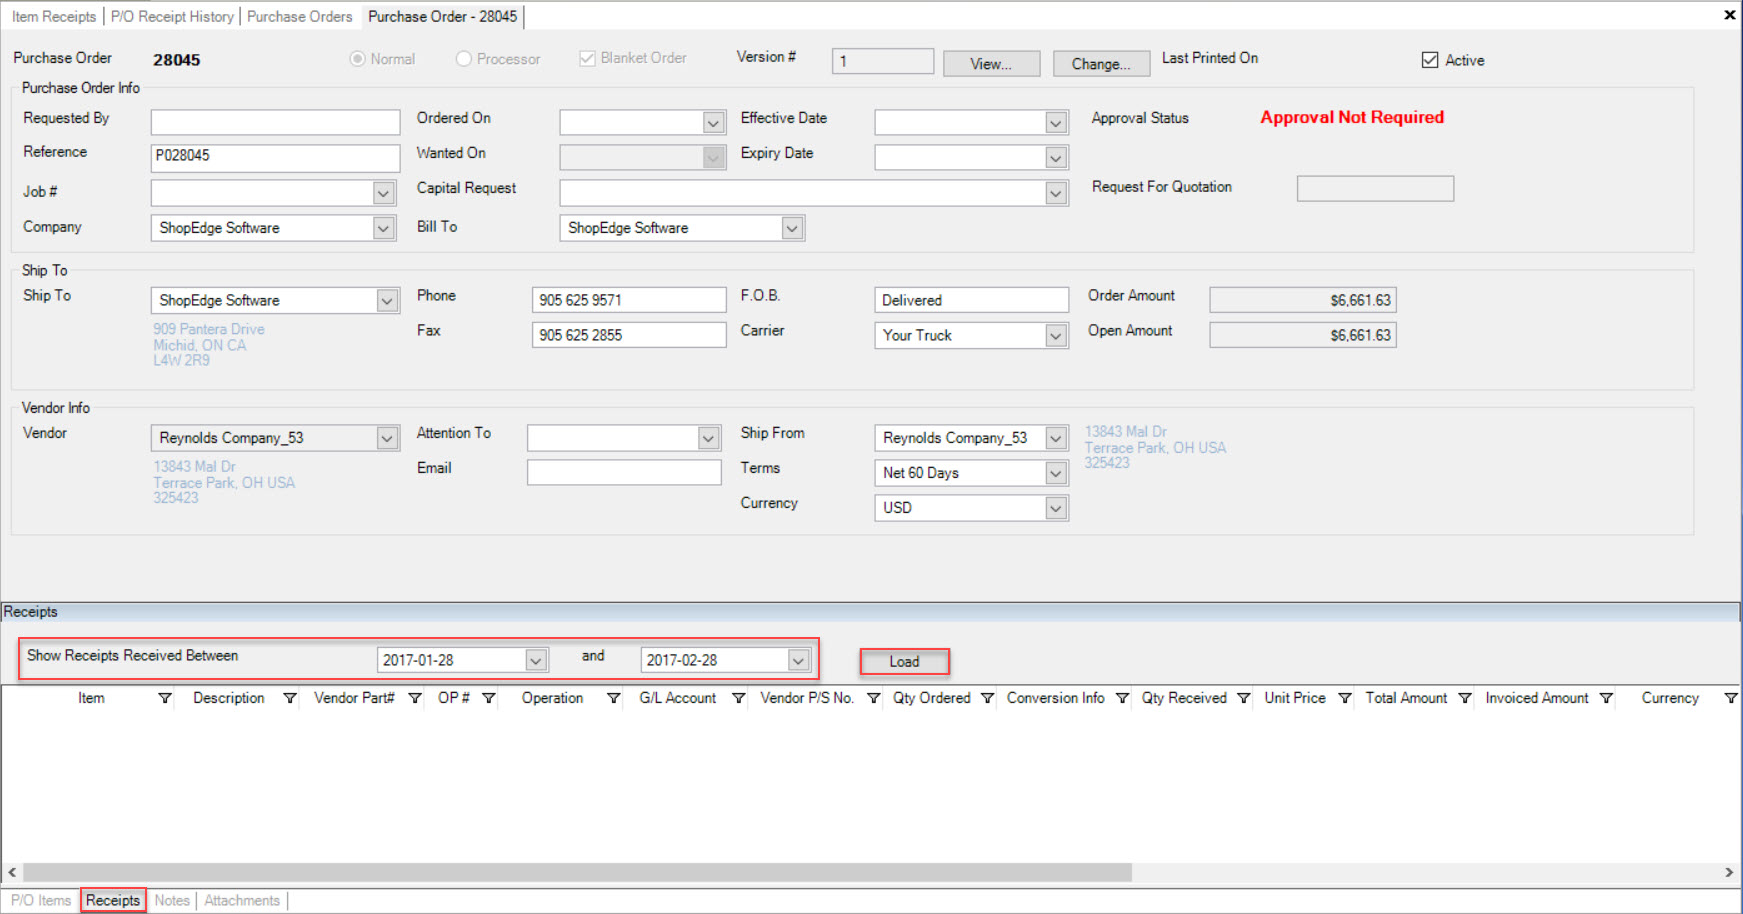
Click on the  tab located at the bottom of the screen.
Enter in a Start and End Date in order for the system to populate the P/O Receipts received between the two dates. Then, click on the  button.
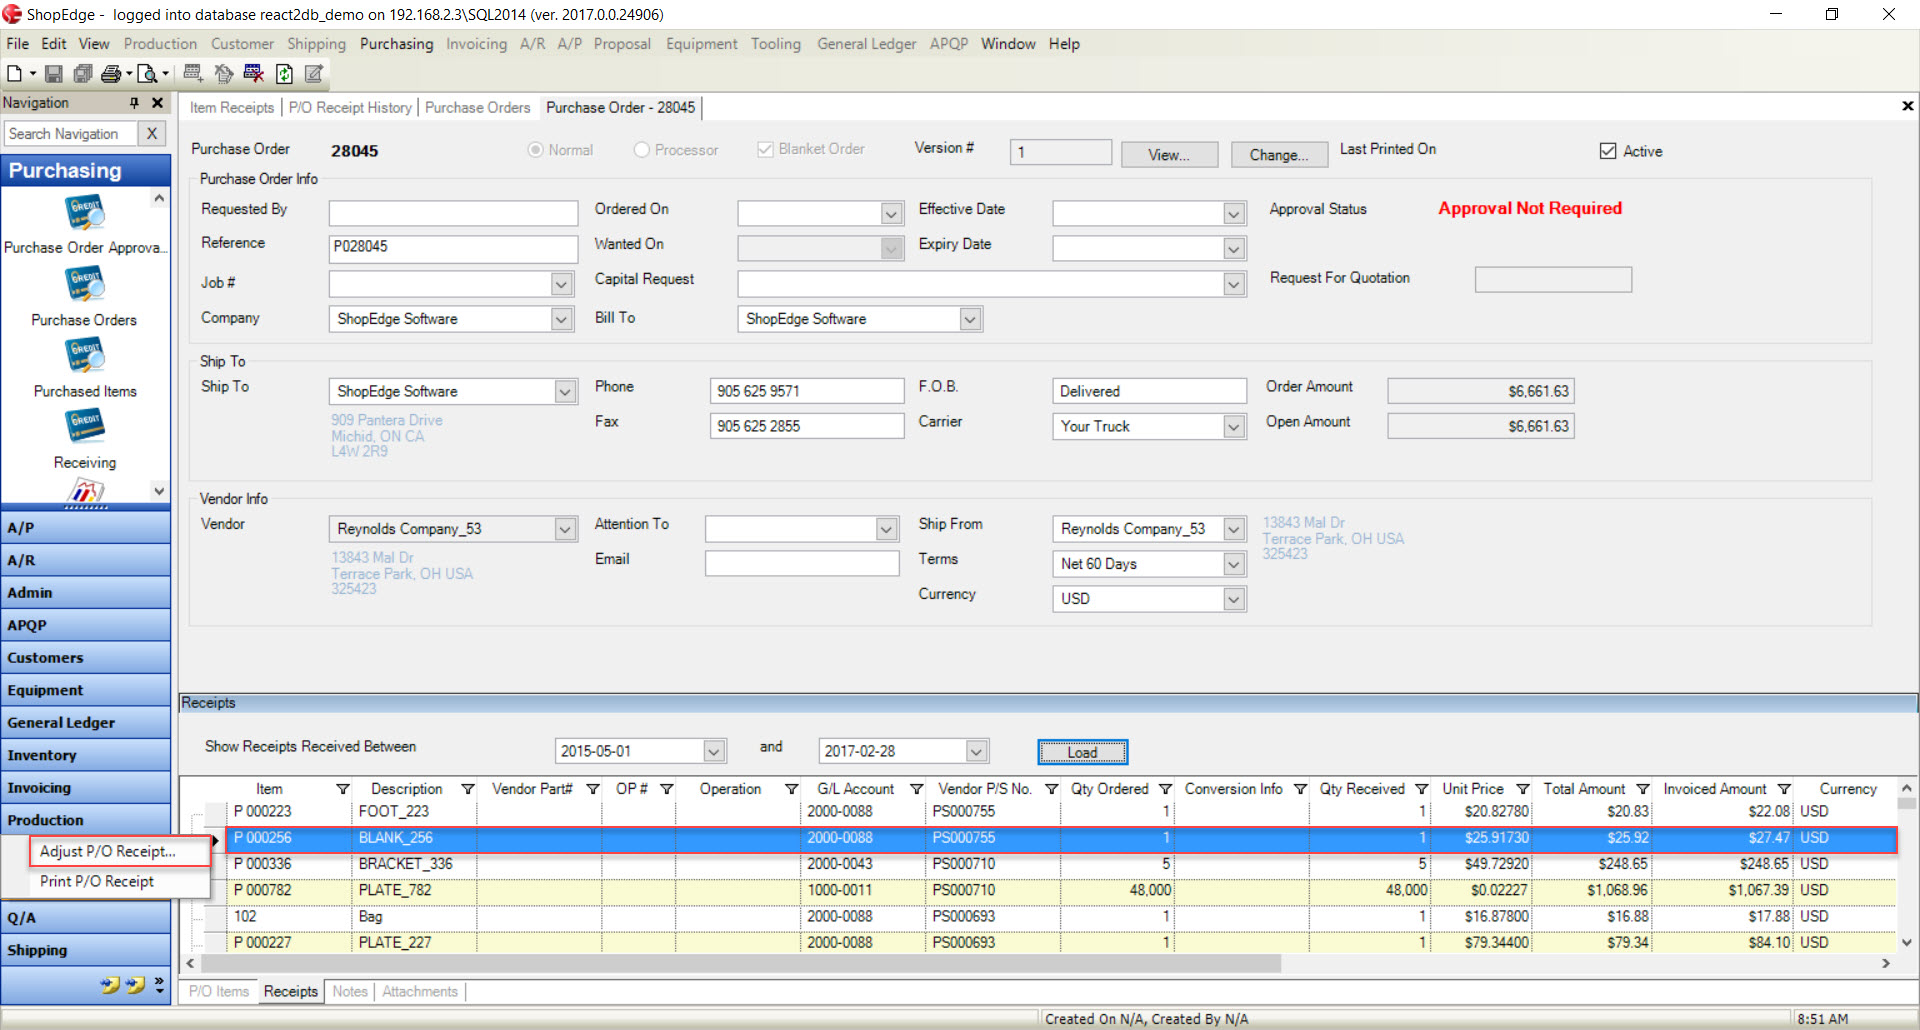
Right-click on the appropriate P/O Receipt that you wish to adjust and select Adjust P/O Receipt from the available menu.
The Adjust P/O Receipt window will appear.

Users can now make the necessary changes to adjust the P/O Receipt such as entering a correct value in the Unit Price textbox. Once the necessary adjustments have been made, click on the
 button.
Then, users must run the Month End Accrual Report again. The adjustments will be made.
Adjusting Processor P/O Receipts
To adjust a Processor P/O Receipt, navigate to the tab and click on the icon.
The Purchase Orders screen will be displayed.
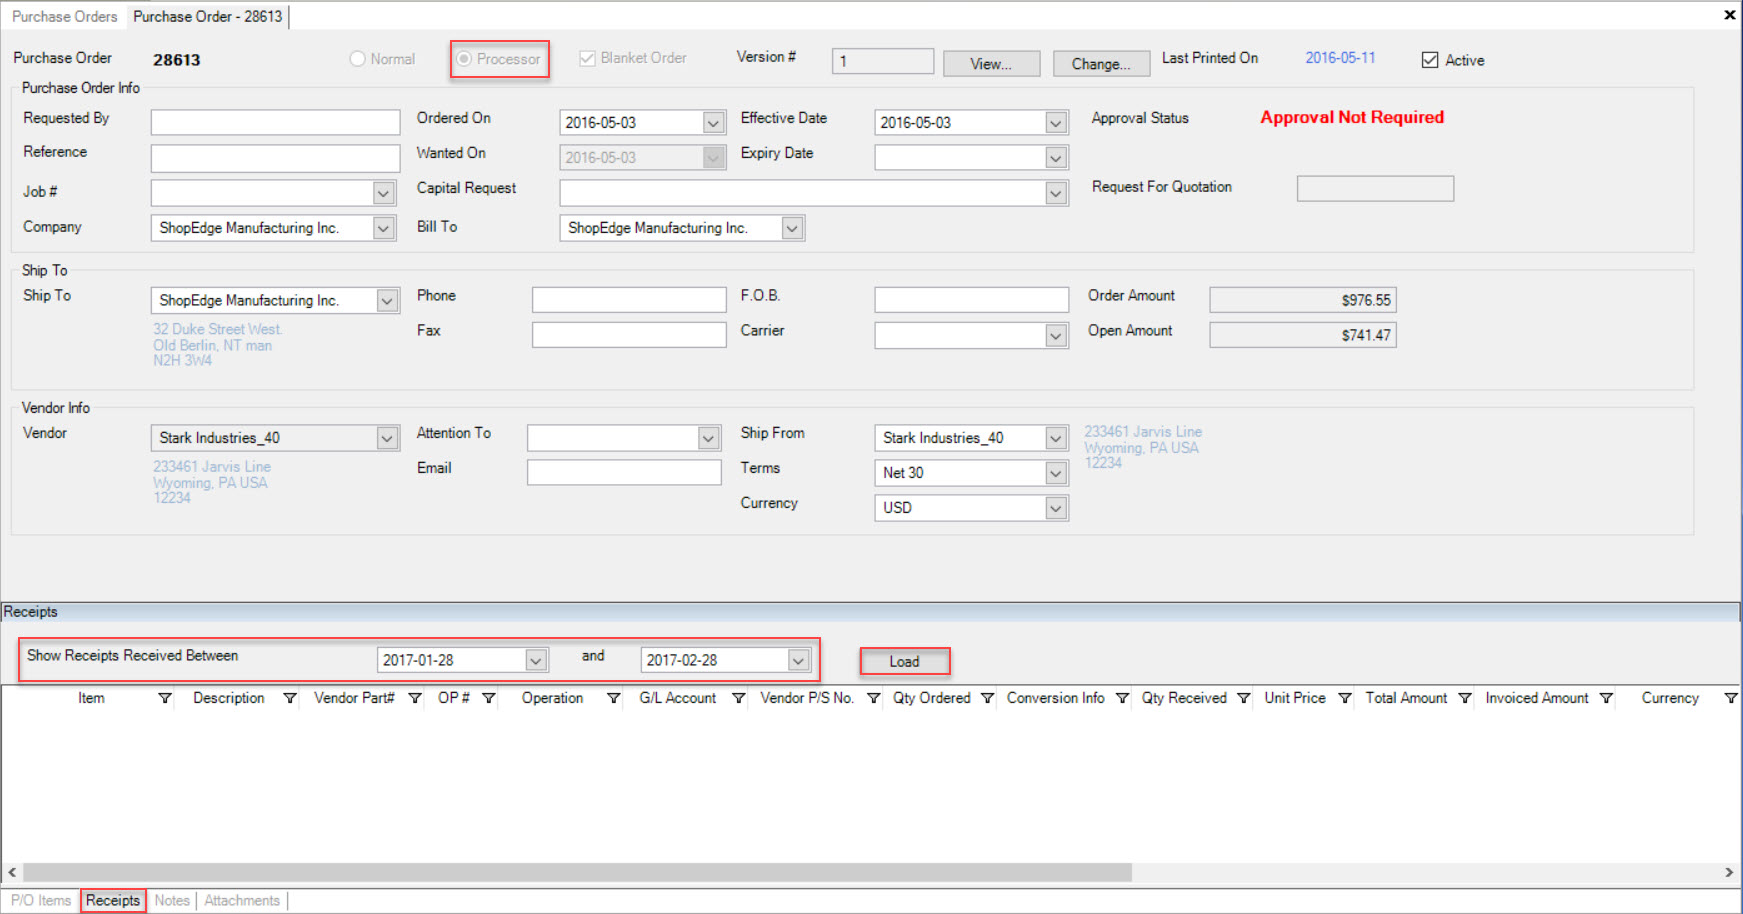
Located the P/O # that you wish to adjust the receipt for and double-click on the appropriate row. The Purchase Order detail screen will appear. You will notice that it is a Processor P/O Receipt because it will be selected at the top of the screen.

Click on the tab located at the bottom of the screen.
Enter in a Start and End Date in order for the system to populate the Processor P/O Receipts received between the two dates. Then, click on the button.
Right-click on the appropriate Processor P/O Receipt that you wish to adjust and select Adjust P/O Receipt from the available menu.

The Adjust P/O Receipt window will appear.
Users can now make the necessary changes to adjust the Processor P/O Receipt such as entering a correct value in the Unit Price textbox. Once the necessary adjustments have been made, click on the
button.
Then, users must run the Month End Accrual Report again. The adjustments will be made.
Deleting P/O Receipts
To delete a Normal/Processor P/O Receipt, navigate to the tab and click on the icon.
The Purchase Orders screen will be displayed.
Located the P/O # that you wish to delete a receipt from and double-click on the appropriate row. The Purchase Order detail screen will appear.
Click on the tab located at the bottom of the screen.
Enter in a Start and End Date in order for the system to populate the P/O Receipts received between the two dates. Then, click on the button.
Locate the P/O Receipt you wish to delete and highlight the appropriate row. Then, click on the  button located at the top of the screen.
A Confirmation window will appear confirming that you wish to delete the selected P/O Receipt. Click on the  button to confirm.
The selected P/O Receipt will be deleted. Make sure to save your changes before exiting the screen.