Import MRO Items
Import MRO Items allows users to import MRO Item information directly from a spreadsheet or file.
To view Import MRO Items, navigate to the  tab and select the
 ![]() icon.
icon.
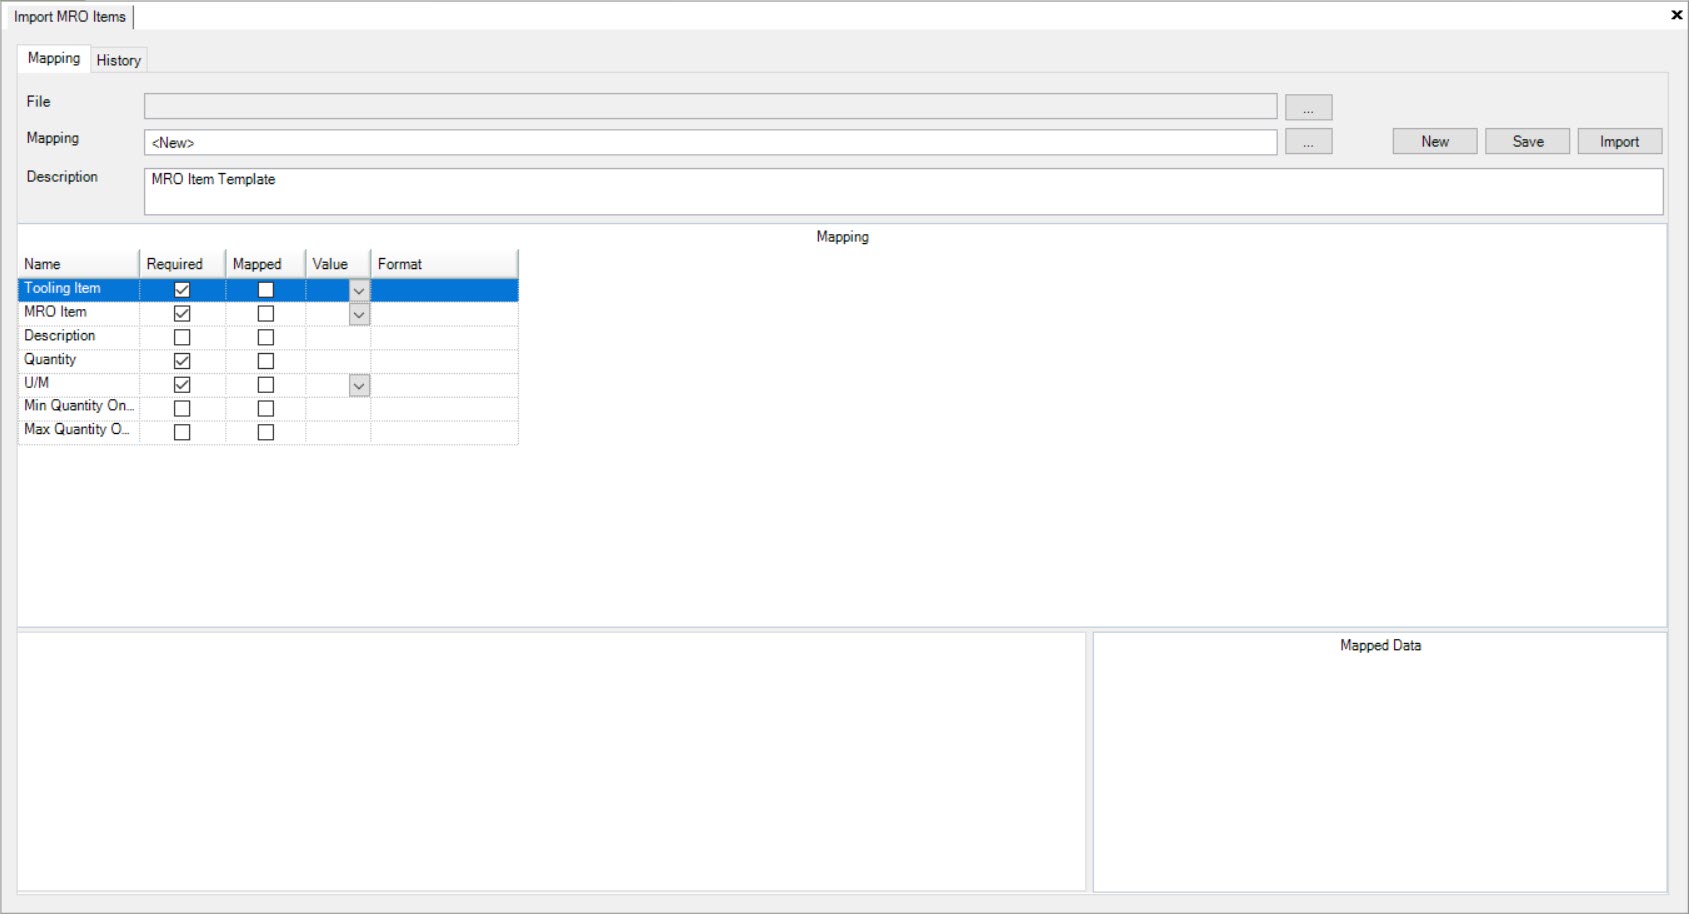
The Import MRO Items screen will be displayed.
Importing a File
To begin the import process, click the  button next to the File field. The Select File to Import window will appear.
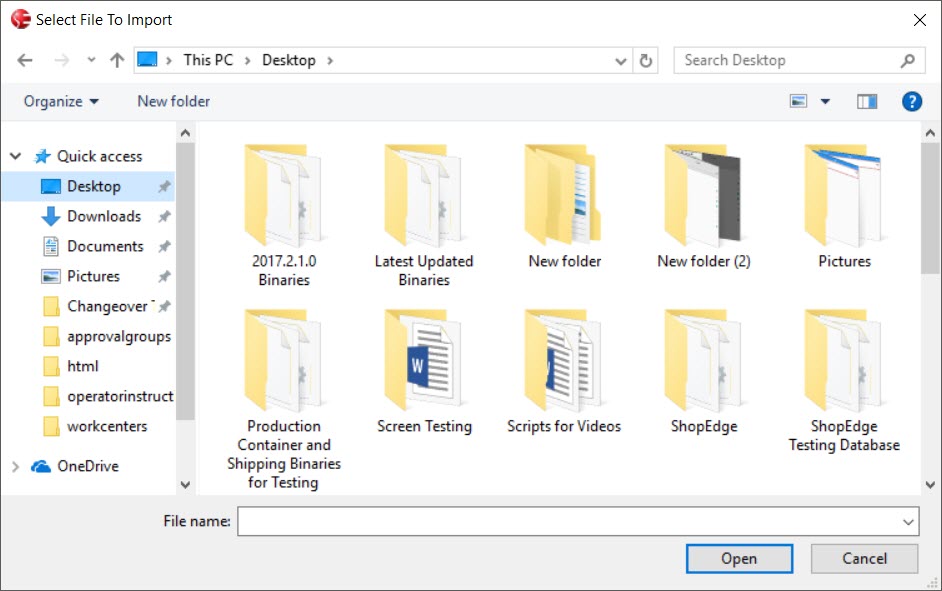
Users can then select a file to import from their computer. Once the file has been selected, click on the  button.
The selected file will be added and the contents will appear in the bottom left pane of the screen.
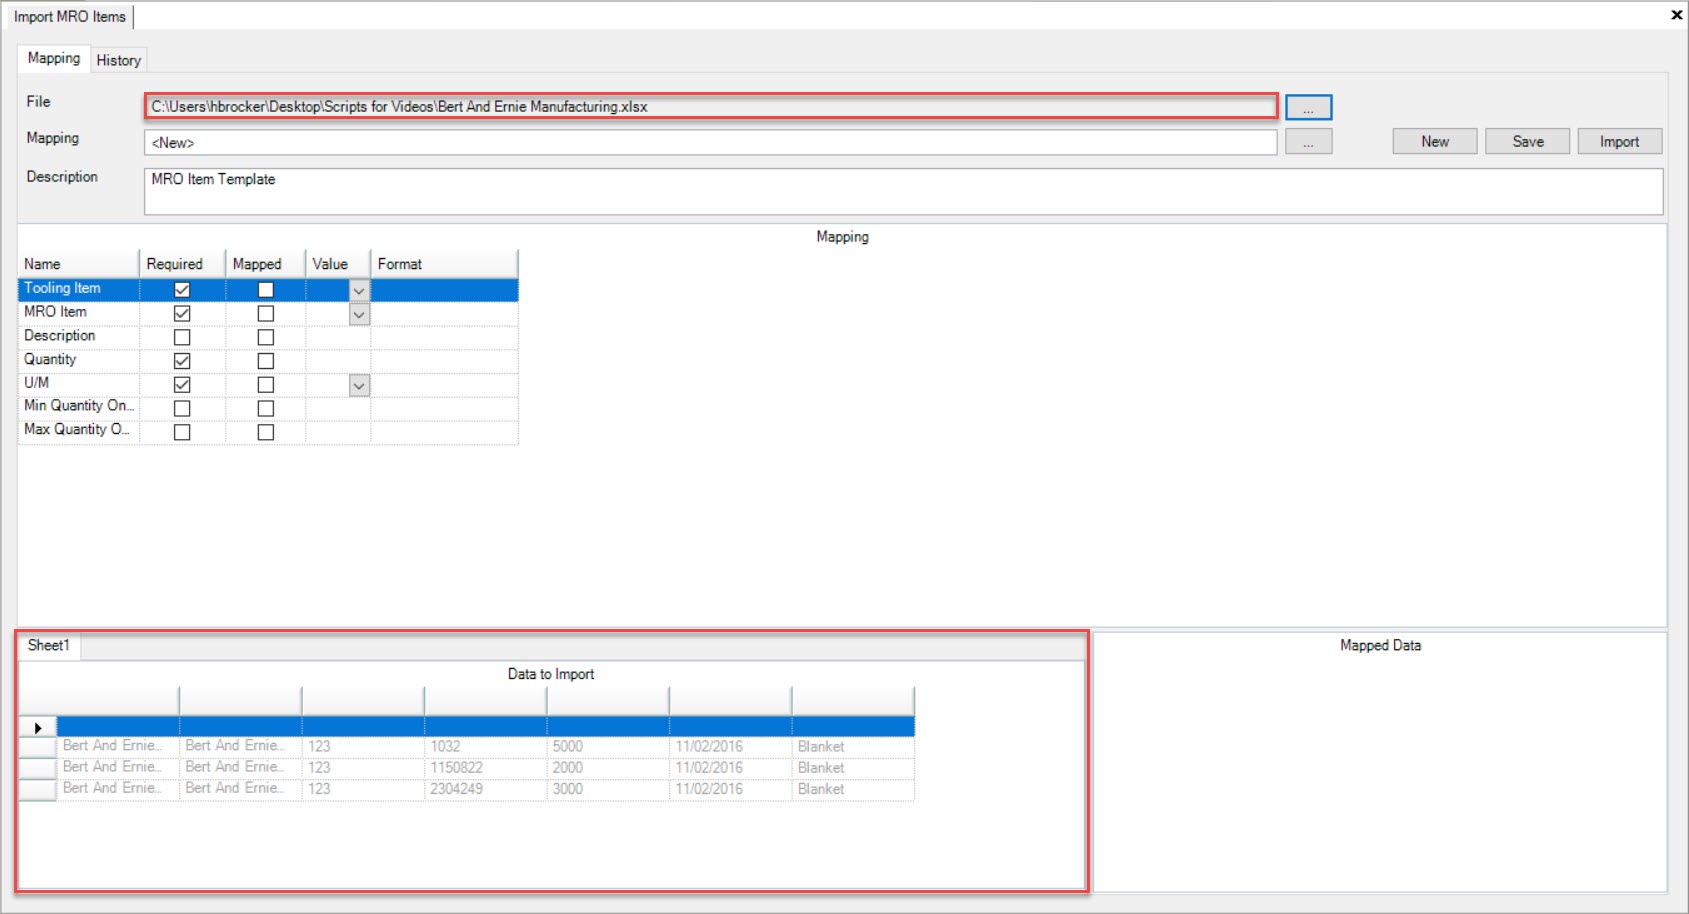
In order for the system to know where to find the MRO Item data, you need to map the columns in the file to the fields that the system needs for the import.
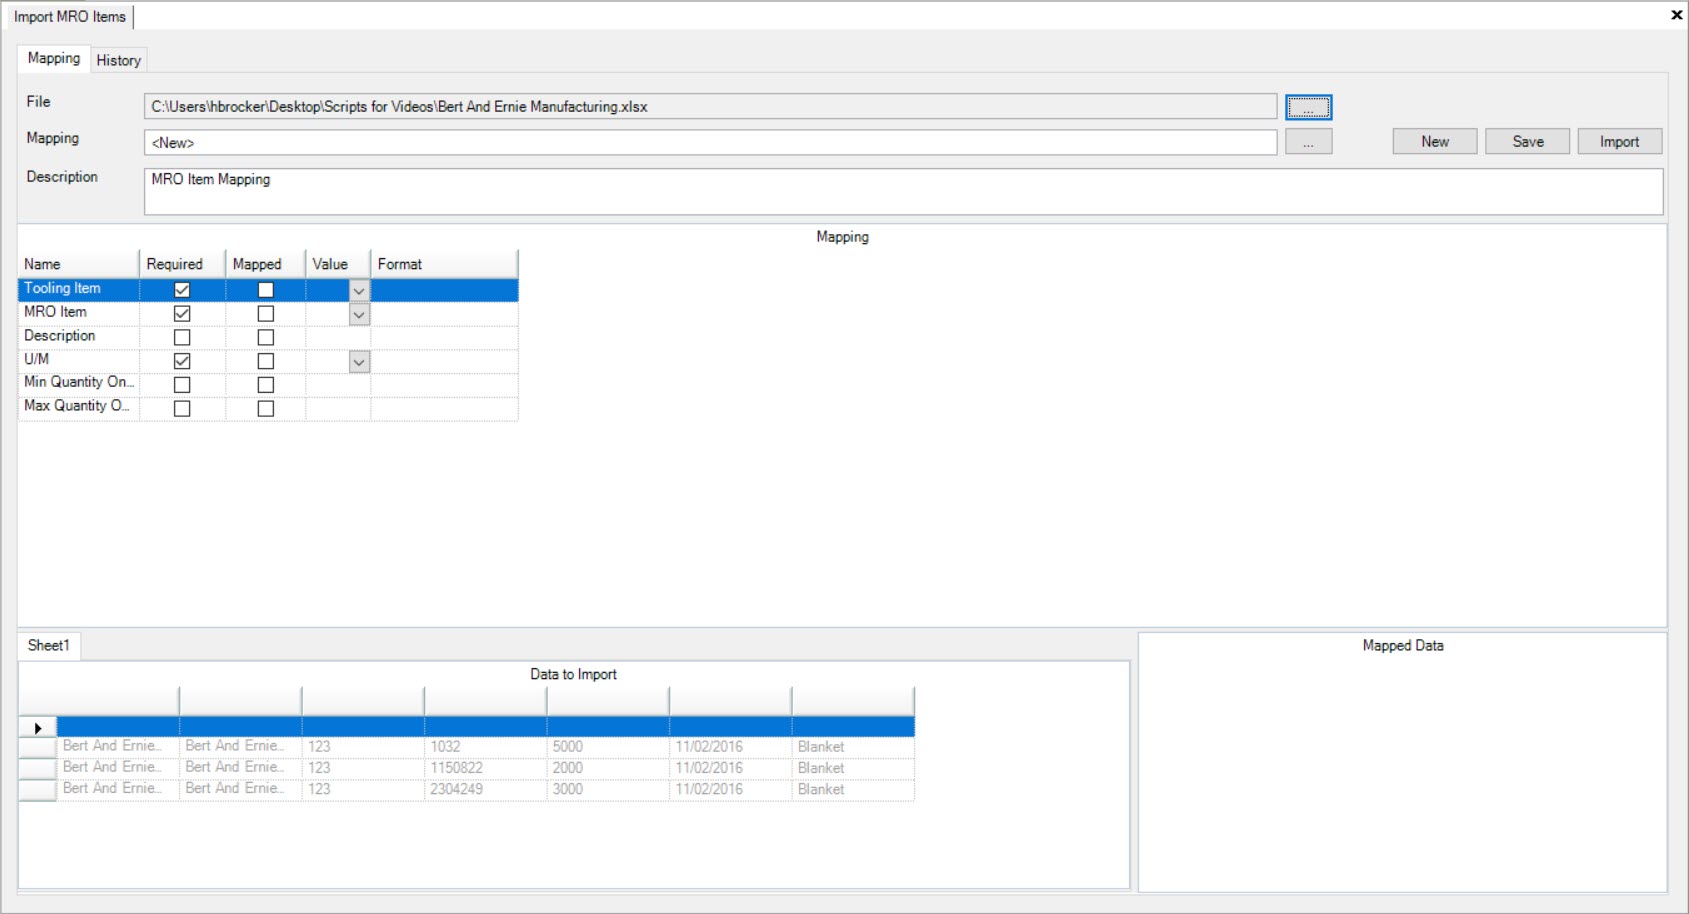
All fields with the red icon are required fields for the import, and can either be specified manually by entering a value in the Value column, or by mapping a column in the file.
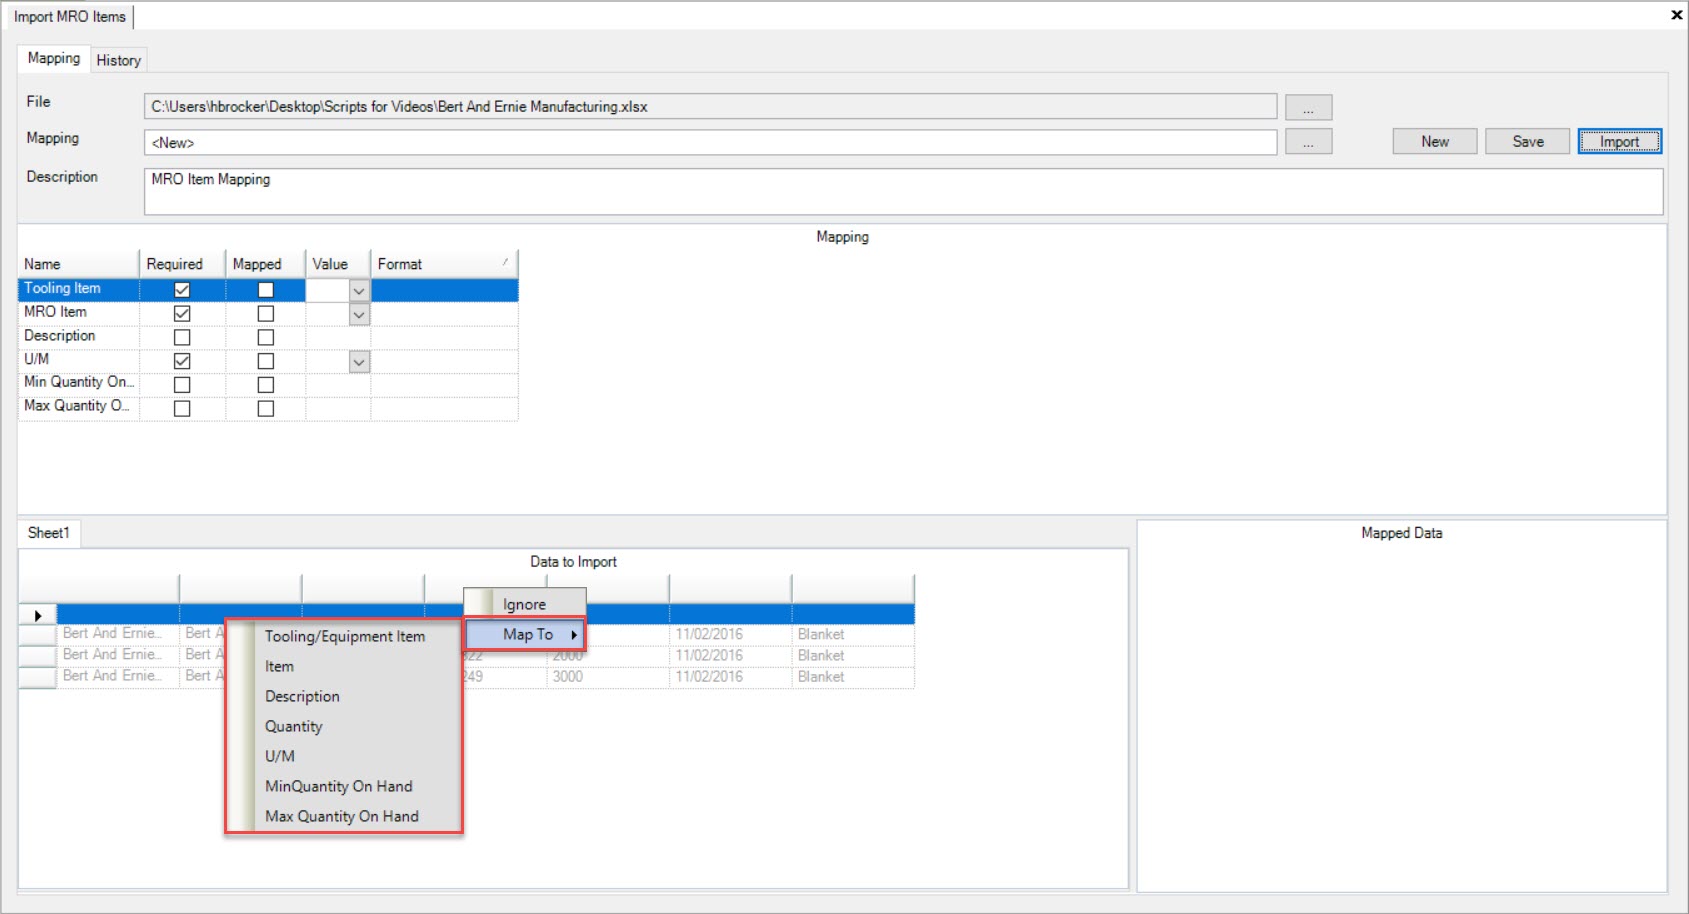
To map a column in the file, right-click the column heading, select Map To, and select the appropriate field.
Once a field is mapped, it will appear as mapped in the mapping grid, and will appear as un-grayed in the ‘data to import’ grid.
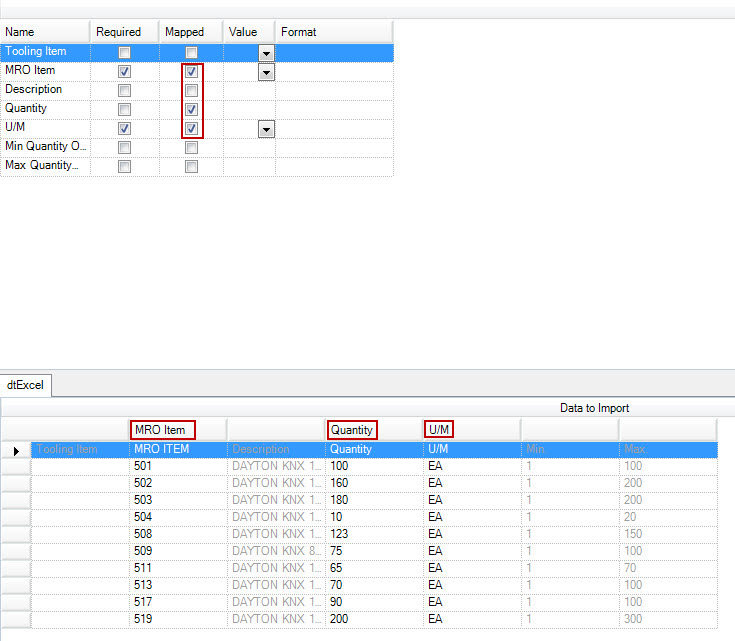
For fields that do not appear in the file, you must map them manually to a value you specify. For instance, if the Tooling Item is not in the file, you must specify it by selecting from the list of available values.
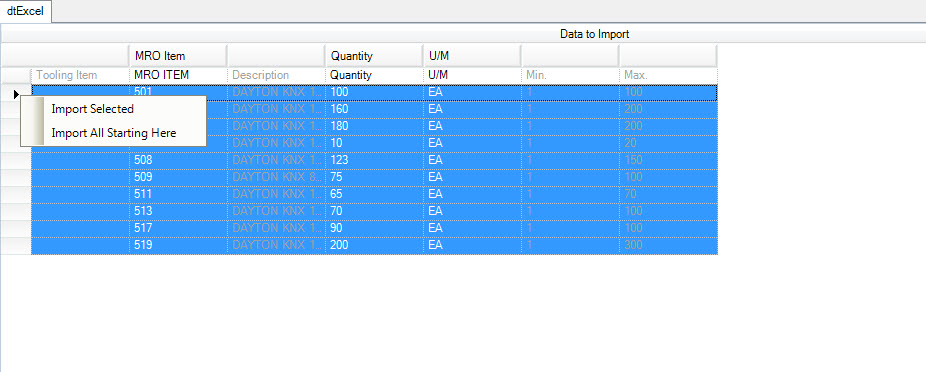
The final step in the import is to define the row selection that will be imported. This is needed since the import file may contain other information besides MRO Item data. To select the rows to import, select a range of rows in the Data to Import grid by holding the shift key and selecting the rows. Then, right-click on the selected rows to define the region by selecting the Import Selected option from the menu. Users can also define the range by selecting the first row, and choosing the Import All Starting Here option from the menu. Data will be imported beginning at the row selected, all the way to the end of the file.
As fields are mapped, a preview of the data that will be imported is displayed in the bottom right pane of the screen called Mapped Data. Any errors will be highlighted. For instance, if the part number cannot be found in the system, the row will be highlighted to indicate an error. Users can enter in fields manually by using the available textboxes and/or drop-down menus.
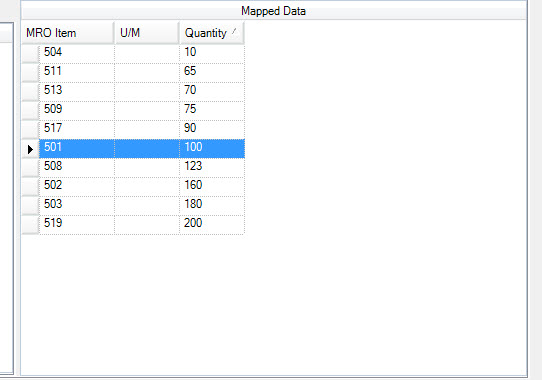
Once all fields are mapped, users can complete the import by clicking on the  button.
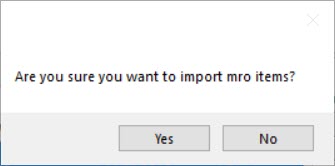
A window will appear asking for confirmation to import the selected MRO Items. To confirm, click on the  button.
A confirmation window will appear when the import is complete. Click on the  button.
Saving a Mapping
By creating a saved mapping, users can save steps when importing the same file structure repeatedly.
To save a mapping to use again, click on the  button. The mapping will be saved with the Name and Description provided.
The next time the mapping is used, ShopEdge will remember the column mapping and the field values specified. The only thing you will need to define is the selected row region.
Using an Existing Import Mapping
To use an existing mapping, click the  button next to the File field and select a file to map from the Select File to Import window.

Once a file has been selected, click on the  button.
Next, click on the  button next to the Mapping field.
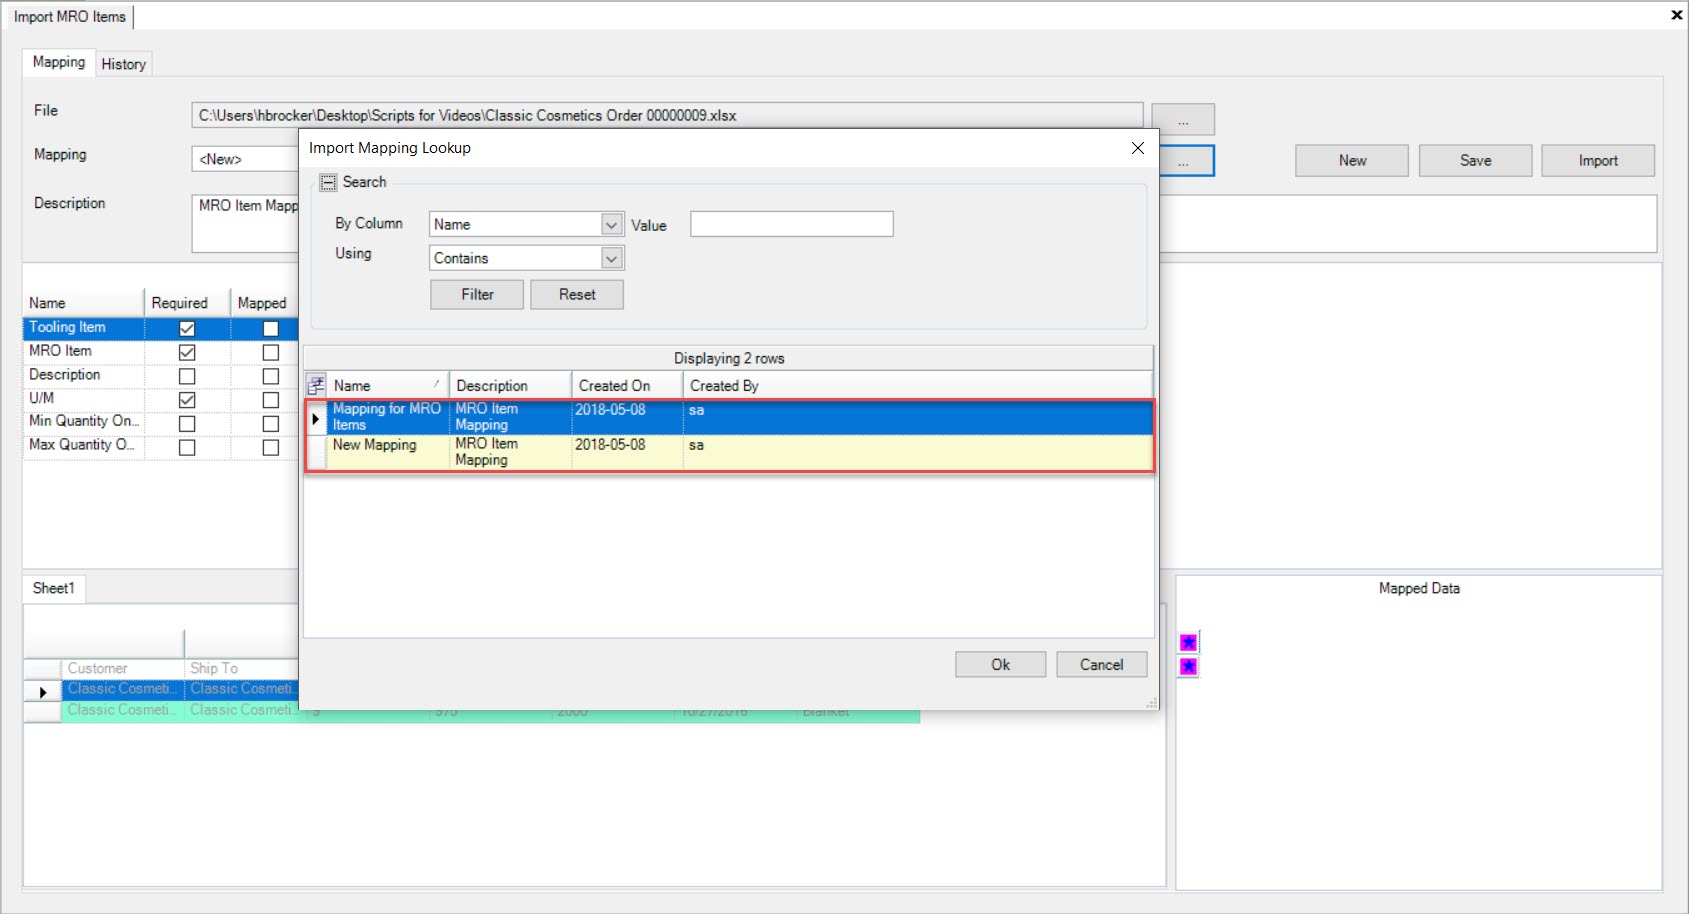
The Import Mapping Lookup window will appear with a list of available mappings. Users must select a mapping and then, click on the  button.
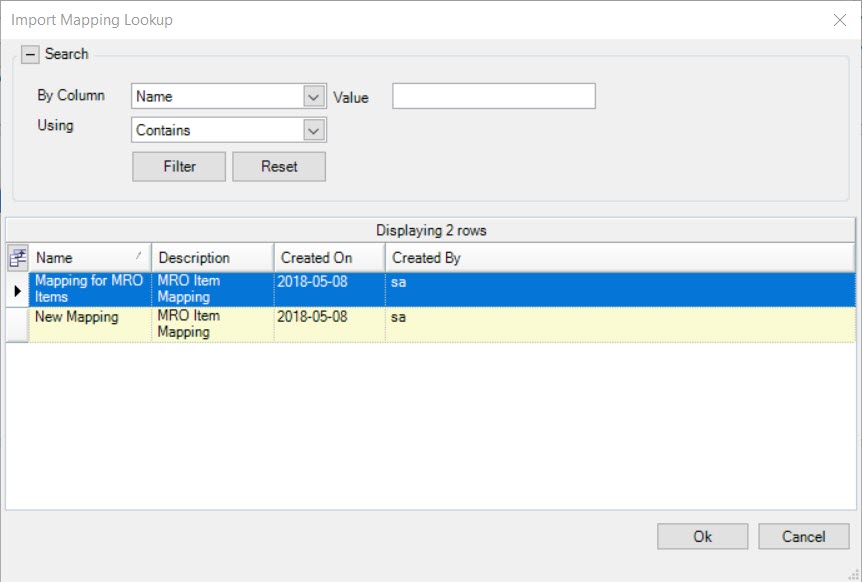
The values will be populated and the columns will be mapped. Users will then have to define the data region to import by selecting the appropriate rows in the Data to Import section, and then, right-click to define the selection.
History of MRO Item Imports
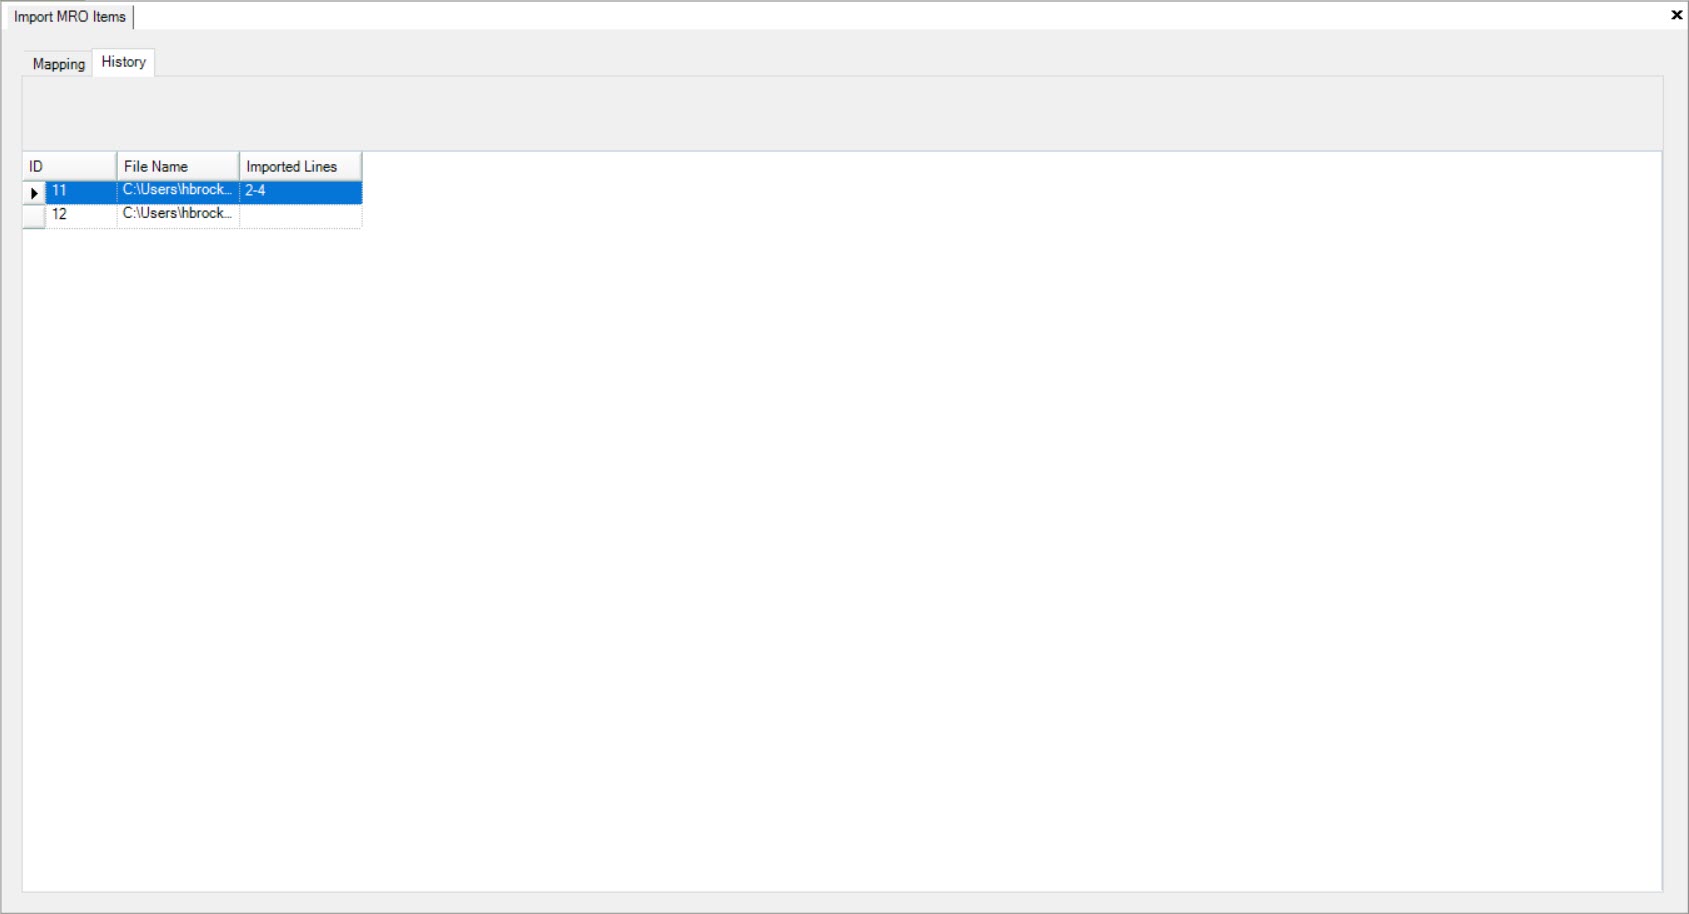
The ShopEdge system maintains a history of each import. Users can view the history by selecting the  tab.
tab.
The history will appear with details such as the ID, File Name, and the Imported Lines.
