Vendor Payment Batch Lookup
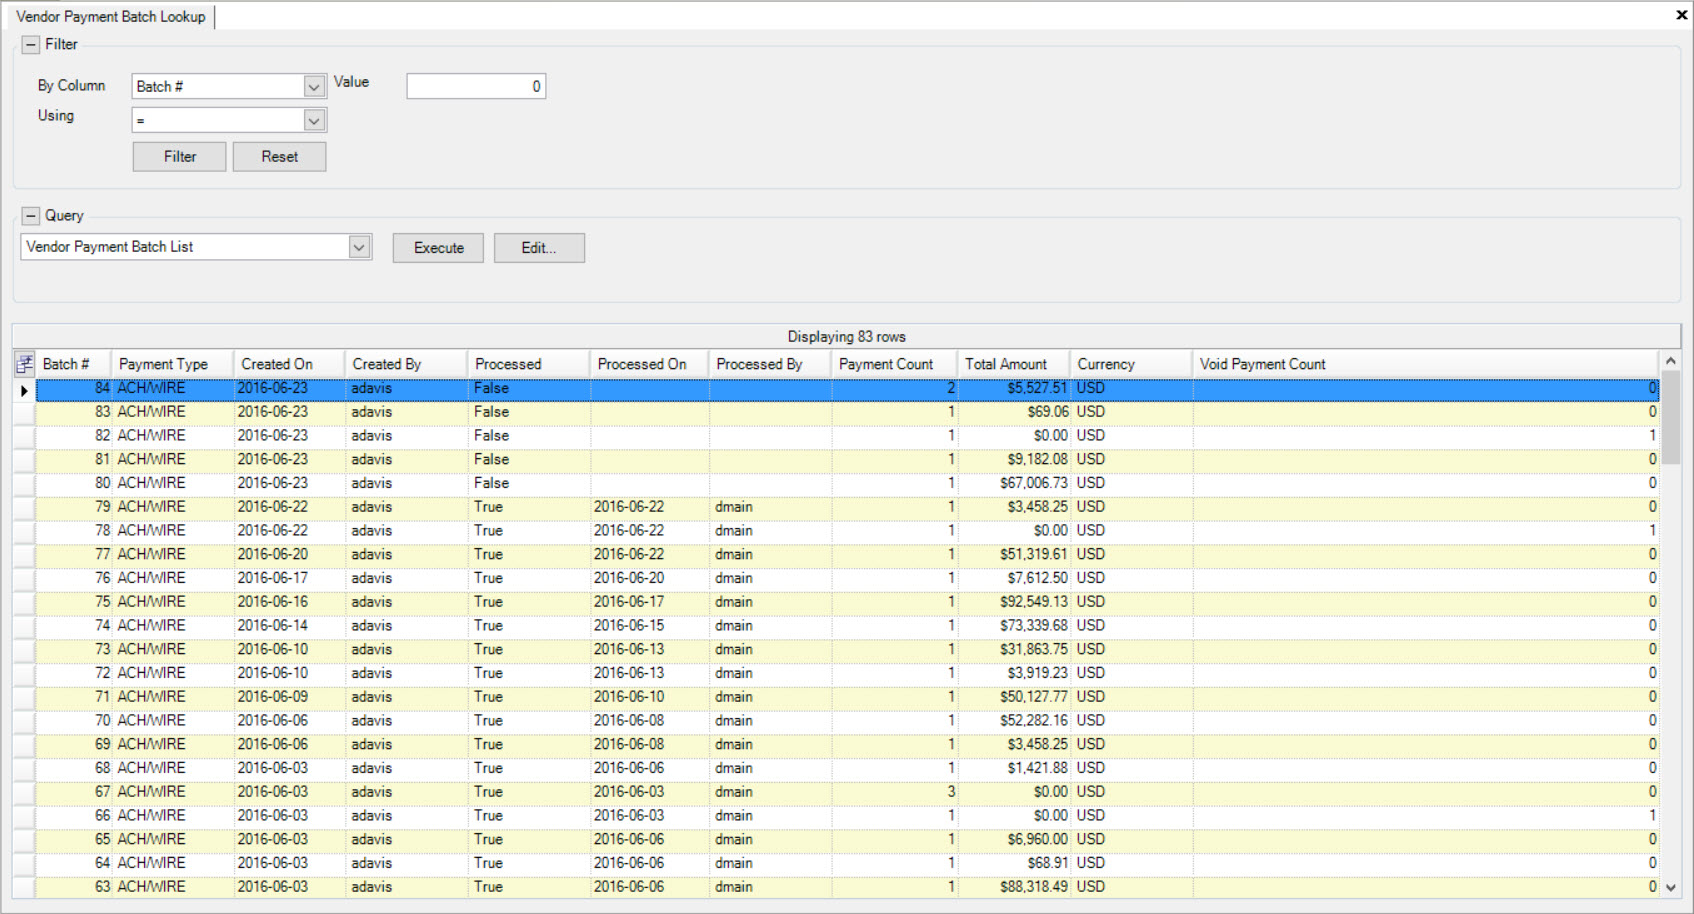
The Vendor Payment Batch Lookup tool is available so that users can locate Vendor Payments in the system to view Print Selected, to Void Selected, and to Email Selected.
Users also have the ability to view the Vendor Payment Batch #, Payment Type, the Created On date, who is was Created By, whether or not it was Processed, the Processed On date, who it was Processed By, the Payment Count, Total Amount, Current, and Void Payment Count while in the Vendor Payment Batch Lookup screen.
To view the Vendor Payment Batch Lookup screen, navigate to the  tab and click on the
 ![]() icon. The Vendor
Payment Batch Lookup screen will be displayed.
icon. The Vendor
Payment Batch Lookup screen will be displayed.
Viewing a Vendor Payment Batch #
To view a Vendor Payment Batch #, navigate to the  tab and click on the
 ![]() icon. The Vendor
Payment Batch Lookup screen will be displayed.
icon. The Vendor
Payment Batch Lookup screen will be displayed.

Locate the Vendor Payment Batch # you wish to view and double-click on the appropriate row. This will open the Vendor Payment Batch detail screen.
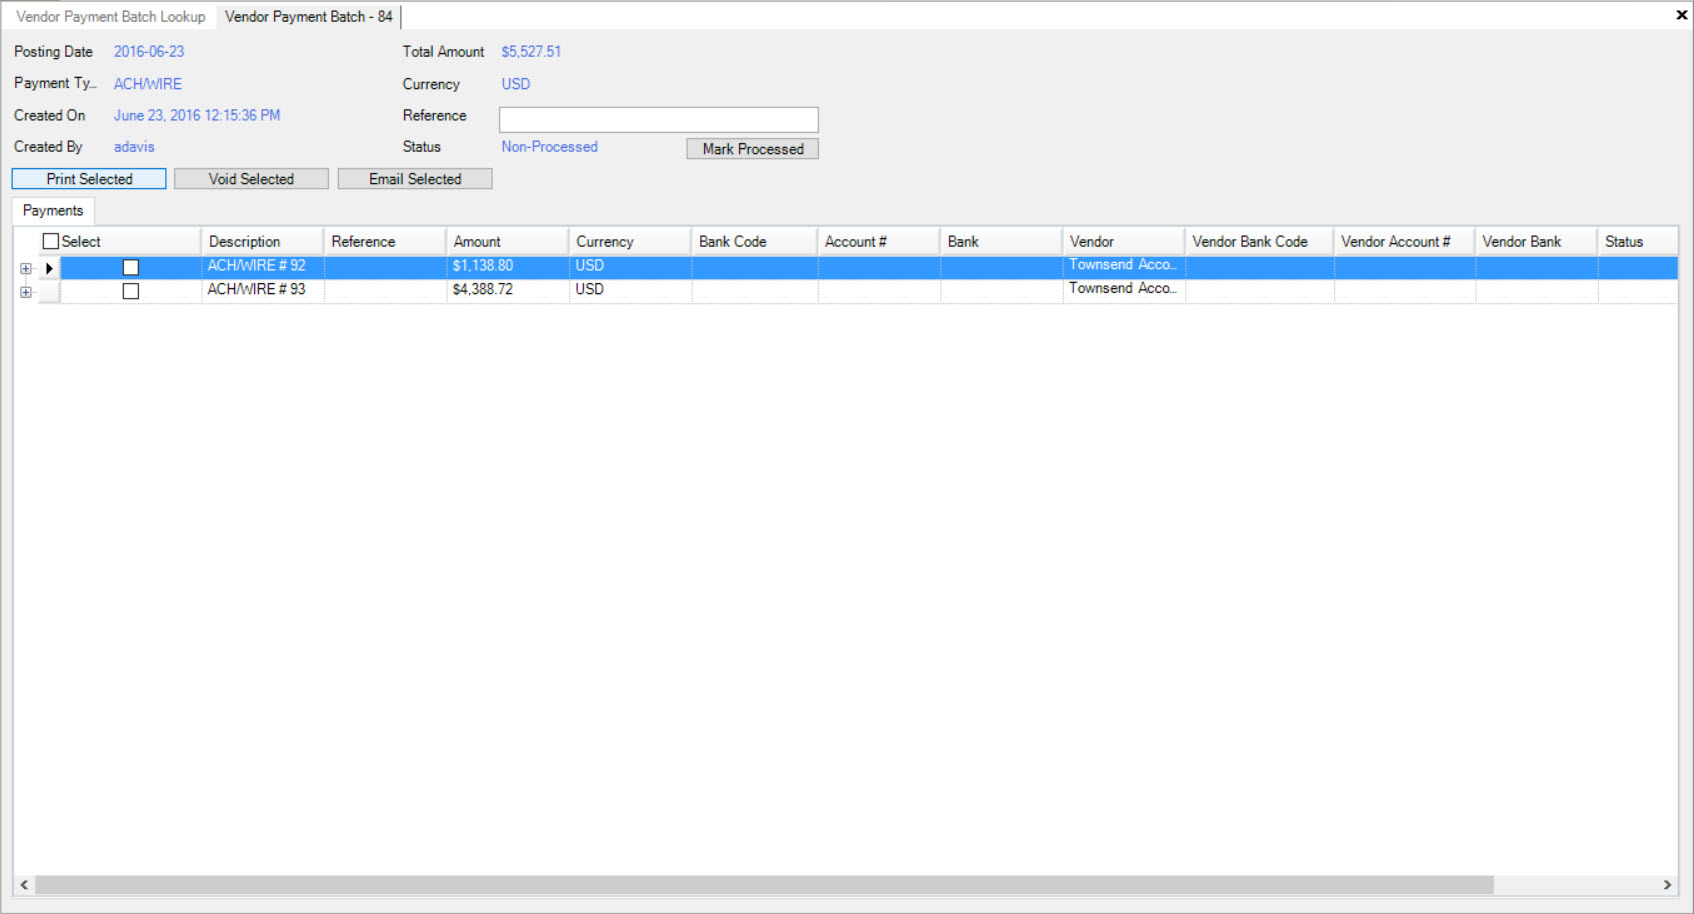
Users will be able to view the Description, Reference, Amount, Currency, Bank Code, Account #, Bank, Vendor, Vendor Bank Code, Vendor Account #, Vendor Bank, Status, and Email Address for each of the Payments for the selected Vendor Payment Batch #. You also have the ability to click on the plus sign in order to view the detail of a specific Payment.
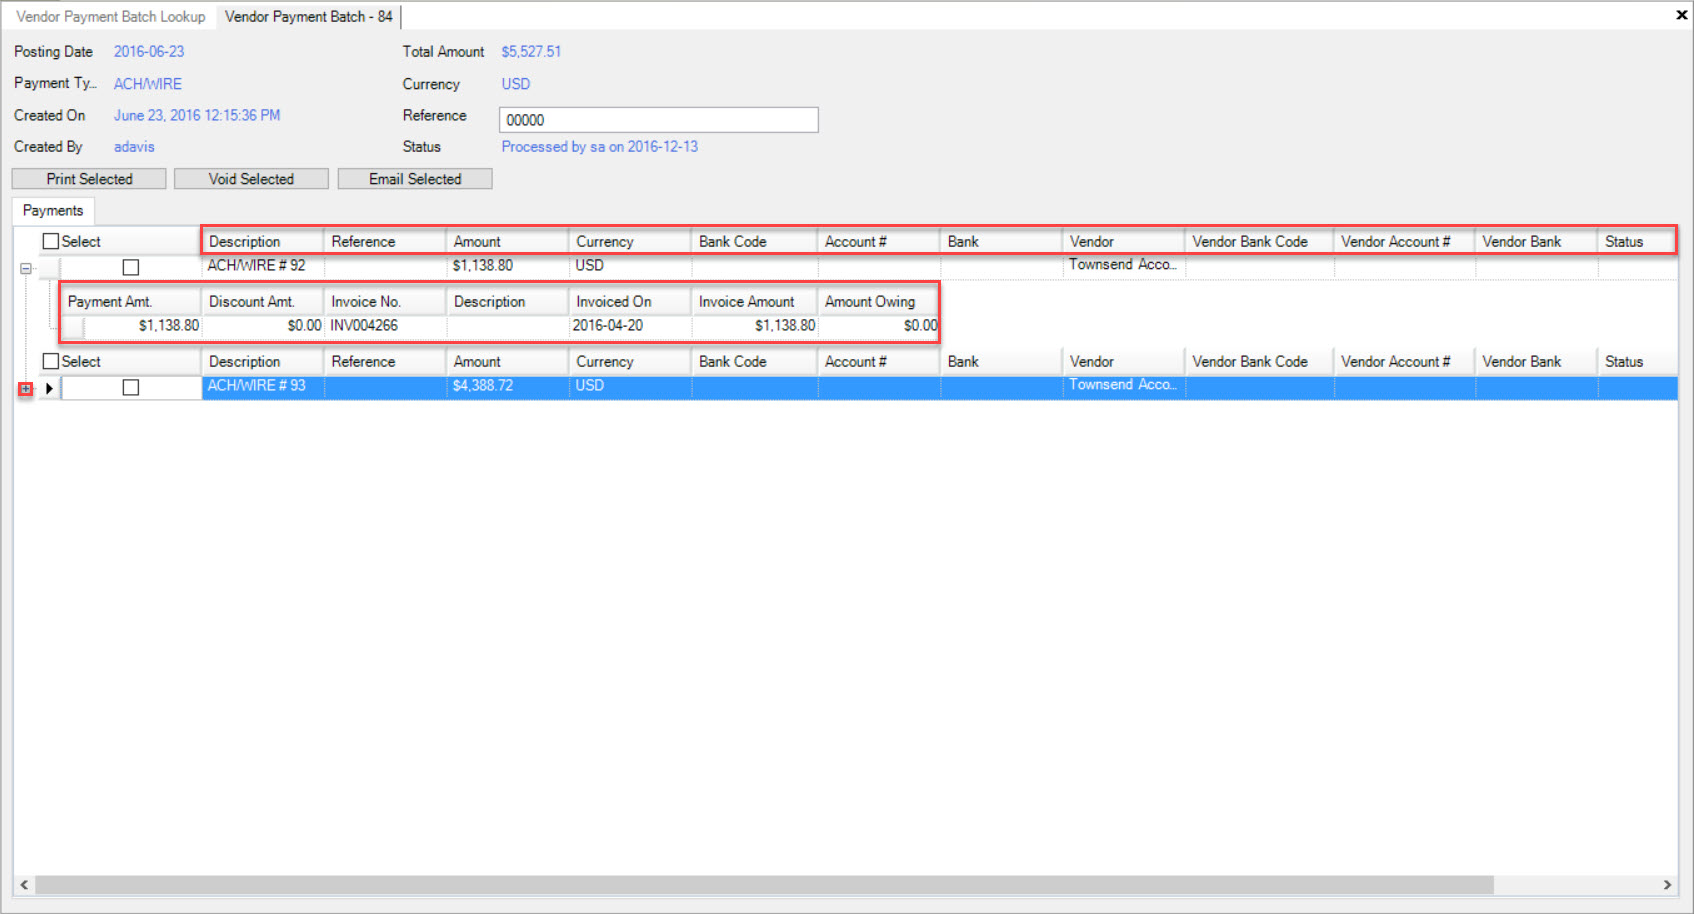
The Vendor Payment Batch # detail screen is also where users have the ability to Print Select Payments, Void Select Payments, and Email Selected Payments.
Print Selected
To print selected Vendor Payments, navigate to the  tab and click on the
 ![]() icon. The Vendor
Payment Batch Lookup screen will be displayed.
icon. The Vendor
Payment Batch Lookup screen will be displayed.

Locate the Vendor Payment Batch # you wish to view and double-click on the appropriate row. This will open the Vendor Payment Batch detail screen.

Select the Payments you wish to print by checking the box under the Select column.
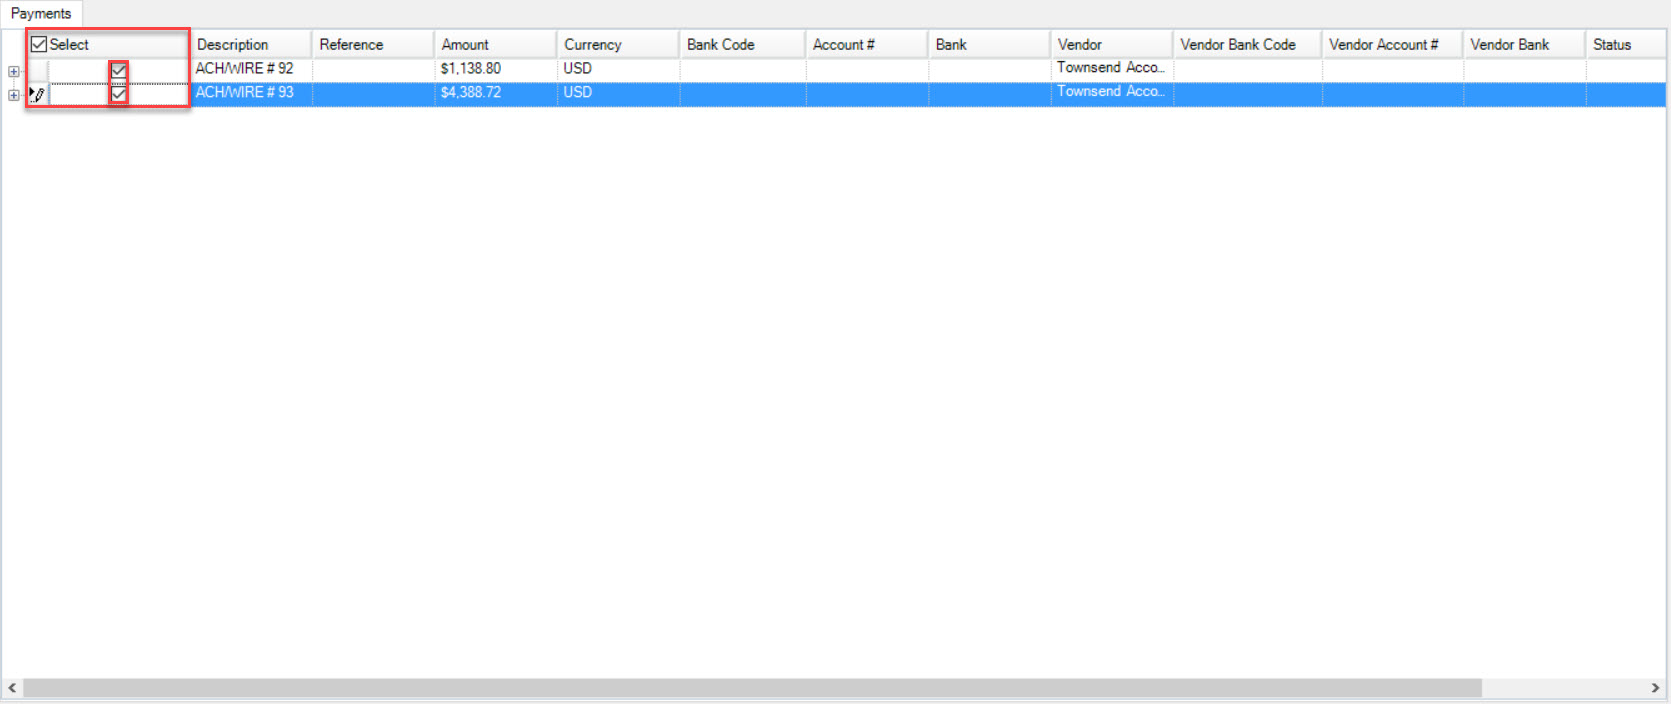
Click on the  button and the Print window will appear.
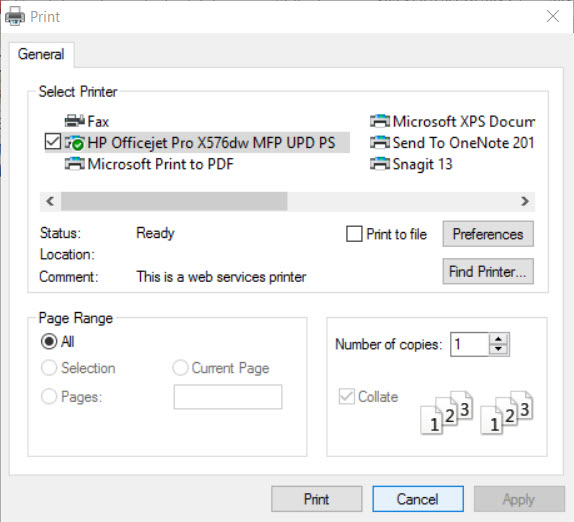
Make sure to select the correct printer and print preferences and then click on the  button.
The selected Payments will be printed.
Void Selected
To void selected Payments, navigate to the  tab and click on the
 ![]() icon. The Vendor
Payment Batch Lookup screen will be displayed.
icon. The Vendor
Payment Batch Lookup screen will be displayed.

Locate the Vendor Payment Batch # you wish to view and double-click on the appropriate row. This will open the Vendor Payment Batch detail screen.

Select the Payments you wish to void by checking the box under the Select column.

Click on the  button and the Posting Date window will appear.
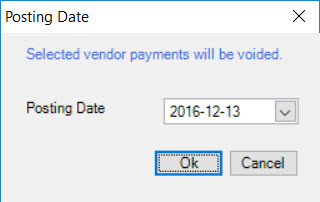
Make sure that the Posting Date is correct. Then, click on the  button.
Note
The Posting Date will automatically default to the current date but users still have the ability to change it if necessary.
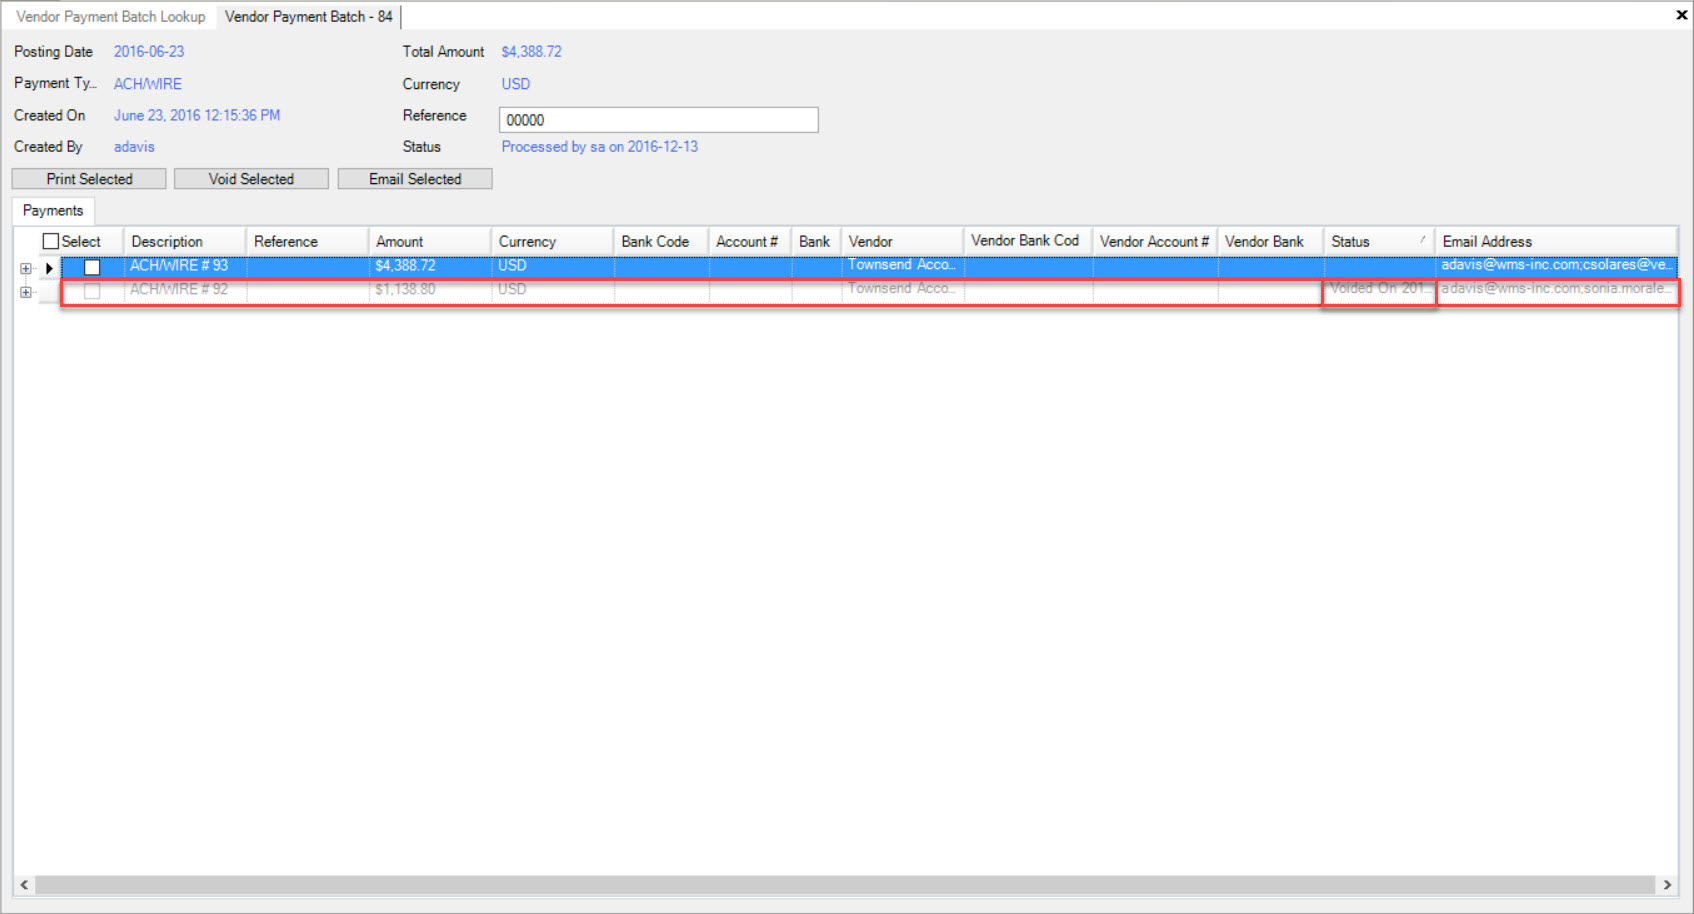
Once you click on the  button, the selected Payment will now be greyed out and the Status will change to Voided On with the date that you entered
in for the Posting Date.
Email Selected
To Email selected Payments, navigate to the  tab and click on the
 ![]() icon. The Vendor
Payment Batch Lookup screen will be displayed.
icon. The Vendor
Payment Batch Lookup screen will be displayed.

Locate the Vendor Payment Batch # you wish to view and double-click on the appropriate row. This will open the Vendor Payment Batch detail screen.

Select the Payments you wish to Email by checking the box under the Select column.

Click on the  button. The selected Payments will be Emailed to the Email Address attached to the Vendor.
Processing a Vendor Payment Batch
Users have the option to indicate that a Vendor Payment Batch has been processed.
To do so, navigate to the  tab and click on the
 ![]() icon. The Vendor Payment Batch Lookup screen will be displayed.
icon. The Vendor Payment Batch Lookup screen will be displayed.

Locate the Vendor Payment Batch # you wish to view and double-click on the appropriate row. This will open the Vendor Payment Batch detail screen.

There is a Status that will show as Non-Processed until the Mark Processed button has been clicked on. Once it has been clicked on, the system will show that the batch has been processed by the user on the date it was processed.
It will also show True in the Processed column on the Vendor Payment Batch Lookup screen.