Creating and Maintaining Customers
The Customers module includes functions for creating or maintaining existing customers, along with Ship-To locations, Plants, and Contacts.
Creating a New Customer
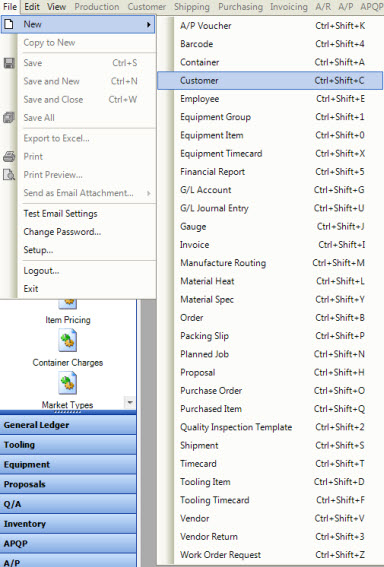
There are three different ways to create a new Customer. The first way is to press the Ctrl + Shift + C keys. The second way is to navigate to File > New > Customer
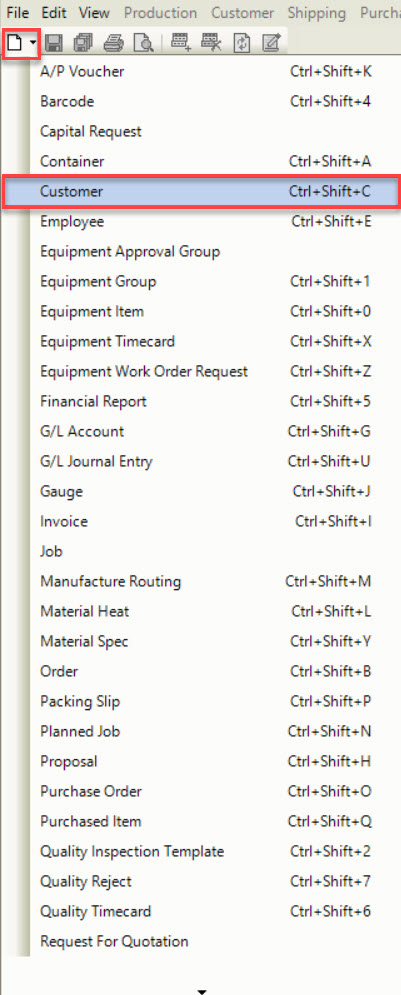
The last way is the click on the  button, and then on the Customer option.
All of these three options will open a New Customer screen.
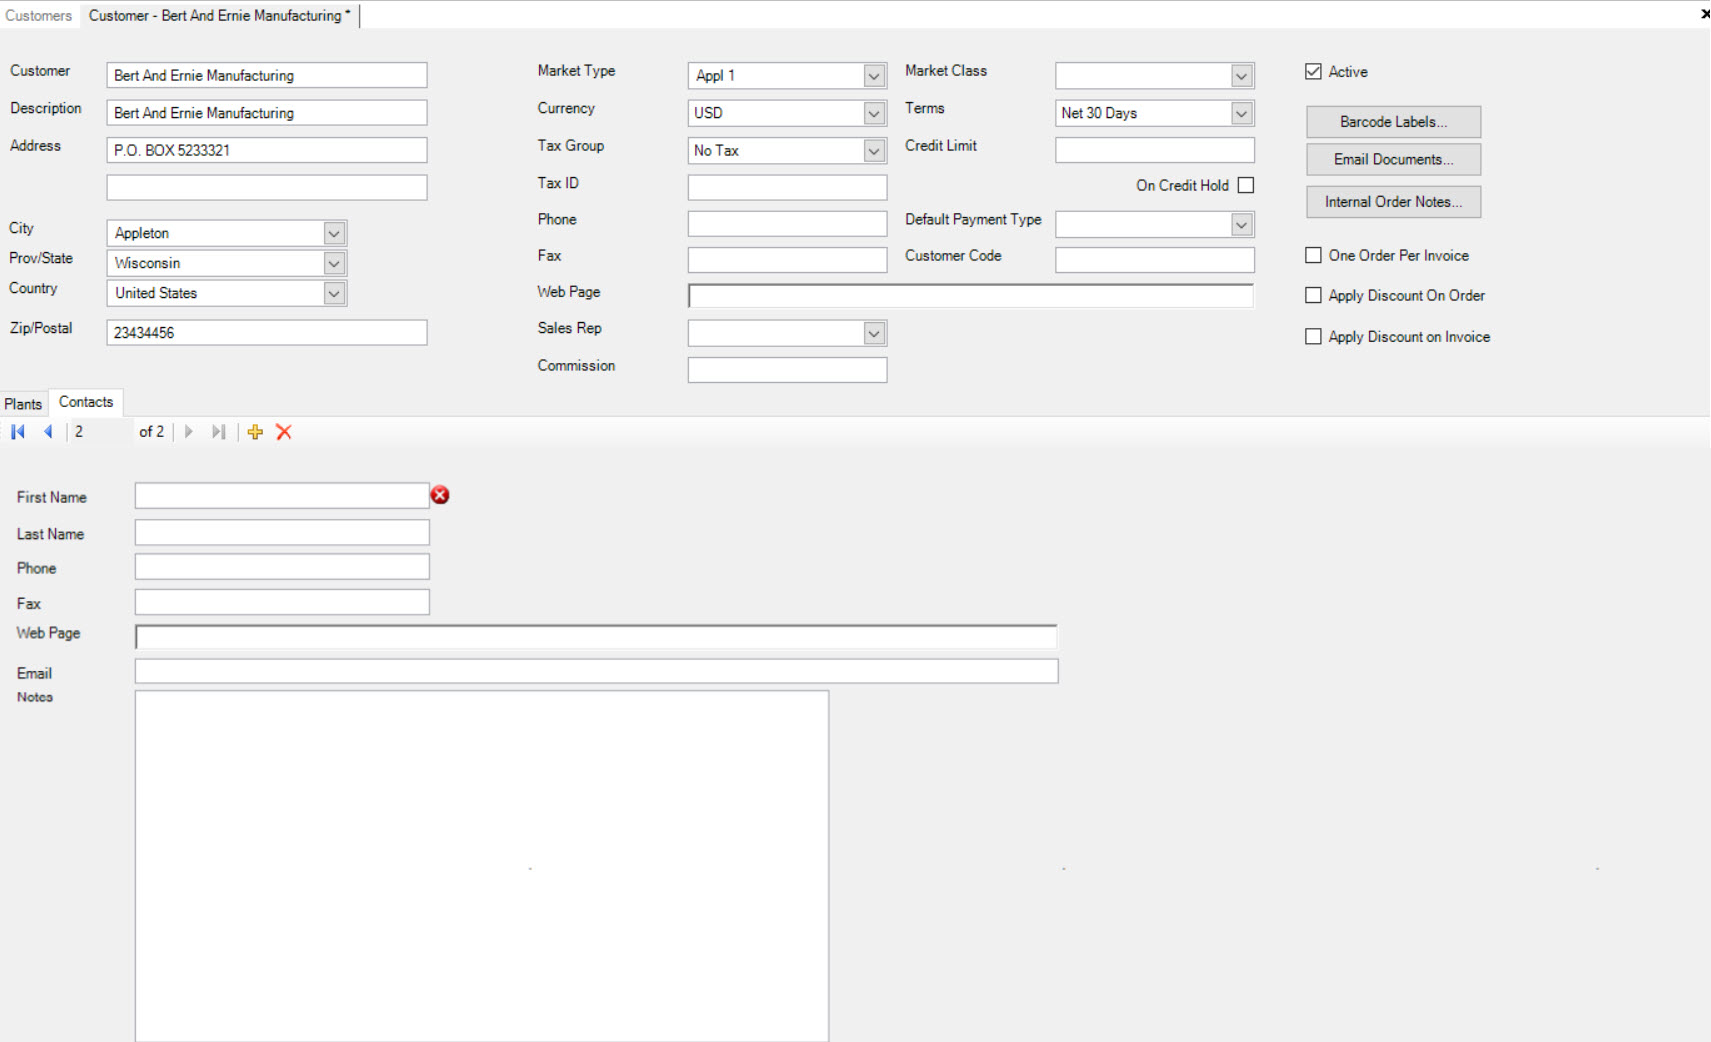
A User must fill in the Customer Name, City, Province, Country, Currency, Tax Group and Terms before a new Customer can be saved in the system. The user will be prompted for this information when they perform a save. Once the proper fields have been entered the user can find this customer in the Customer Lookup screen.
One Order per Invoice
For new and existing Customers, you have the ability to force the system to only allow one order per invoice.
To do so, check the One Order per Invoice checkbox:
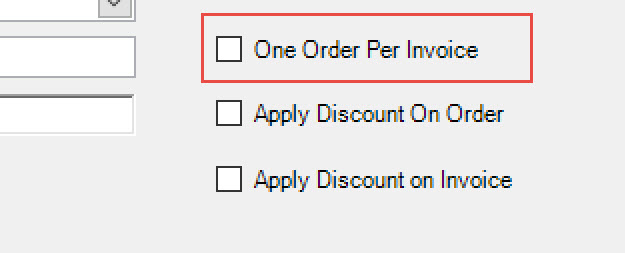
This will only allow a single order to be added to an invoice for this Customer. If you are invoicing a non-invoiced packing slip that has multiple orders on it, then one invoice will be generated for each order on the packing slip.
Make sure to save before exiting.
Apply Discount on Order
For new and existing Customers, you have the ability to force the system to apply a discount on the order.
To do so, check the Apply Discount On Order checkbox:
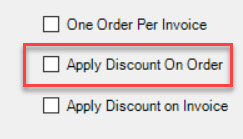
This will allow for a discount to be applied on the order only.
Make sure to save before exiting.
Apply Discount on Invoice
For new and existing Customers, you have the ability to force the system to apply a discount on the invoice.
To do so, check the Apply Discount On Invoice checkbox:
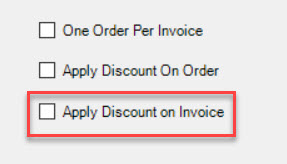
This will allow for a discount to be applied to the invoice only.
Make sure to save before exiting.
Adding a New Plant
If you wish to add more than one Plant Location for a Customer, simply use the Customer Lookup to find the Customer you are looking for,
or add a new one. You can access the lookup screen by navigating to the  tab,
and clicking on the
 ![]() icon.
icon.
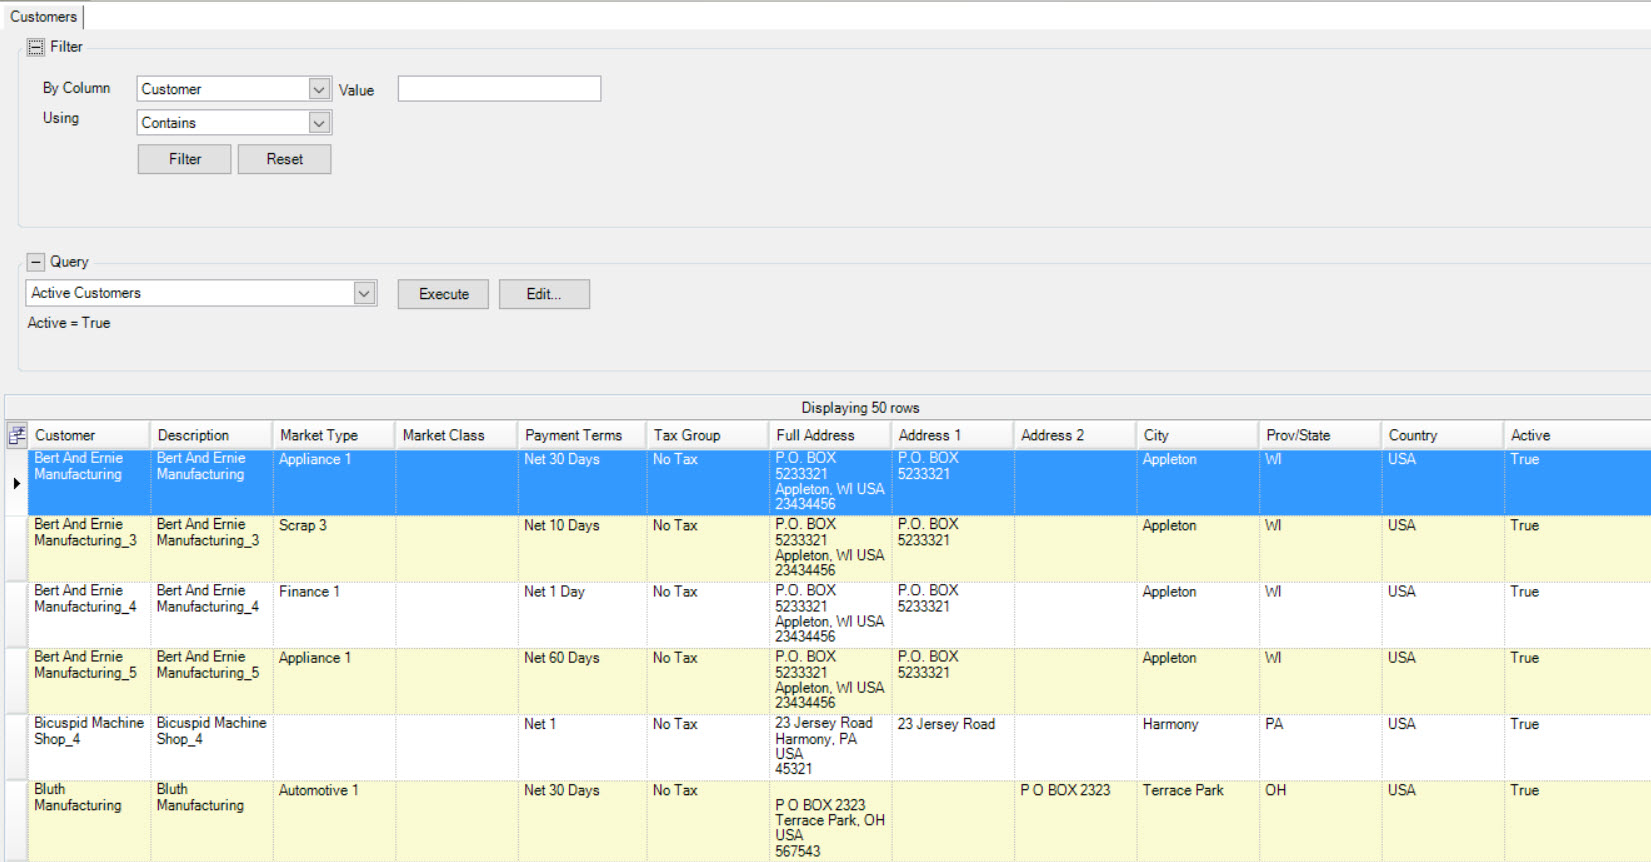
Once you have found the Customer you are looking for, double-click on the Customer Row to bring up the Customer screen.
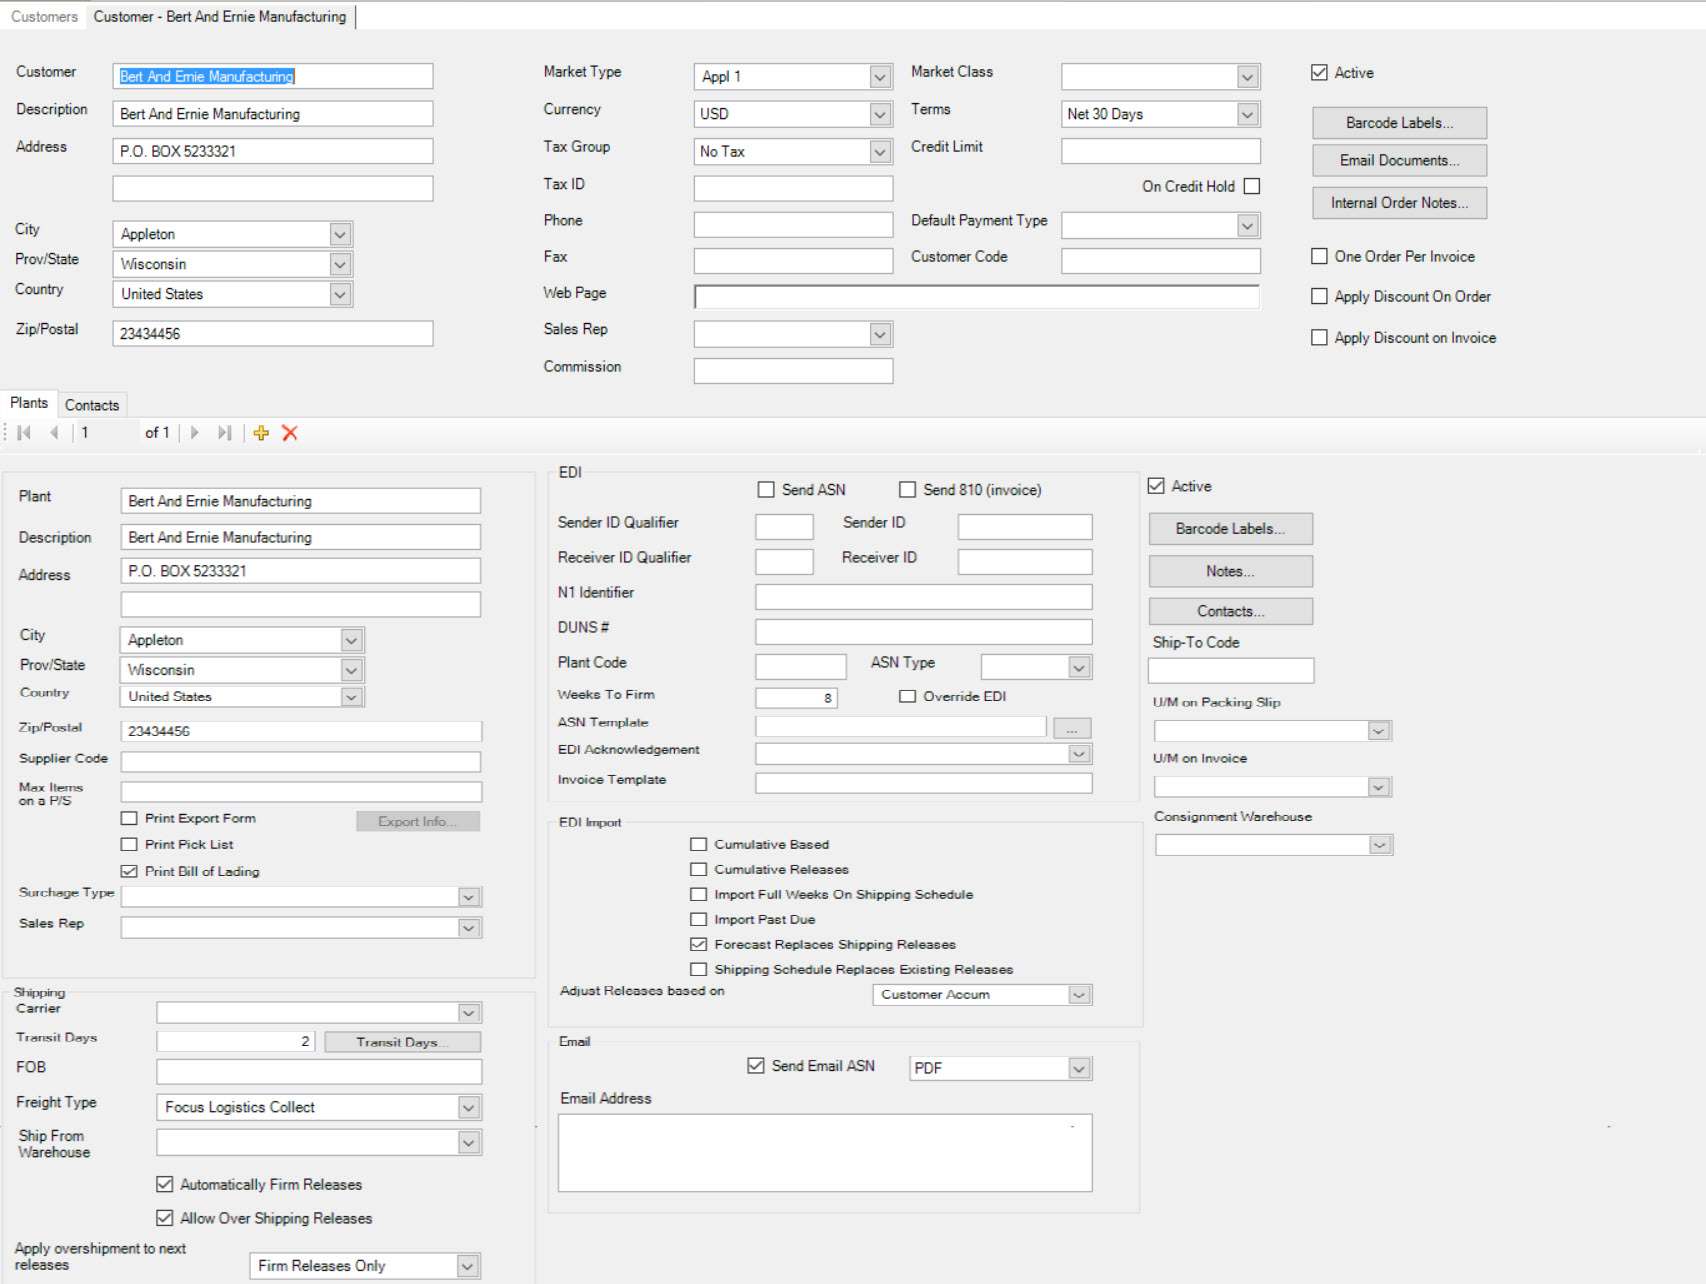
Once you have found the Customer you are looking for, or finished adding the appropriate information, click on the  tab.
tab.
Click the  from the
  and the Customer Plant screen will be displayed.
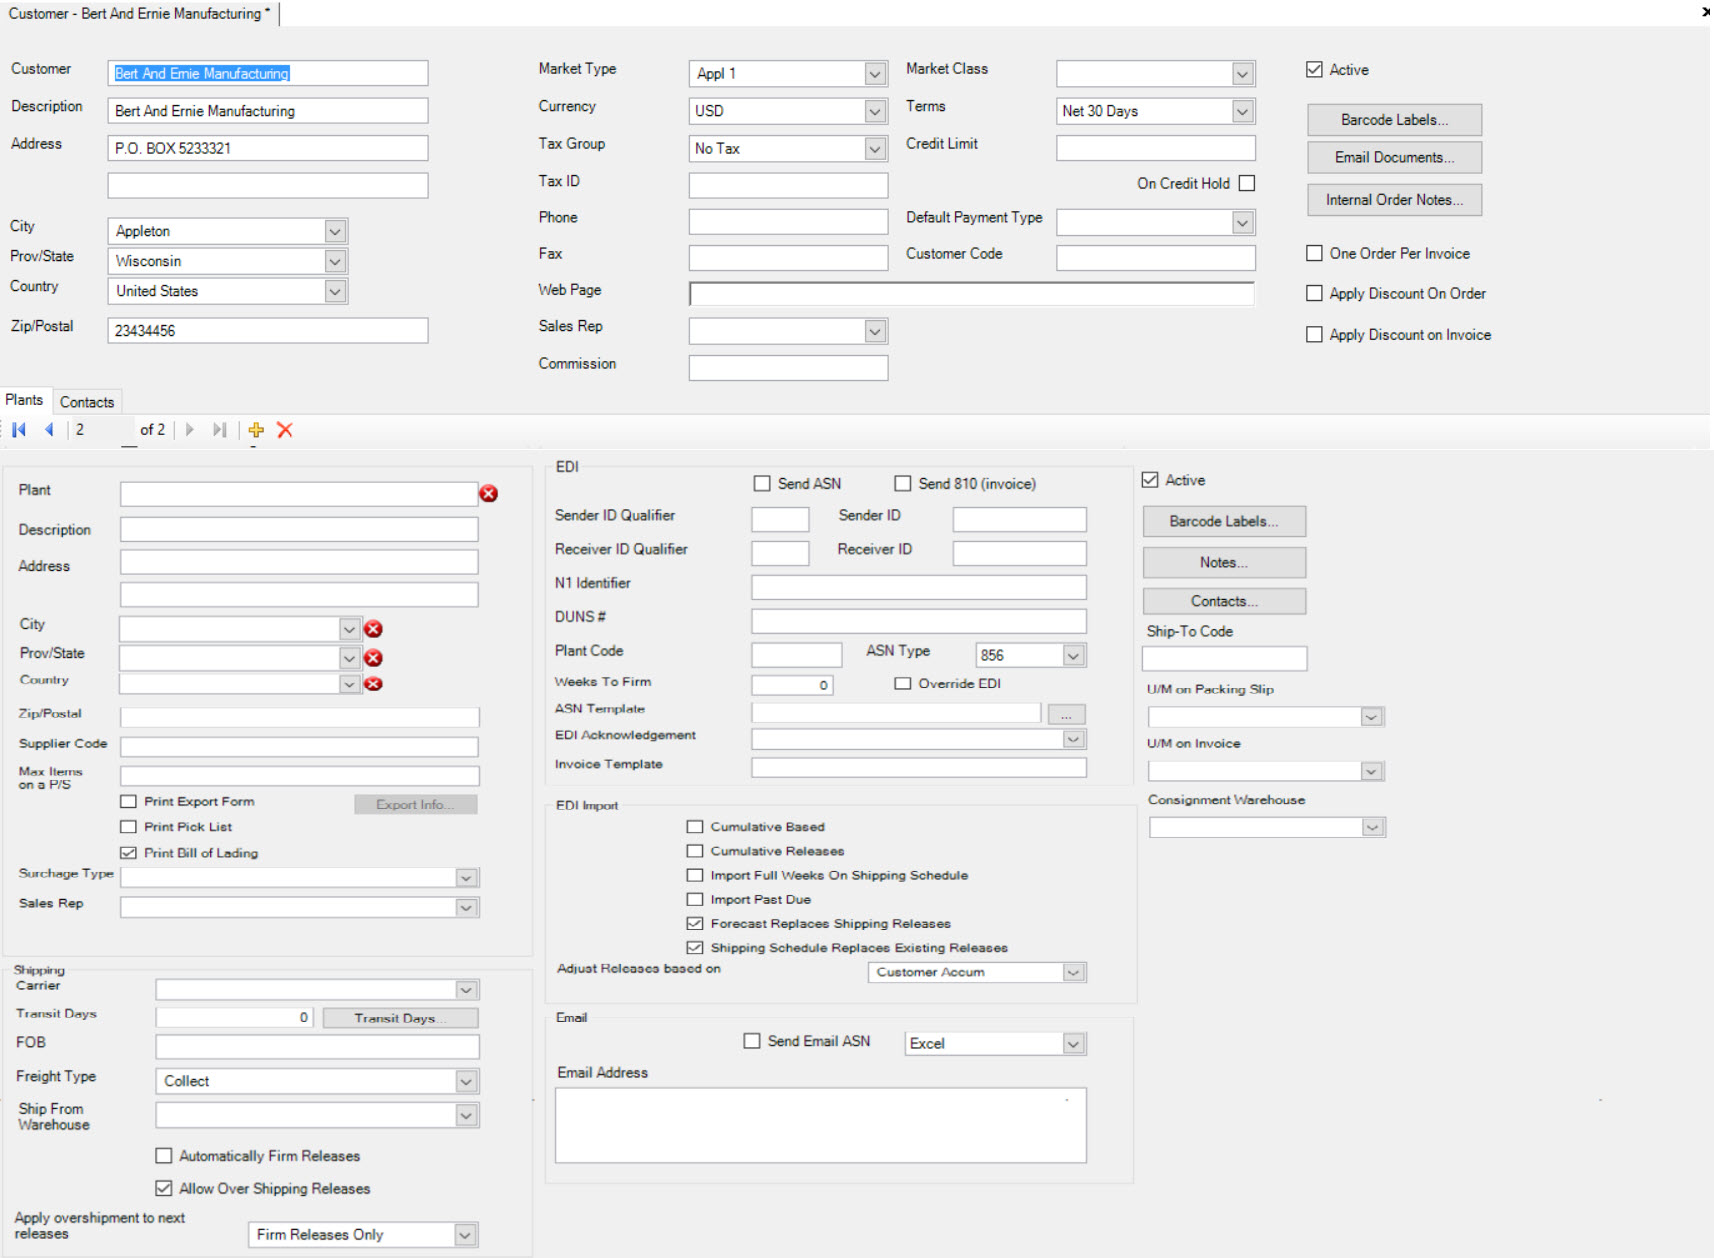
Enter the Customer Plant, Description, Address, City, State, Country and then click the  icon to save.
The Customer EDI information which is used to send and receive transmissions with your trading partners is also entered here. For more detailed information please see the Chapter on EDI.
Adding a New Contact
If you wish to add a New Contact for a Customer, simply use the Customer Lookup to find the Customer you are looking for,
or add a new one. You can access the lookup screen by navigating to the  tab,
and clicking on the
 ![]() icon.
icon.

Once you have found the Customer you are looking for, double-click on the Customer Row to bring up the Customer screen.

Click on the Contacts  tab.
tab.
Click the  from the
  and the Customer Contacts screen will be displayed.
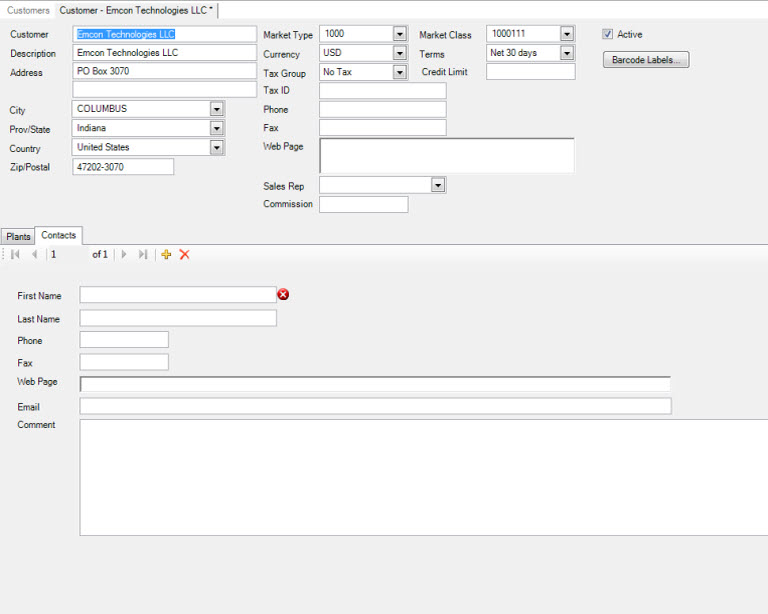
Enter the First Name, Last Name, Phone, Fax, Web Page, Email and Comments, then click the  icon to save.
Maintaining Customers
To make any changes to an existing customer, contact or plant, navigate to the  tab, clicking on the
 ![]() and using the Customer Lookup to find the customer you are looking for. Double-click on the customer row to bring up the Customer screen.
and using the Customer Lookup to find the customer you are looking for. Double-click on the customer row to bring up the Customer screen.


Make the necessary modifications, and save your changes.
Making a Customer Active/Inactive
You may wish to make a Customer “inactive” as opposed to deleting the Customer from the system. Or make an “inactive” customer “active”. To perform either of these options, navigate
to the  tab, and click on the
 ![]() icon to open the Customer Lookup screen. Double-click on the Customer you wish to
change the status on. If the Customer is “active”, the “active” box will be checked. To make the Customer “inactive”, uncheck the box.
icon to open the Customer Lookup screen. Double-click on the Customer you wish to
change the status on. If the Customer is “active”, the “active” box will be checked. To make the Customer “inactive”, uncheck the box.
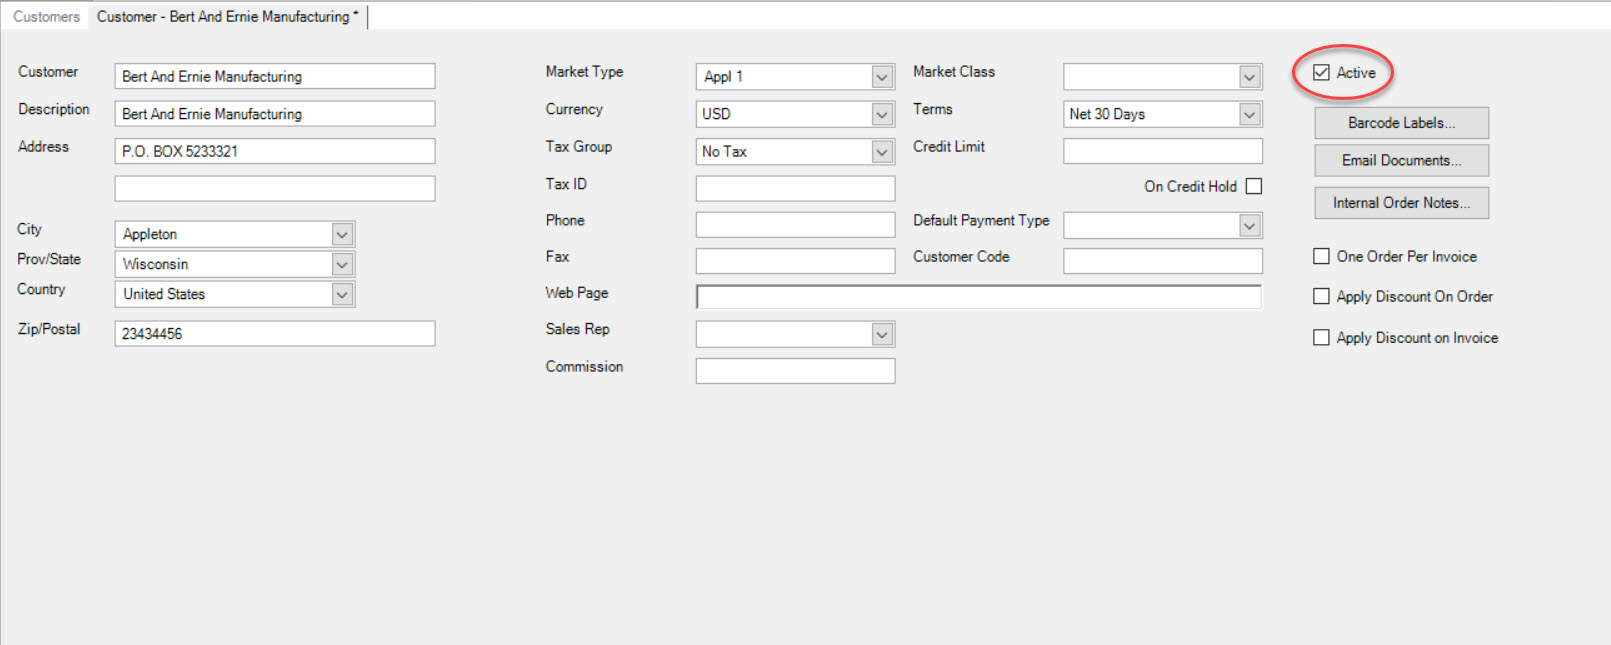
If a Customer is “inactive” and you wish to make them “active”, make sure the box is checked.
Note
To make it easier to search for “active/inactive” Customers, use the Options when performing your search on the Customer Lookup screen.

Deleting a Customer
To delete a Customer, navigate to the  tab, and click on the
 ![]() icon.
Select the Customer that you wish to delete by clicking anywhere in the row to highlight your selection.
icon.
Select the Customer that you wish to delete by clicking anywhere in the row to highlight your selection.

Click on the  button at the top of the screen, and select the
  button when the system prompt appears.
