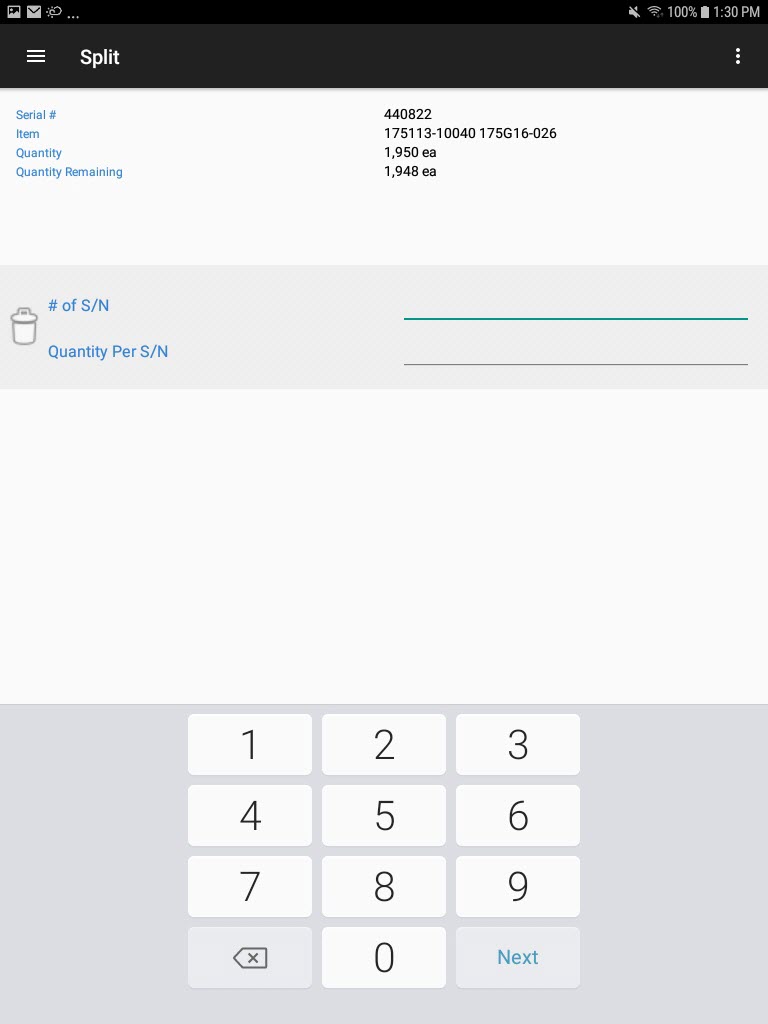
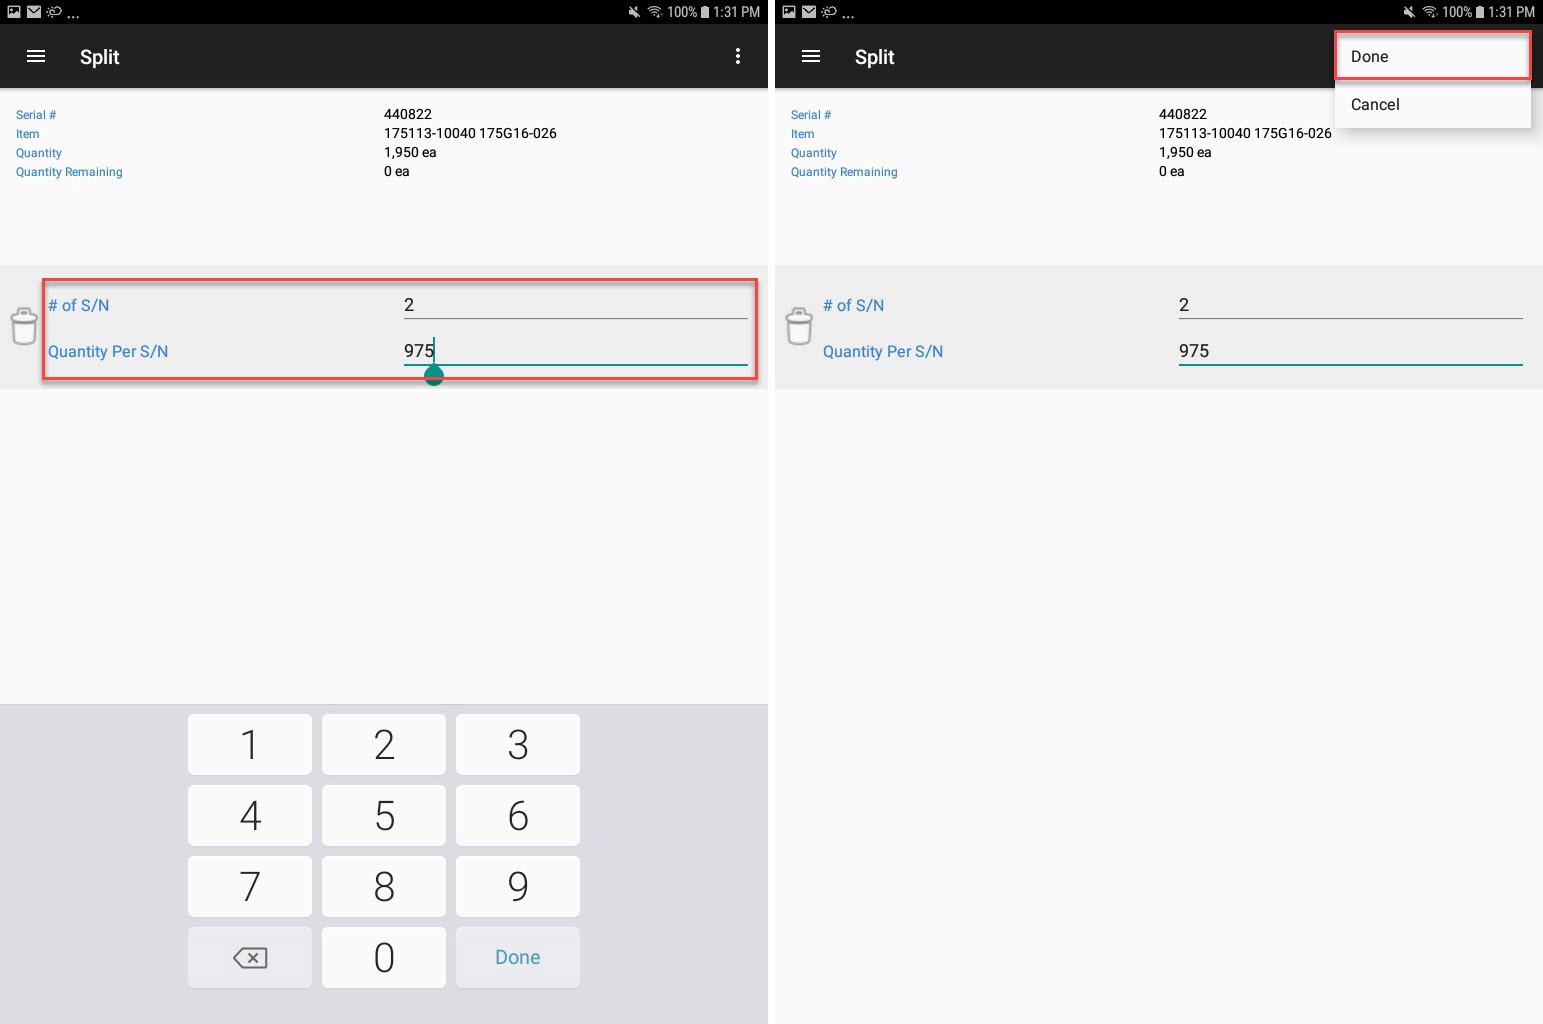
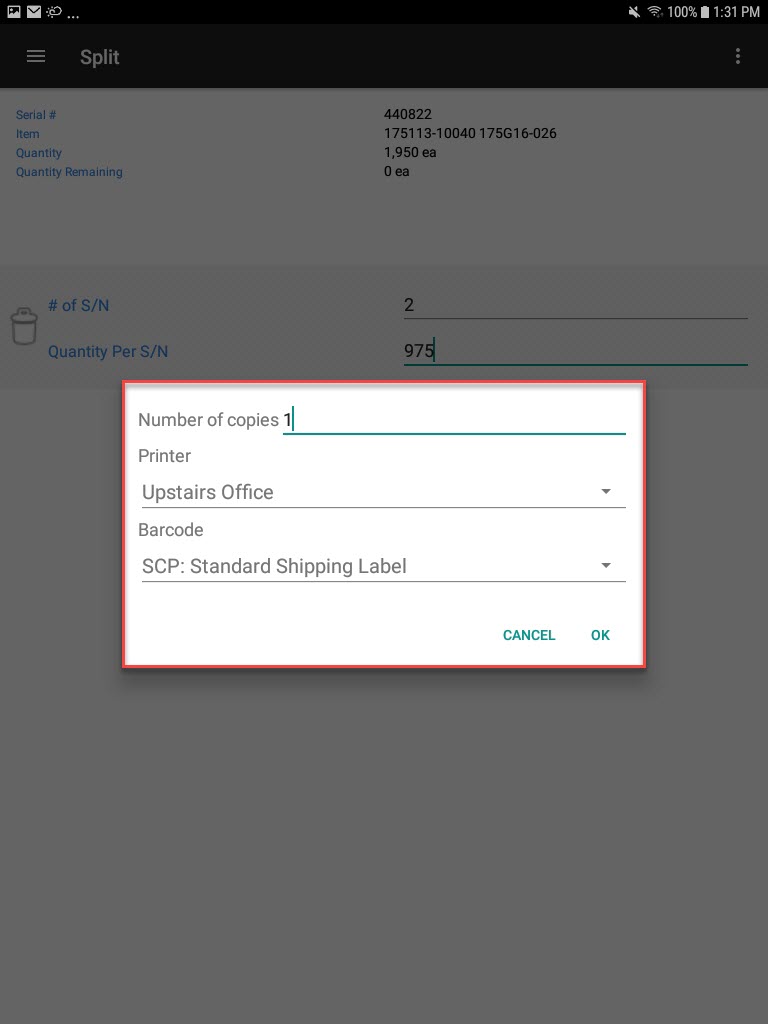
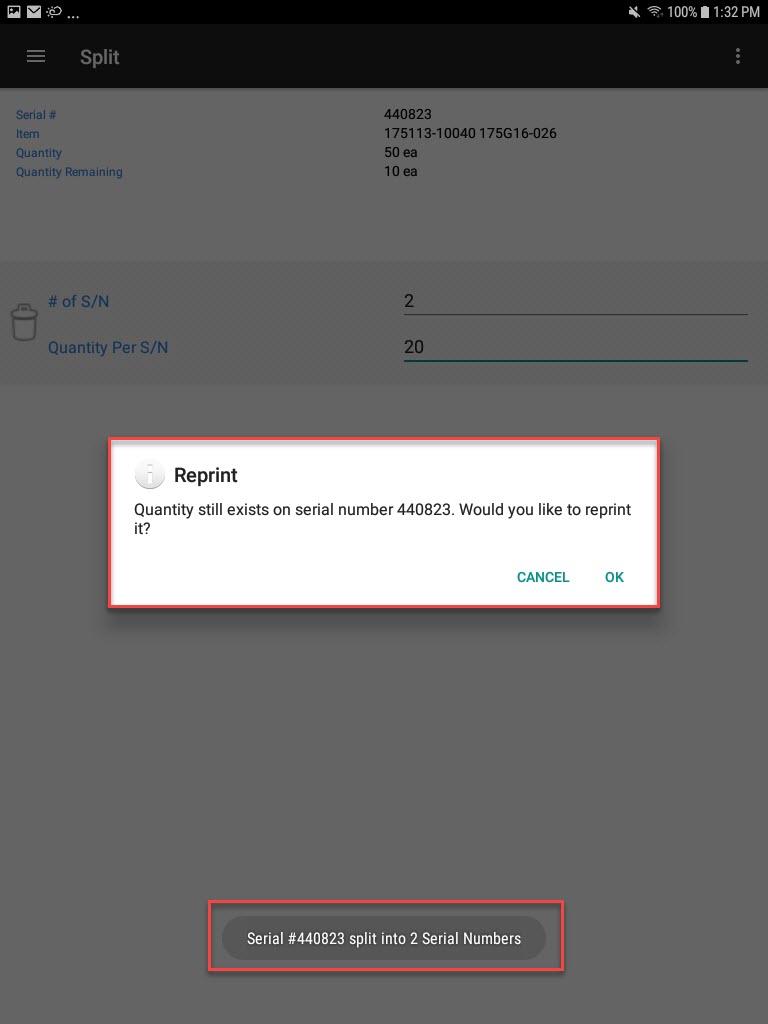
Inventory
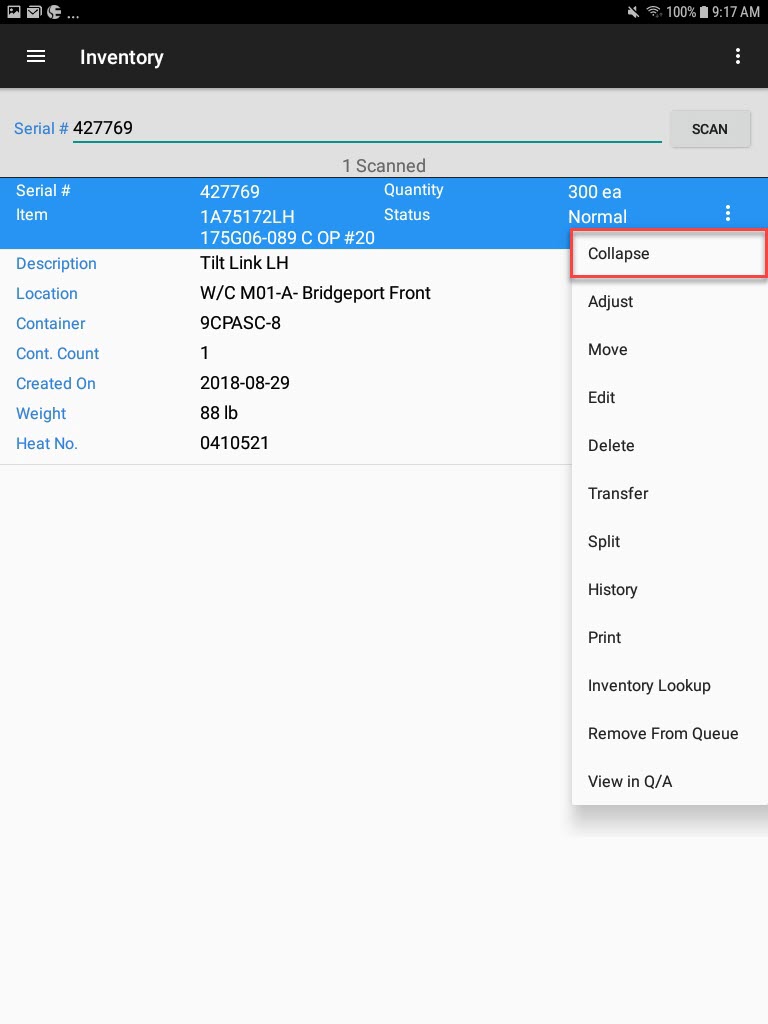
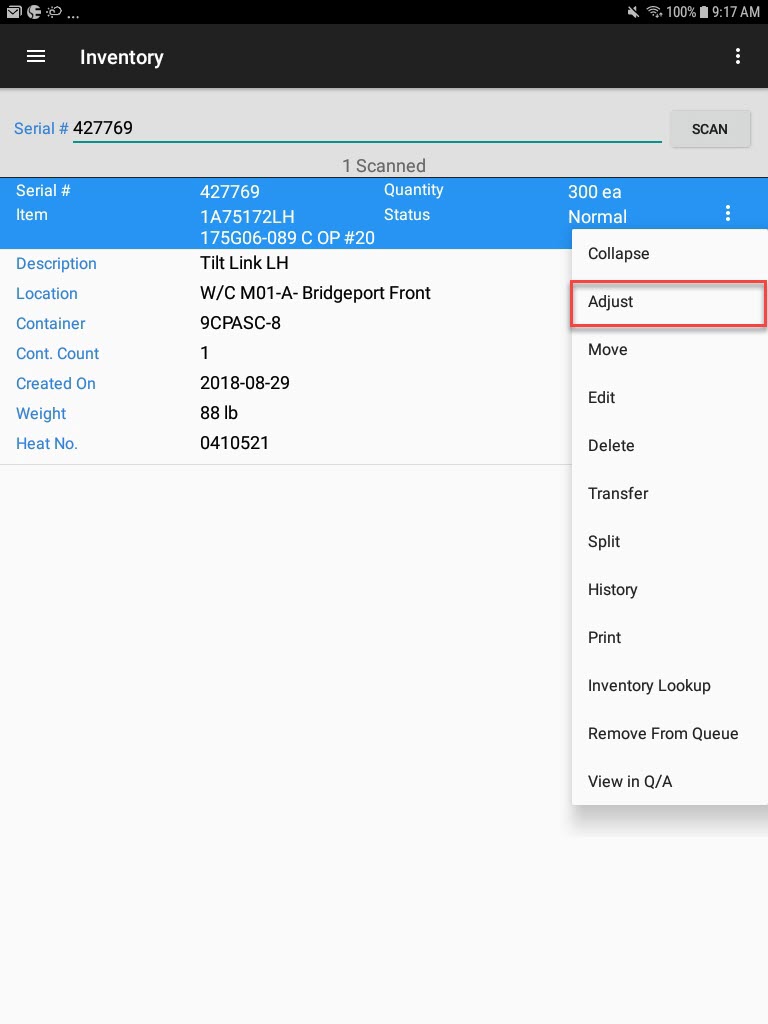
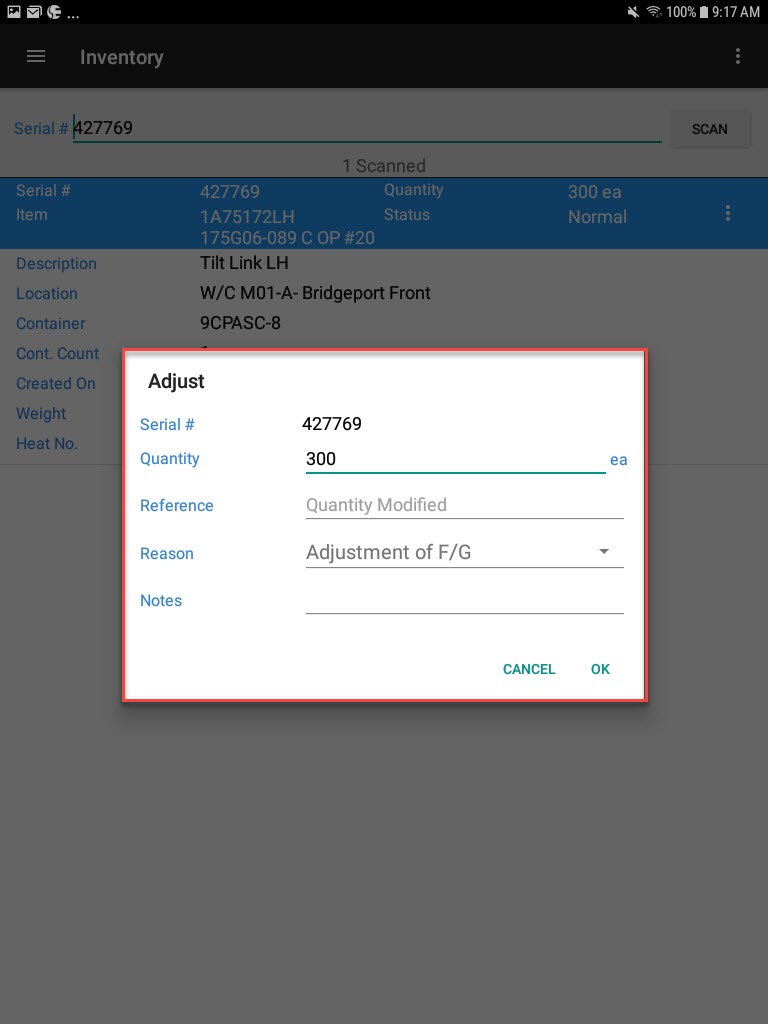
The Inventory module is used to create and scan barcodes, to perform an operation on a serial number, to execute cycle counts, and to view and search inventory lookups.
Scanning
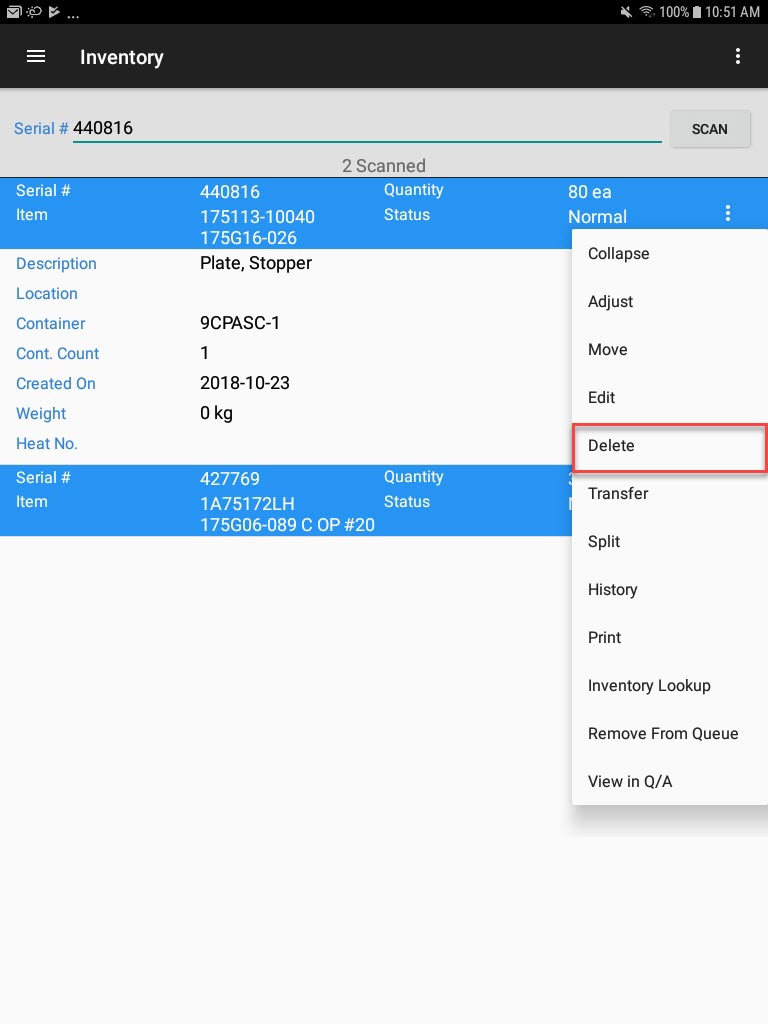
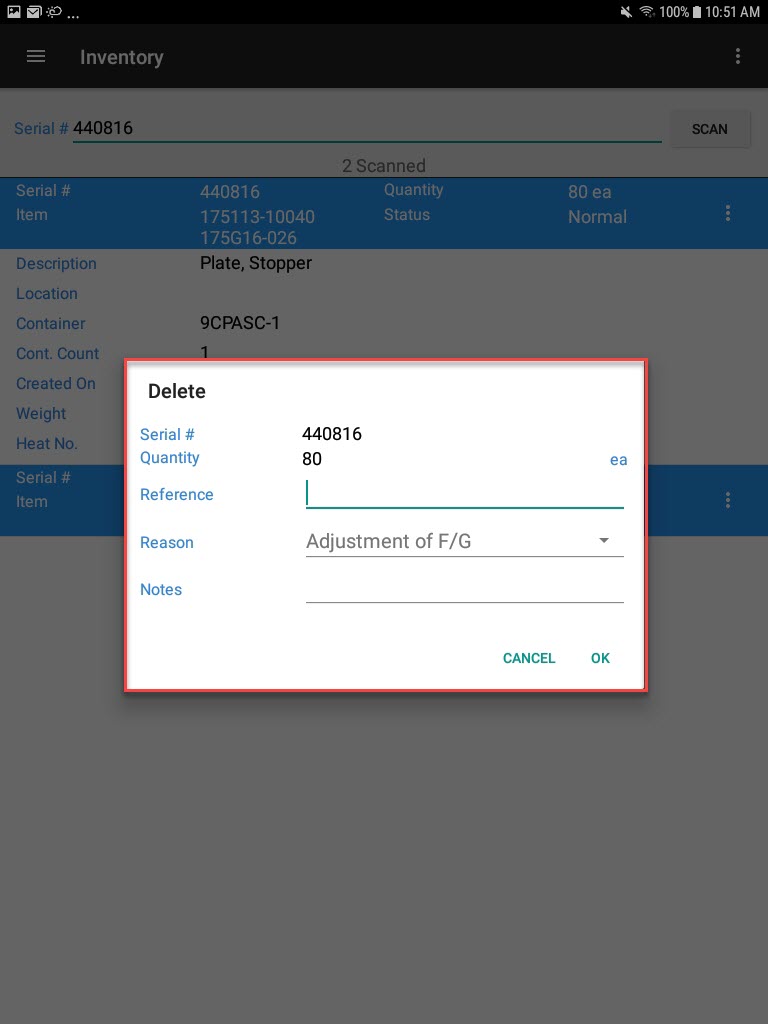
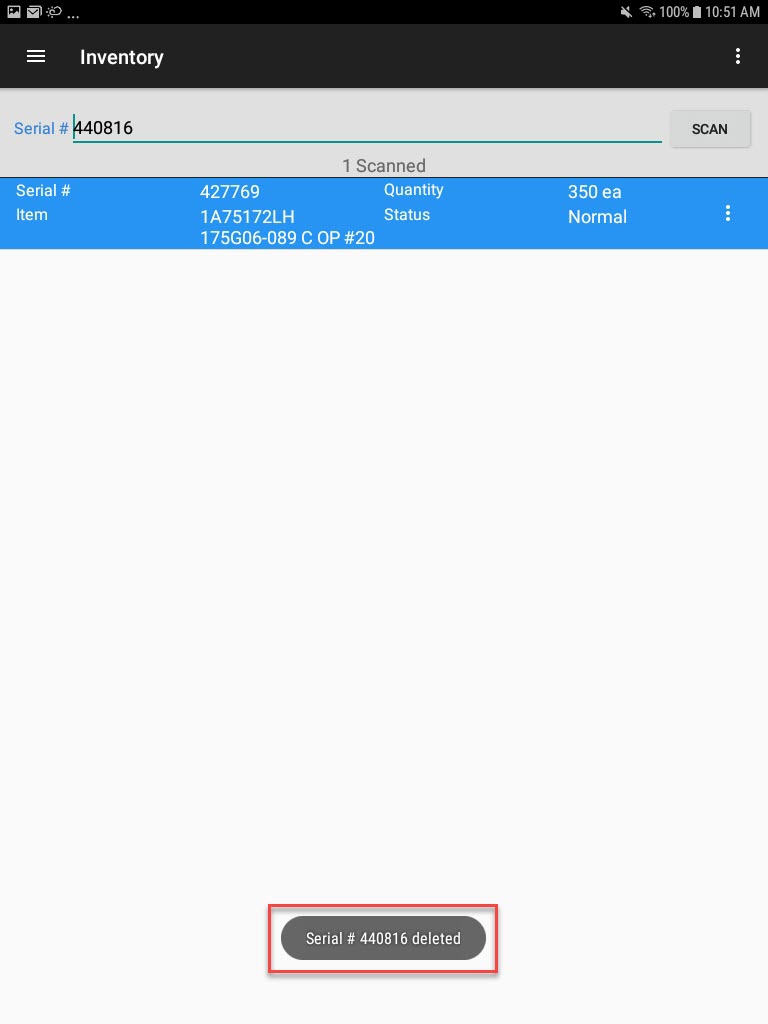
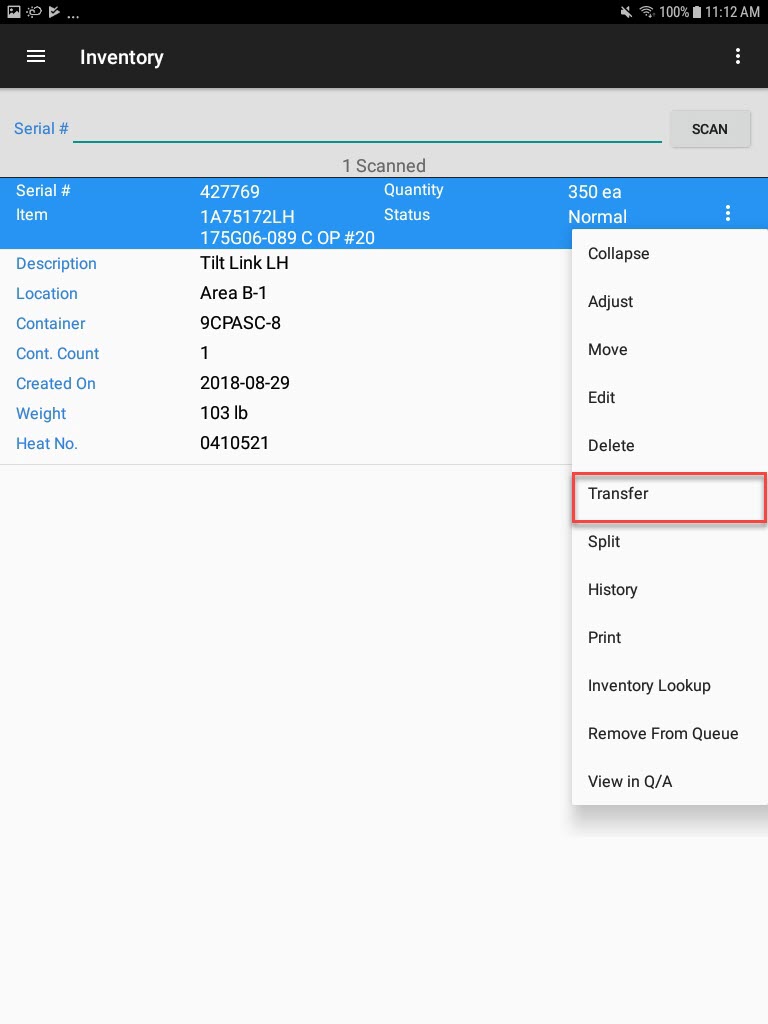
The Scanning module is used to scan barcode labels for inventory purposes, and to create and perform operations on serial numbers such as adjustments, or quantity transfers.
Creating a Serial Number and Printing a Barcode
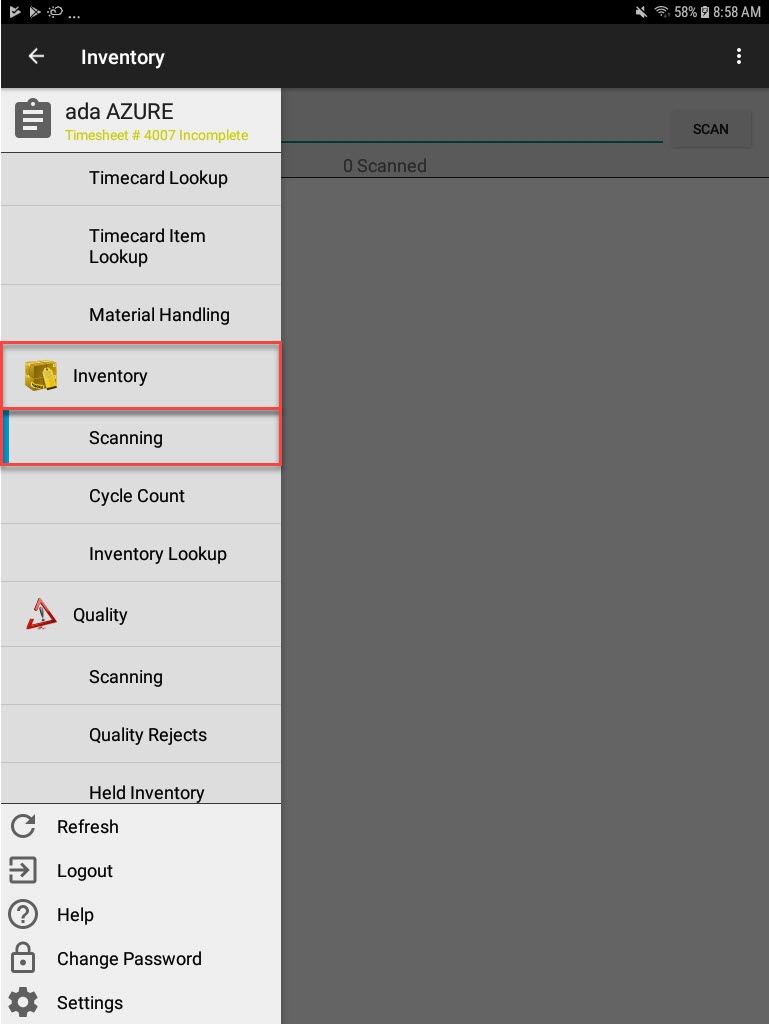
To create a new serial number, select Scanning under the Inventory module from the navigation drawer.
The Scanning screen will appear.
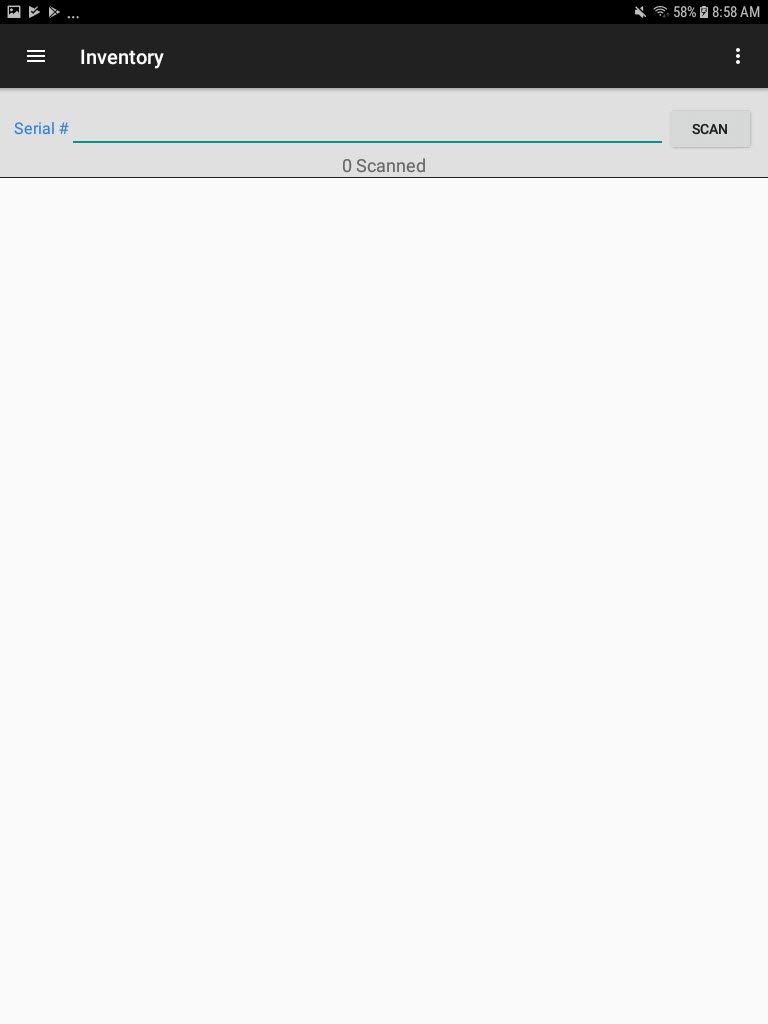
From the action menu located at the top-left corner of the screen, select New.
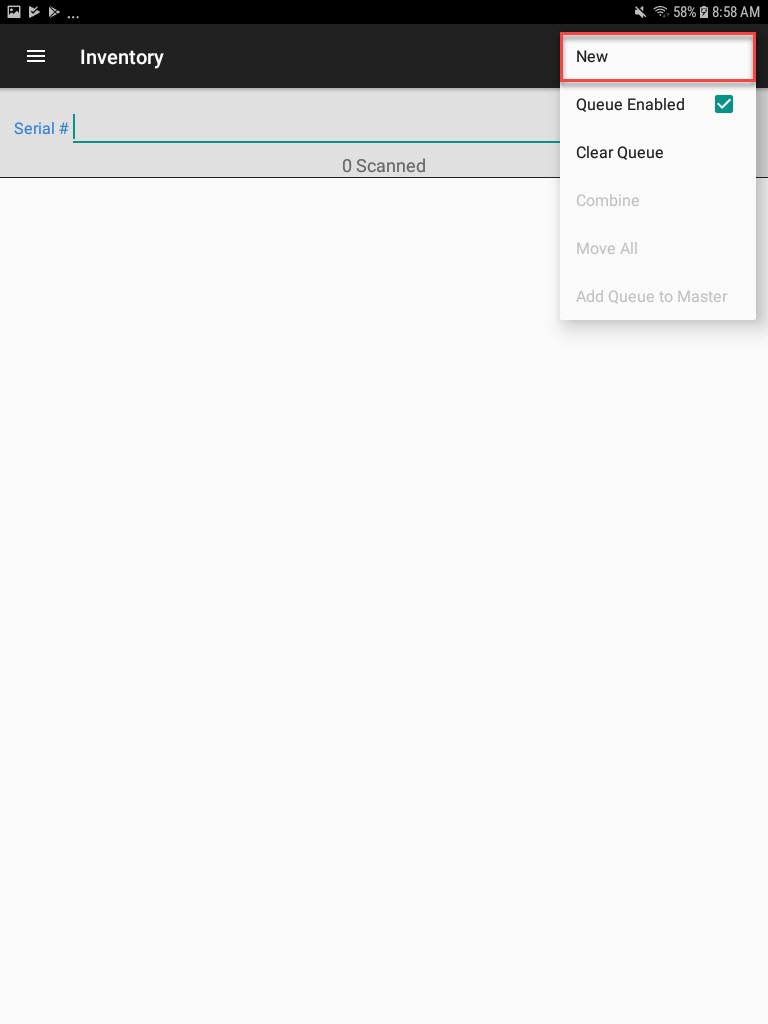
The New Serial # window will appear where users must select the type of serial number they wish to create.
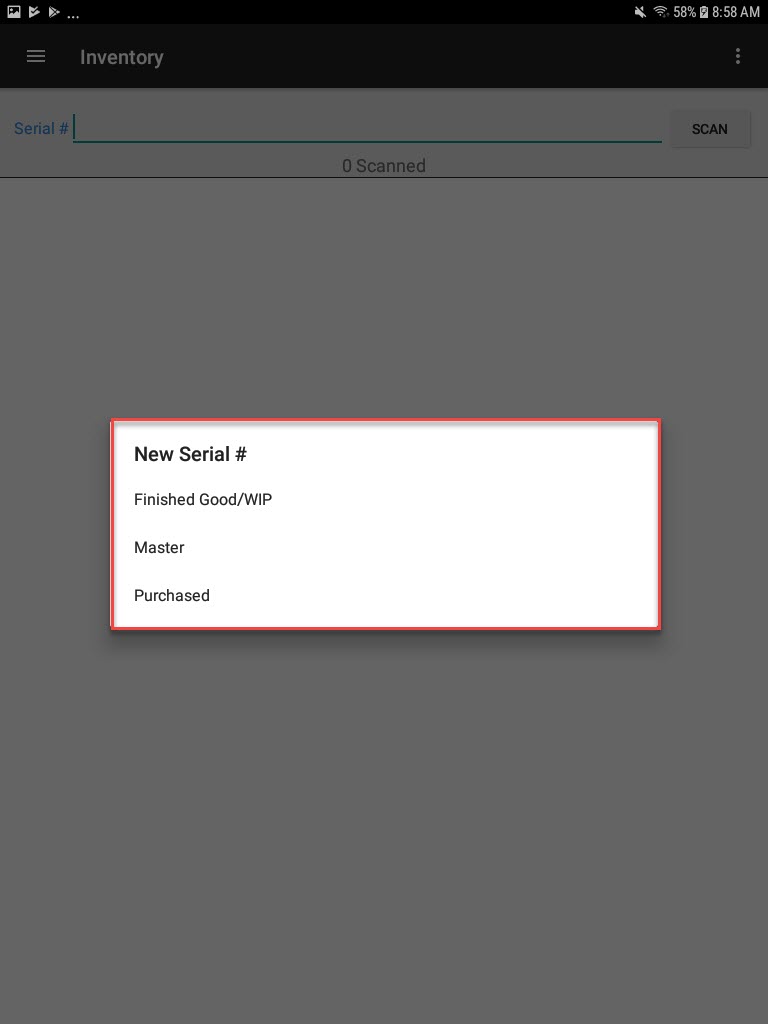
- Finished Good/WIP - use this option to create a new Finished Good, or WIP serial number.
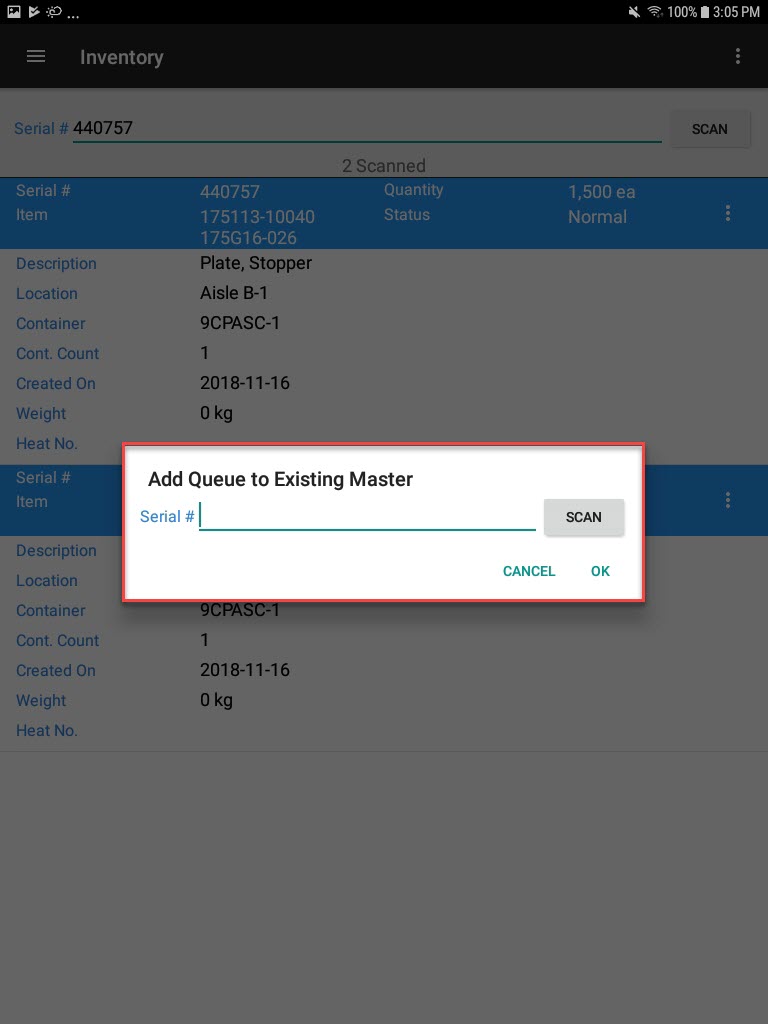
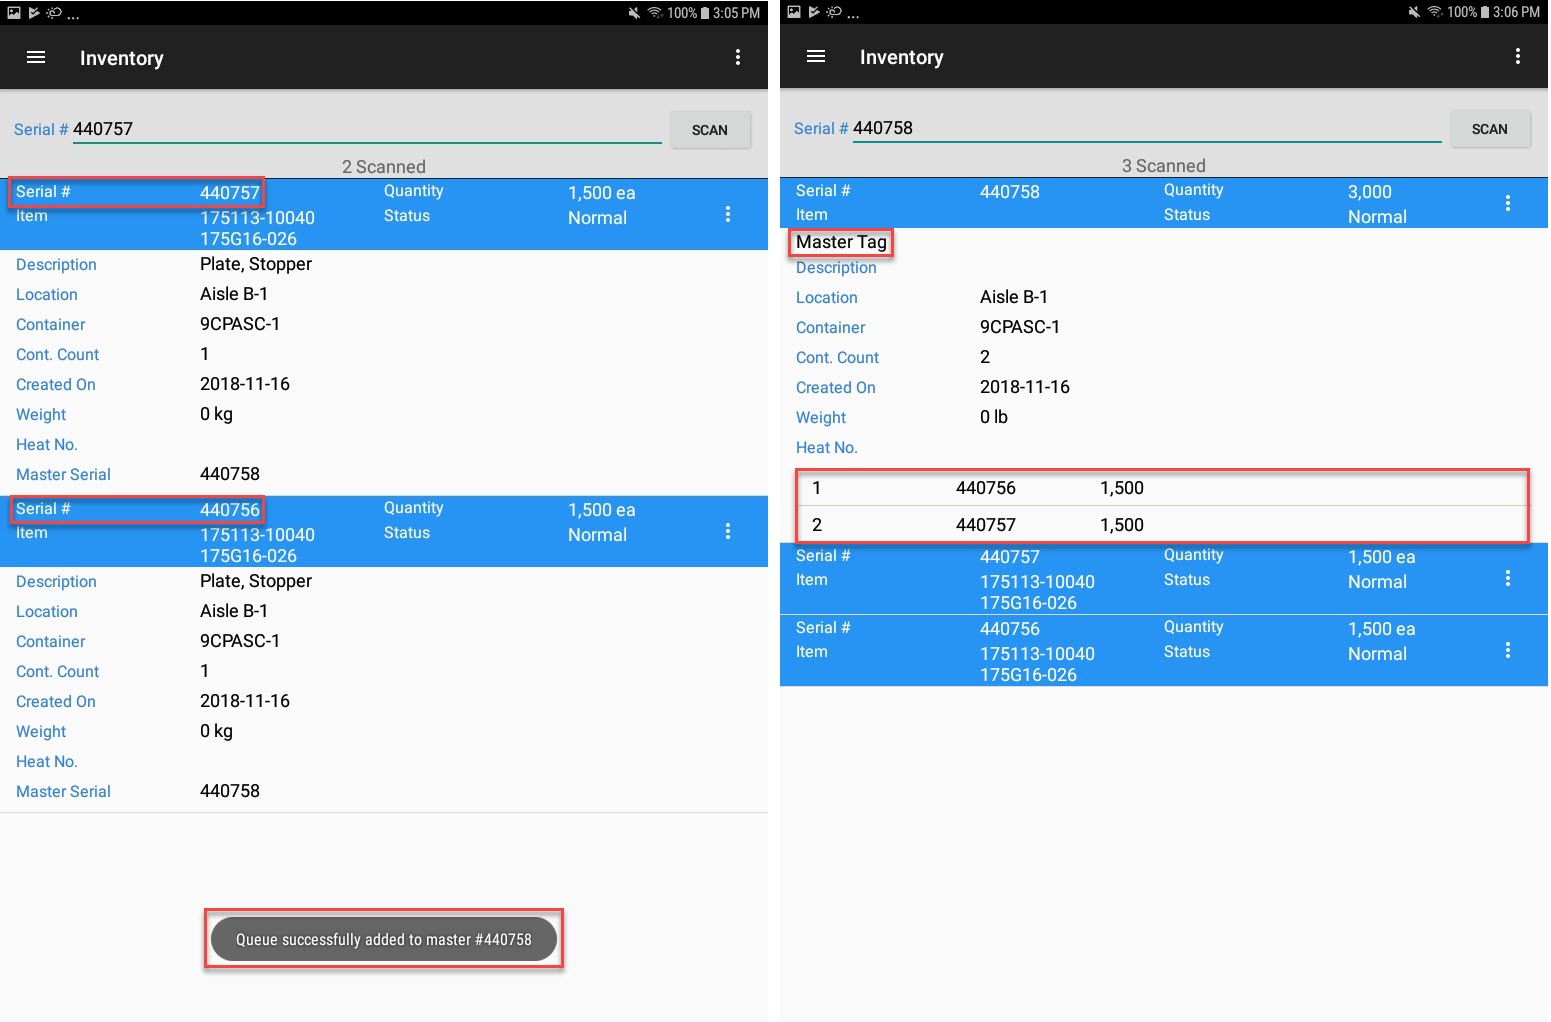
- Master - use this option to create an inventory master that can be used to link multiple serial numbers to a single master label.
- Purchased - use this option to create a serial number for a purchased item, such as a raw material.
Note
Users can cancel simply by touching the screen anywhere outside of the New Serial # window.
Creating a Finished Good/WIP Serial Number
To create a Finished Good/WIP serial number, select the Finished Good/WIP option from the New Serial # window. The New Serial # screen will appear.
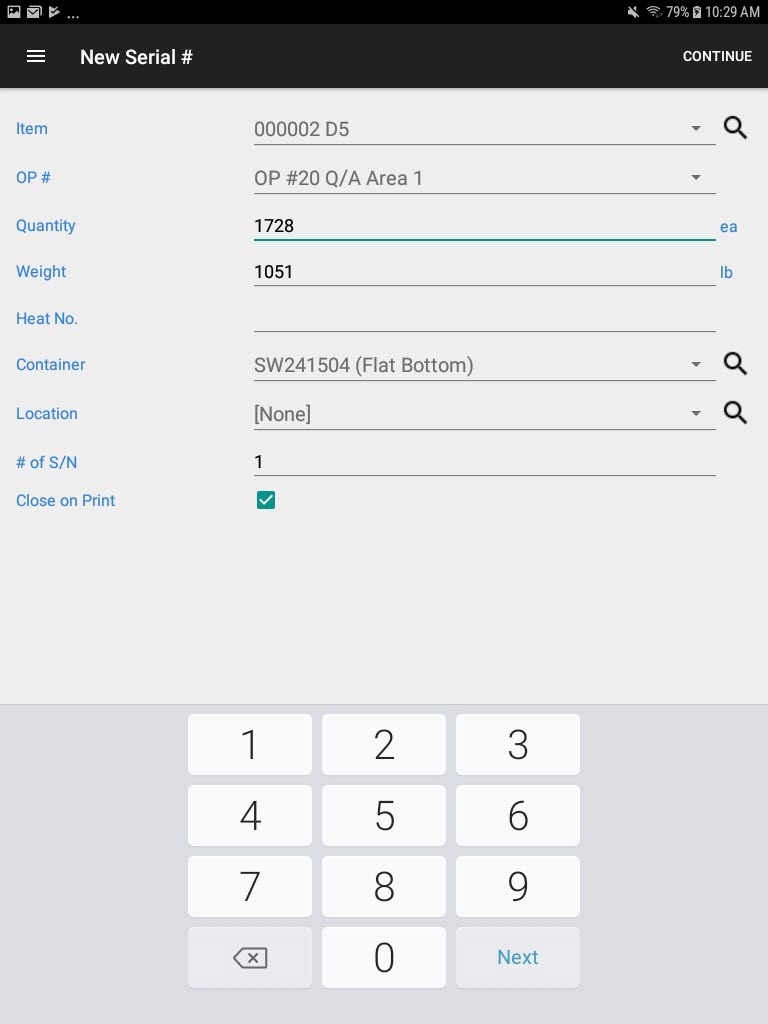
Users must complete the details for the Finished Good/WIP serial number:
- Item - select the item from the drop-down list or use the lookup (required).
- OP # - select Finished from the drop-down list to create a finished goods item or select an operation to create a WIP serial number (required).
- Quantity - enter the quantity for the serial number (required). The unit of measure for the item will automatically display beside the quantity edit box.
- Weight - enter the weight for the serial number (optional). The weight of the serial number will automatically calculate based on the quantity.
- Heat No. - enter the heat number (optional).
- Container - select the container from the drop-down list or use the lookup(required).
- Location - select the location from the drop-down list or use the lookup(optional). The location is used to find the serial number in the warehouse. The location can also be set later by scanning the serial number to a stock location.
- # of S/N - enter the number of serial numbers to generate. Each serial number will contain the same information entered, but a different serial number will be generated.
- Close on Print - check this box to close the New Serial # screen after printing. Un-check this box if you want to create another serial number after creating this one.
Note
The weight is calculated using the Net Finished Shipping Weight field from the Manufacture Routing screen in the main ShopEdge application.
Note
The lookup icon can be used to open a lookup screen to make finding a value easier. It is only available for certain fields.
Note
Users can cancel creating a new serial number by selecting the device’s Back button. Users will be returned to the Scanning screen.
To save the Finished Good/WIP serial number, select Continue located at the top-left of the screen.
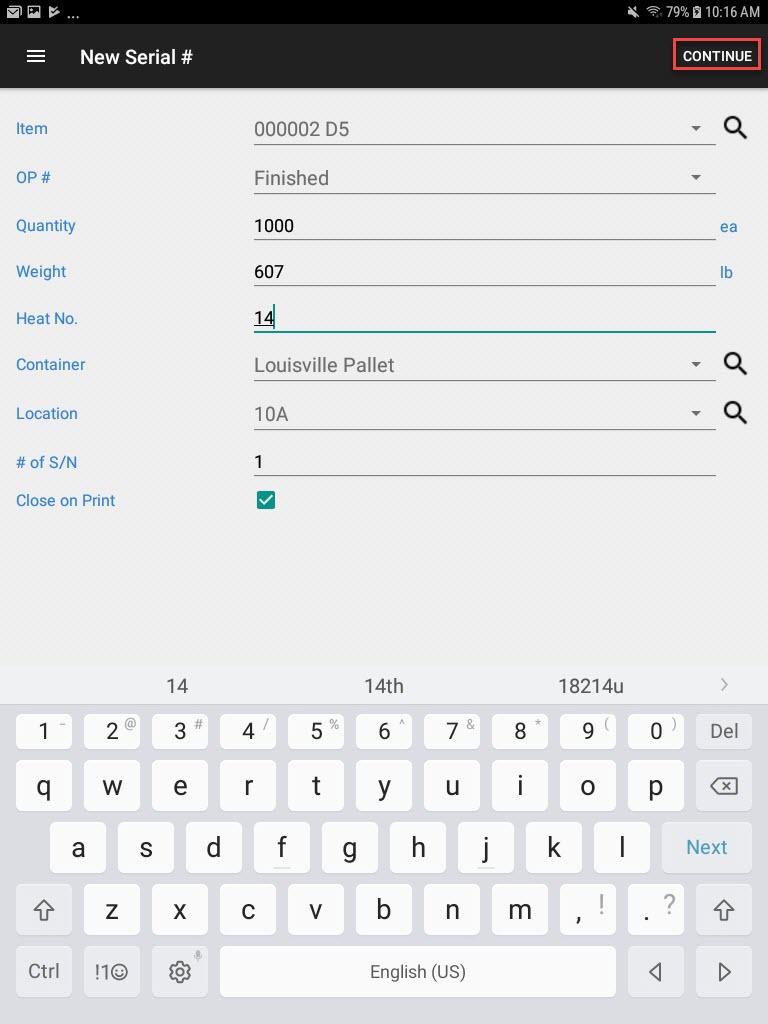
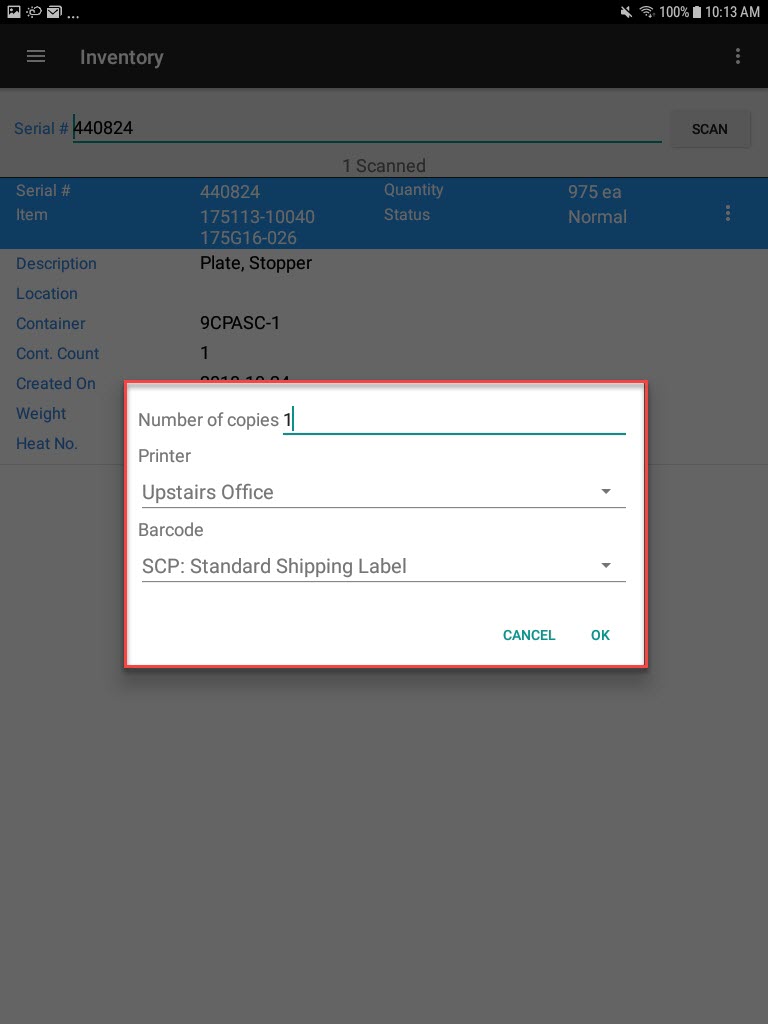
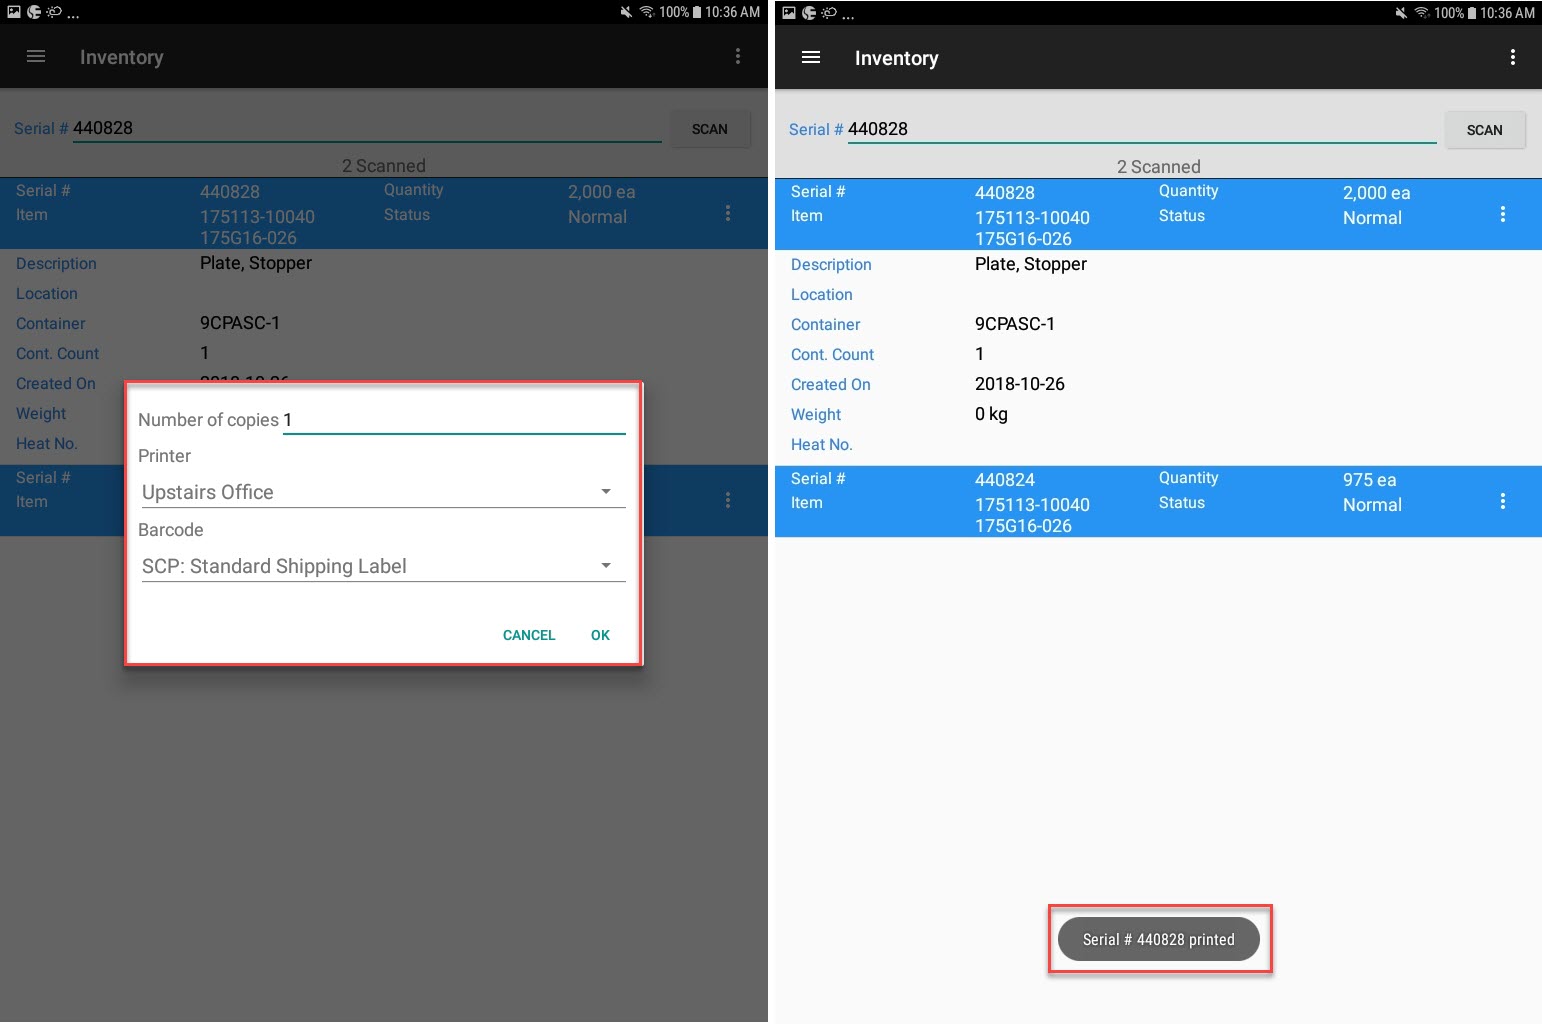
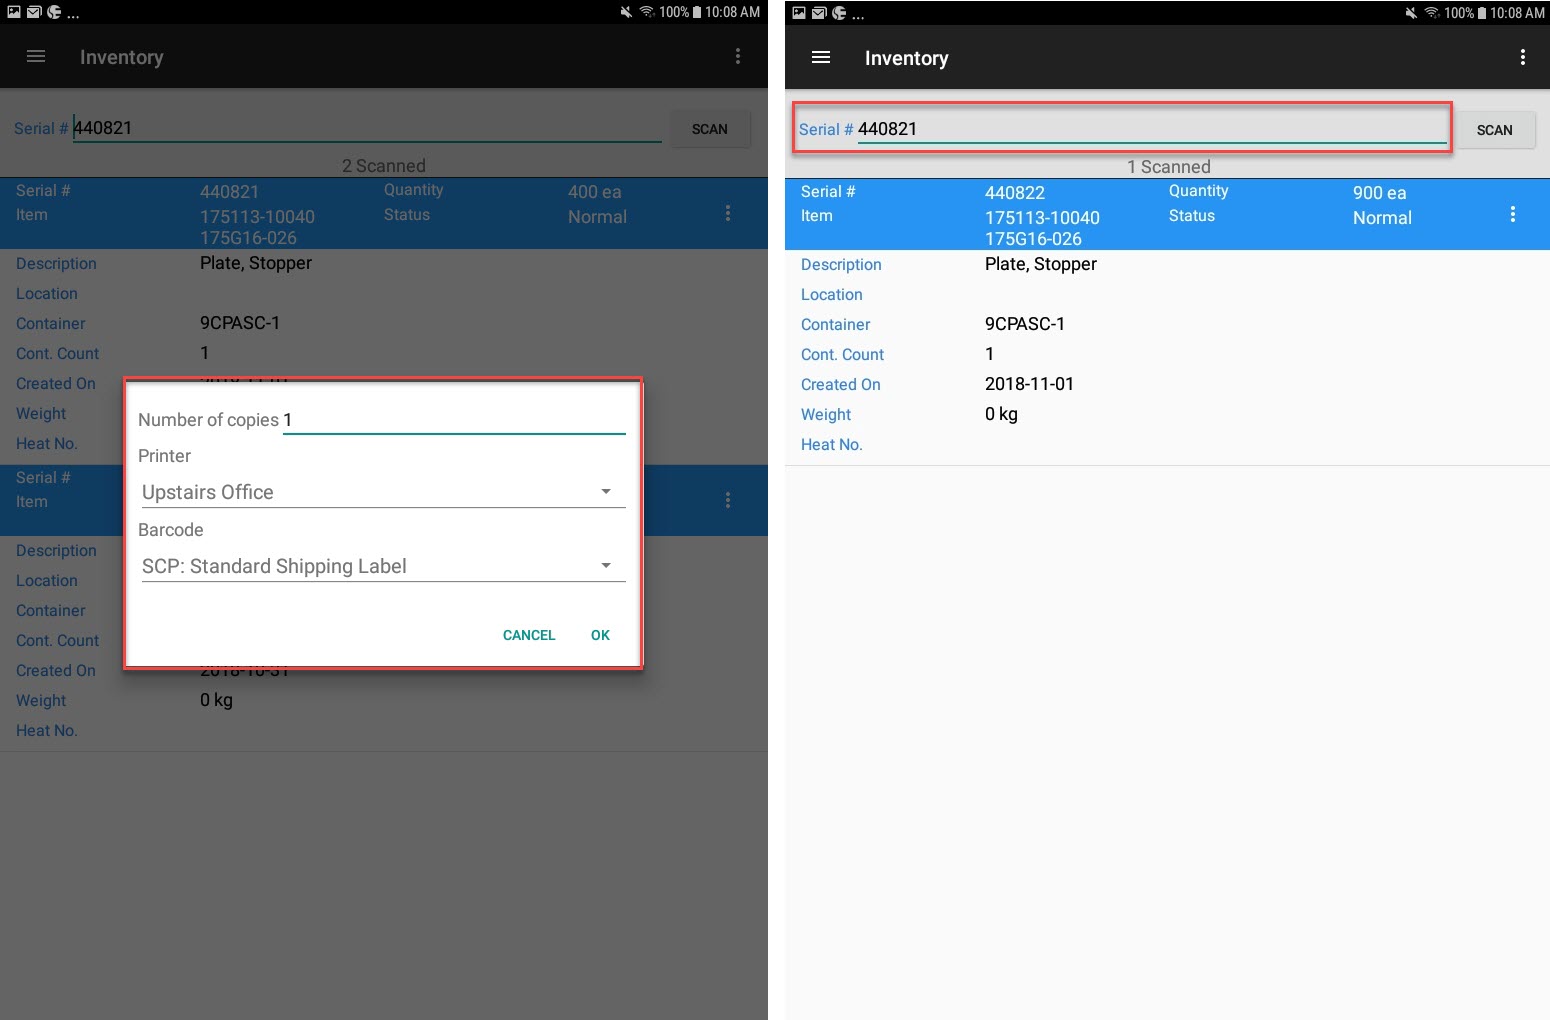
A window will appear where users can enter in the number of copies to print and select the printer and barcode. Then, select OK.
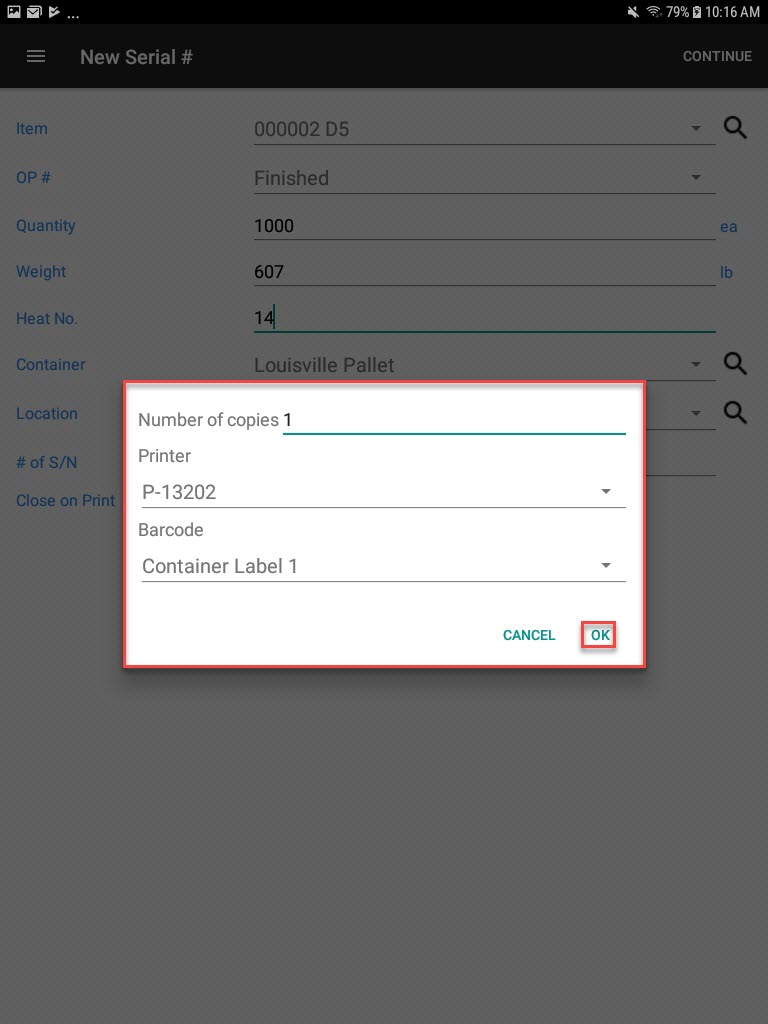
The Finished Good/WIP serial number(s) will be printed and created.
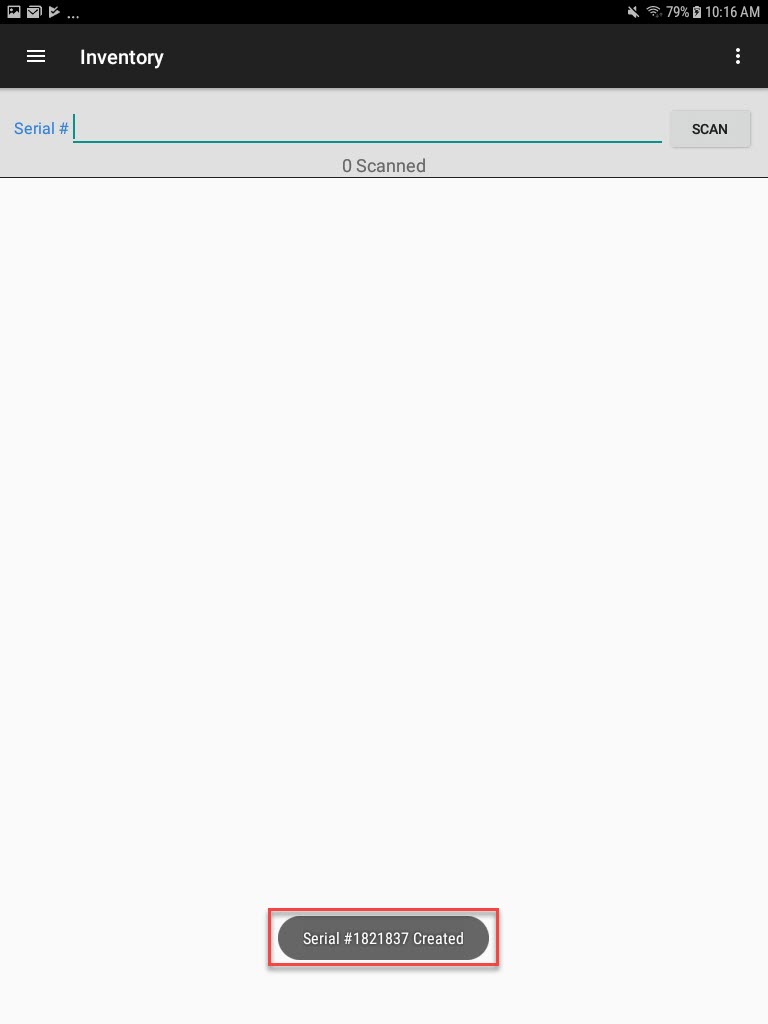
Creating a Master Serial Number
To create a Master serial number, select the Master option from the New Serial # window. The New Master window will appear where users must select a Container and Location. Then, select OK.
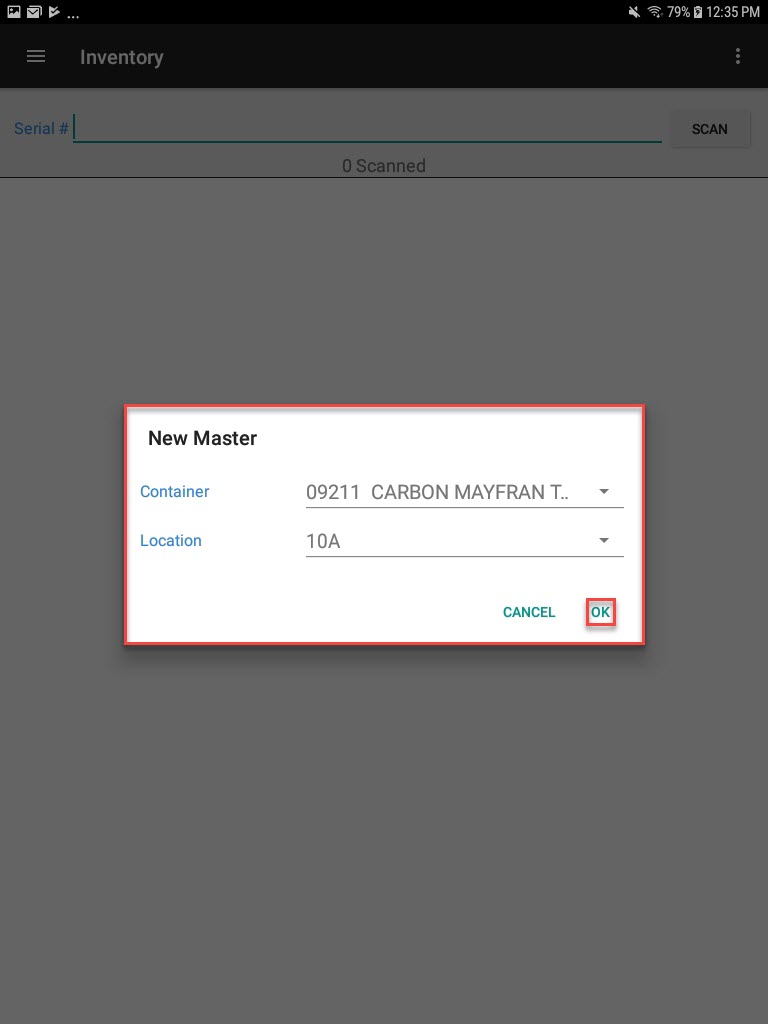
A window will appear where users can enter in the number of copies to print and select the printer and barcode. Then, select OK.

The Master serial number will be printed and created.
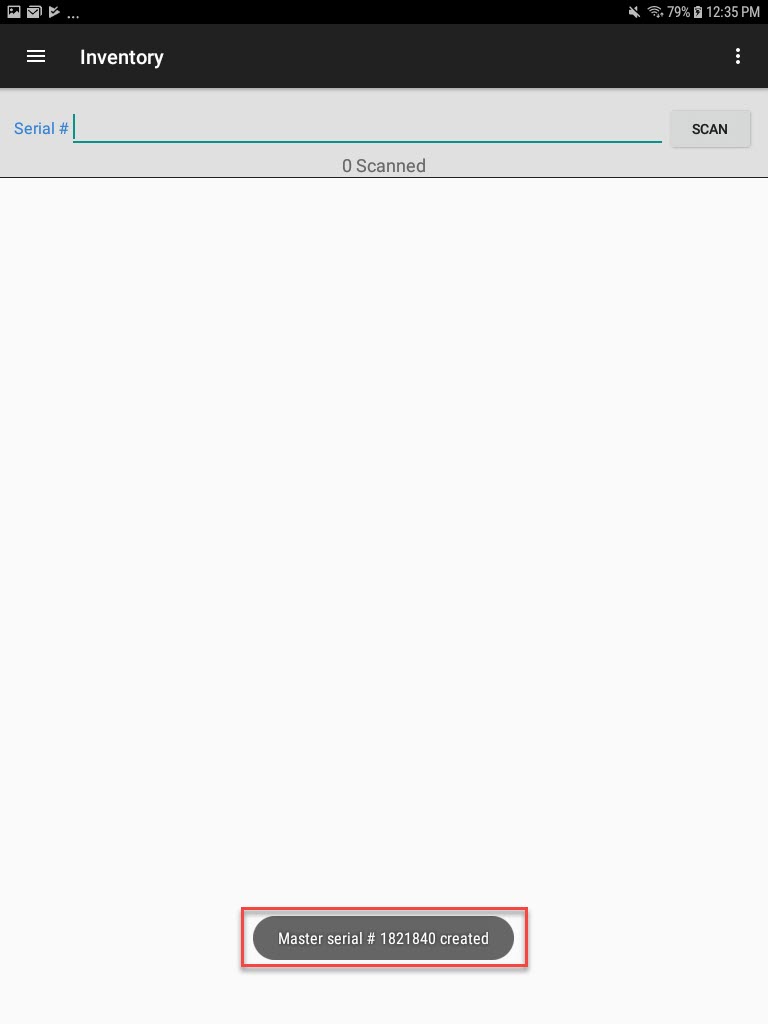
Creating a Purchased Serial Number
To create a Purchased serial number, select the Purchased option from the New Serial # window. The New Serial # window will appear.
Select the Item you are creating the serial number for using the drop-down or use the search function to look up the Item up.
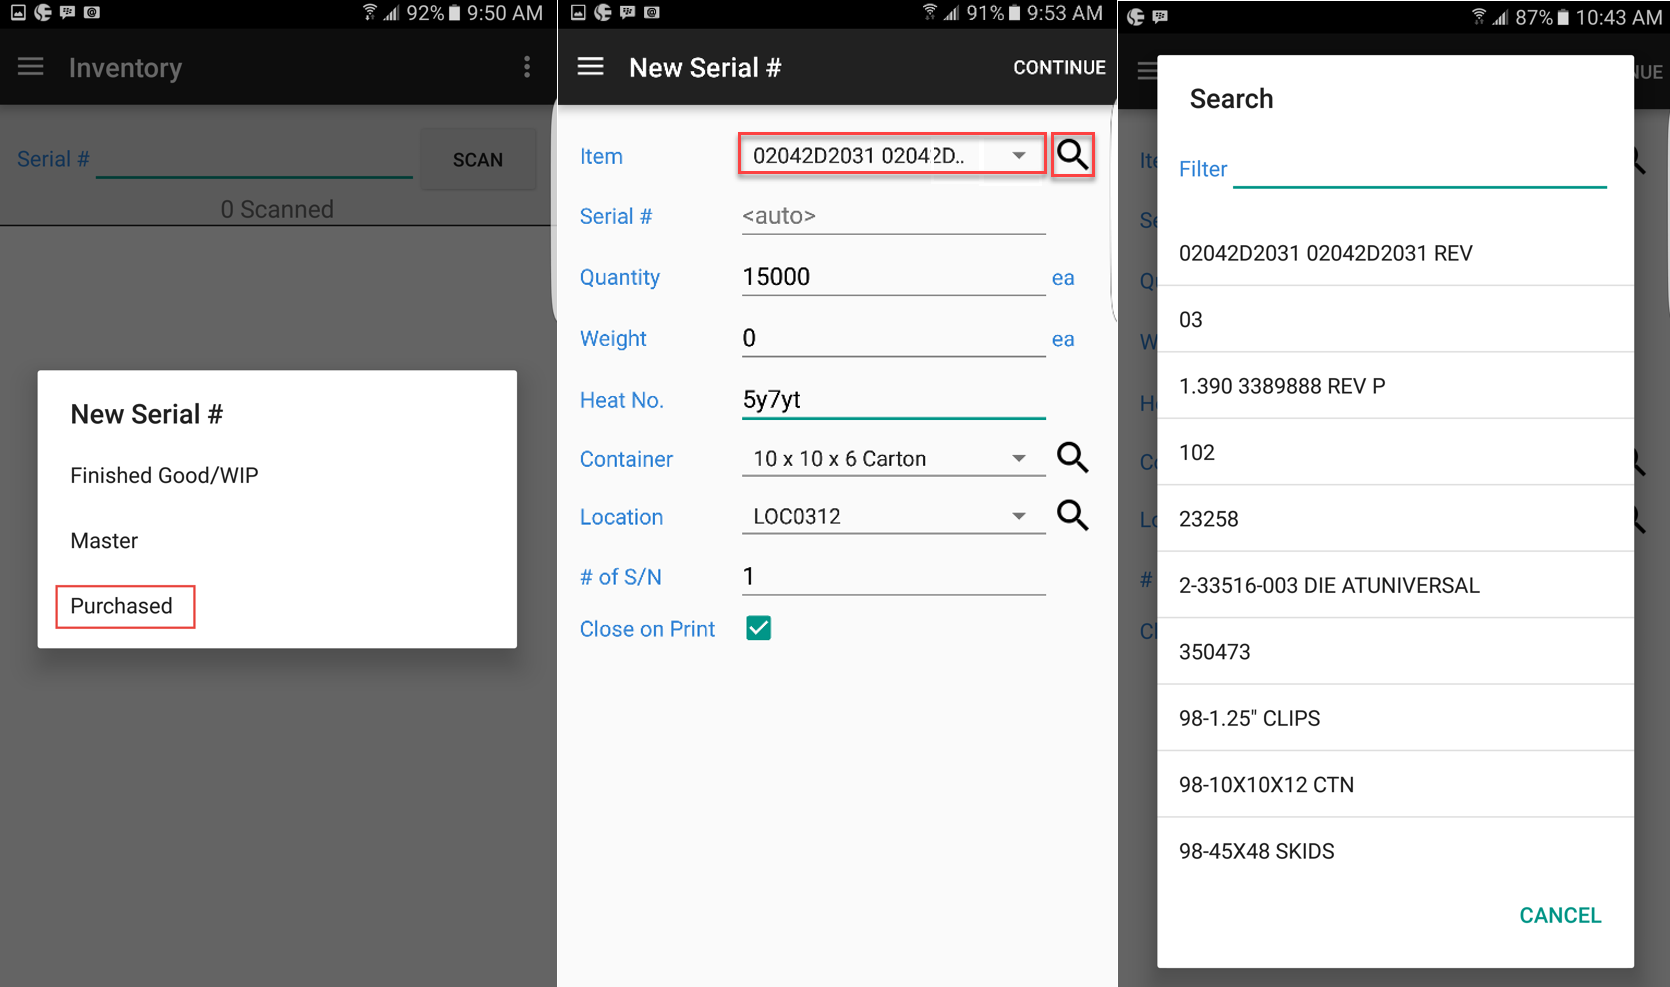
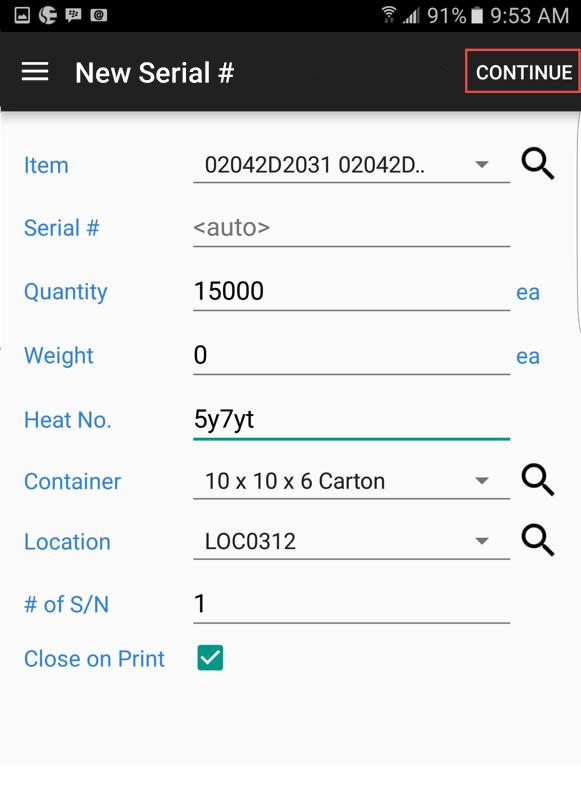
If users wish to re-use the serial number from the Vendor, you can enter it into the system instead of having the system automatically create a new serial number. Enter in the Quantity; the Weight will default based on the default Unit of Measure that is set on the Item. The Weight is not required. Sometimes in the case of raw material, the Quantity and Weight may be the same. Enter in a Heat No., Container, Location, # of S/N’s to be created, and whether to Close on Print. Indicate the number of serial numbers you wish to create. Once the information is complete, select Continue in the top-right corner of the screen.
A window will appear where users can enter in the number of copies to print and select the printer and barcode. Then, select OK.

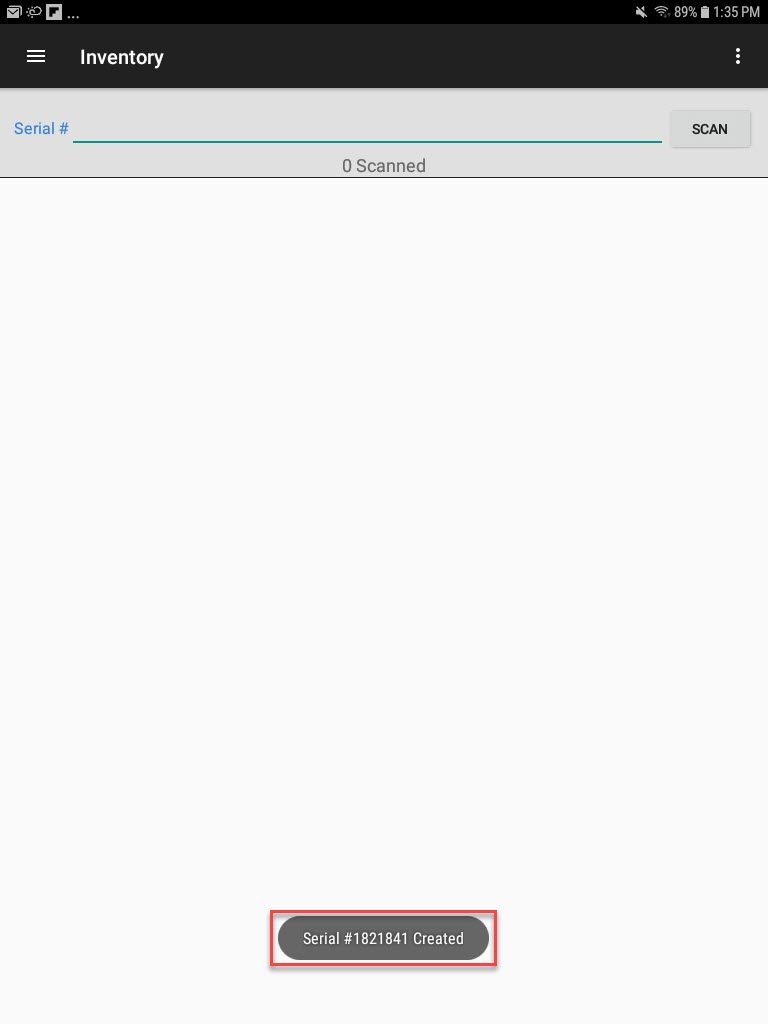
The Purchased serial number will be printed and created.
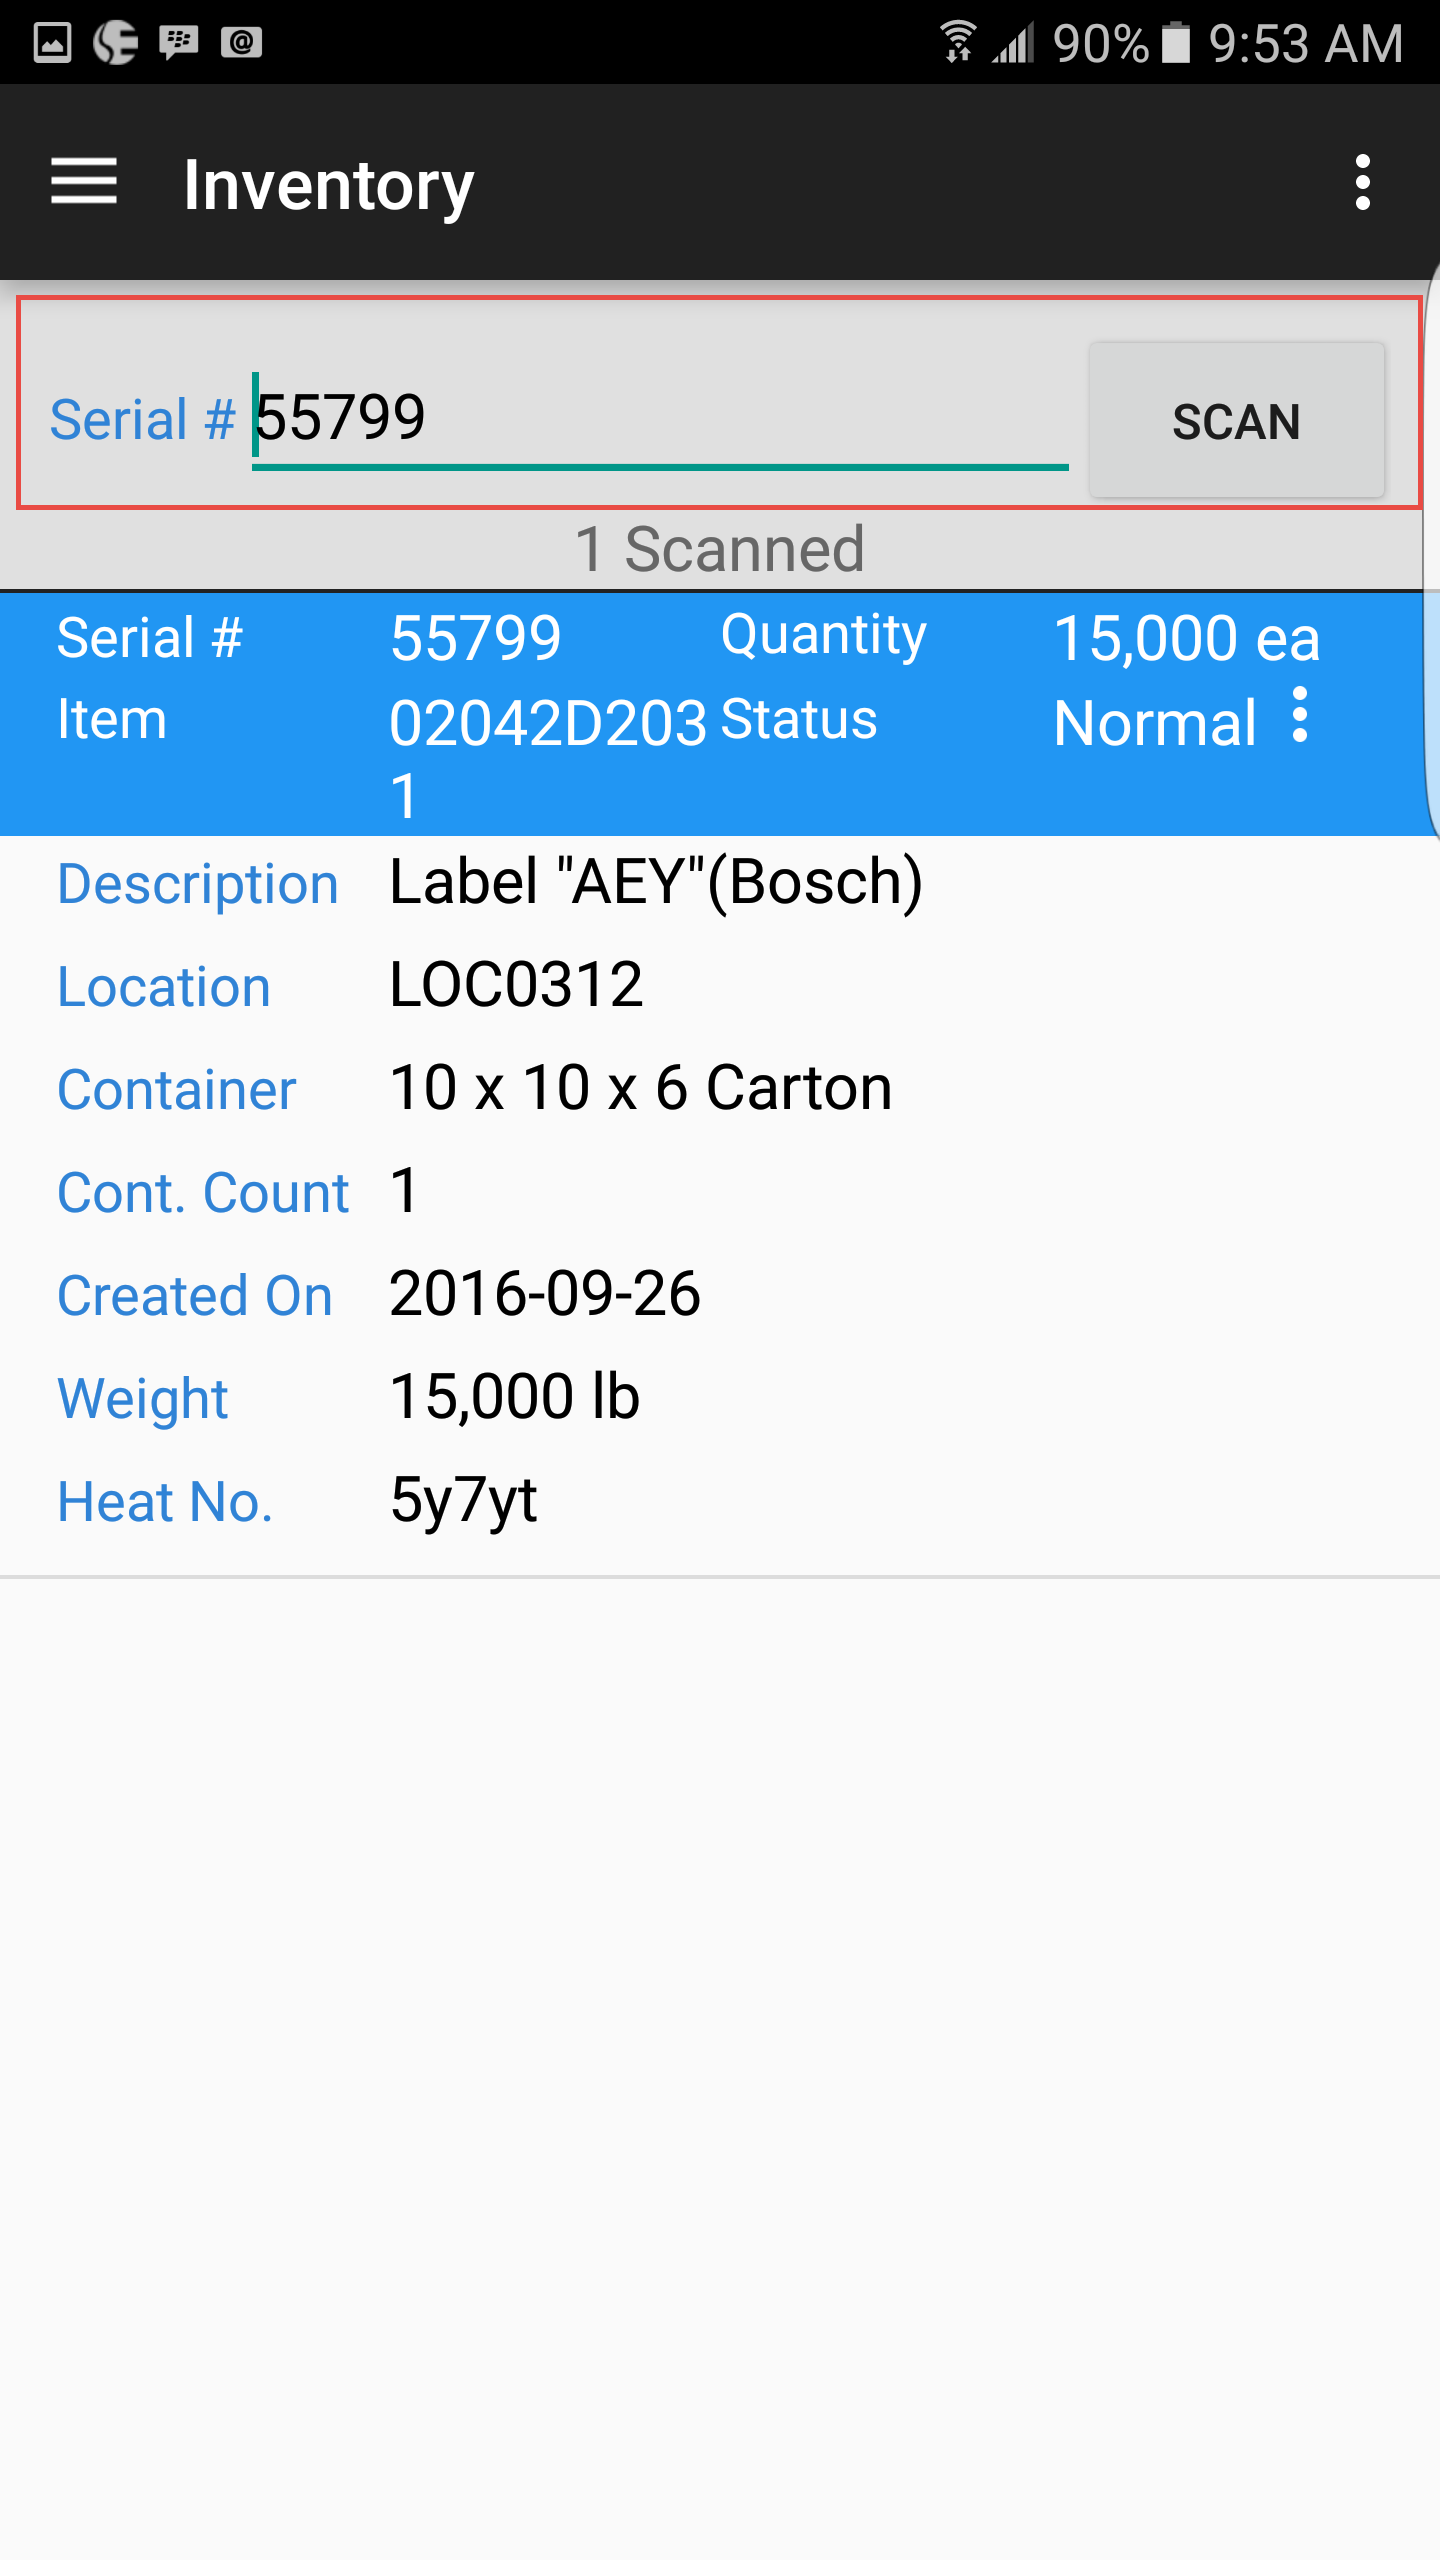
Make sure to scan or enter the Purchased serial number once it has been printed and placed on the Item, to update the inventory in the system.
Scanning Serial Numbers
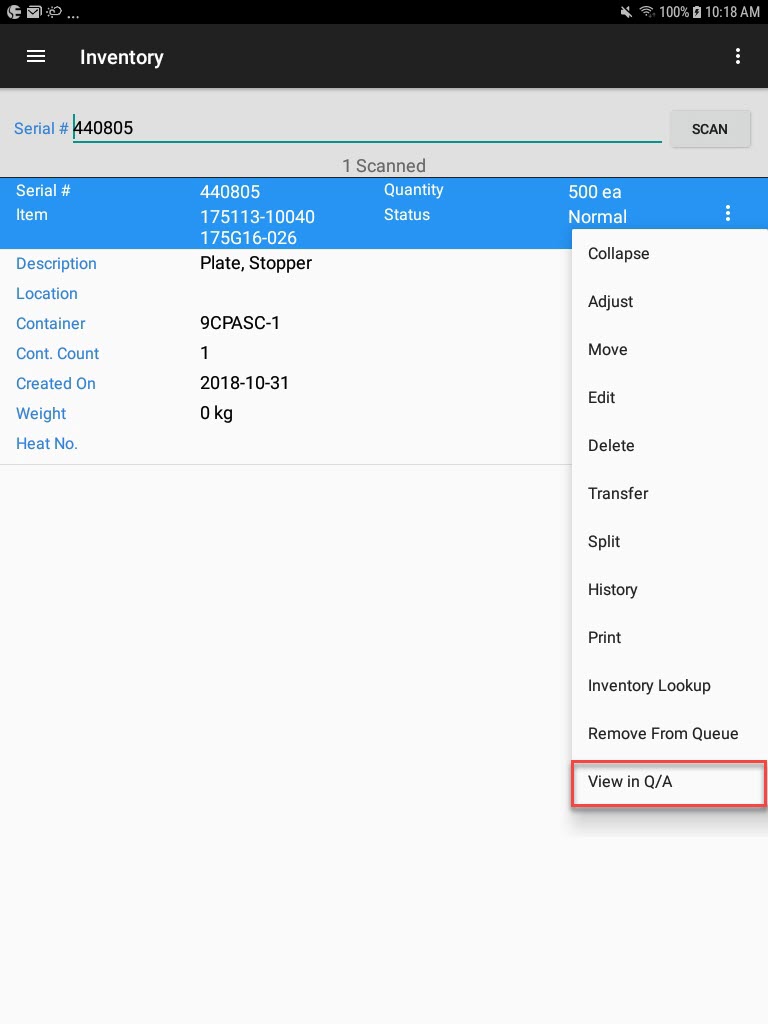
To launch the Scanning screen, select the Scanning option on the navigation drawer under the Inventory module.

The Scanning screen will appear.

To scan a serial number, select the Scan button to launch the Barcode Scanner.
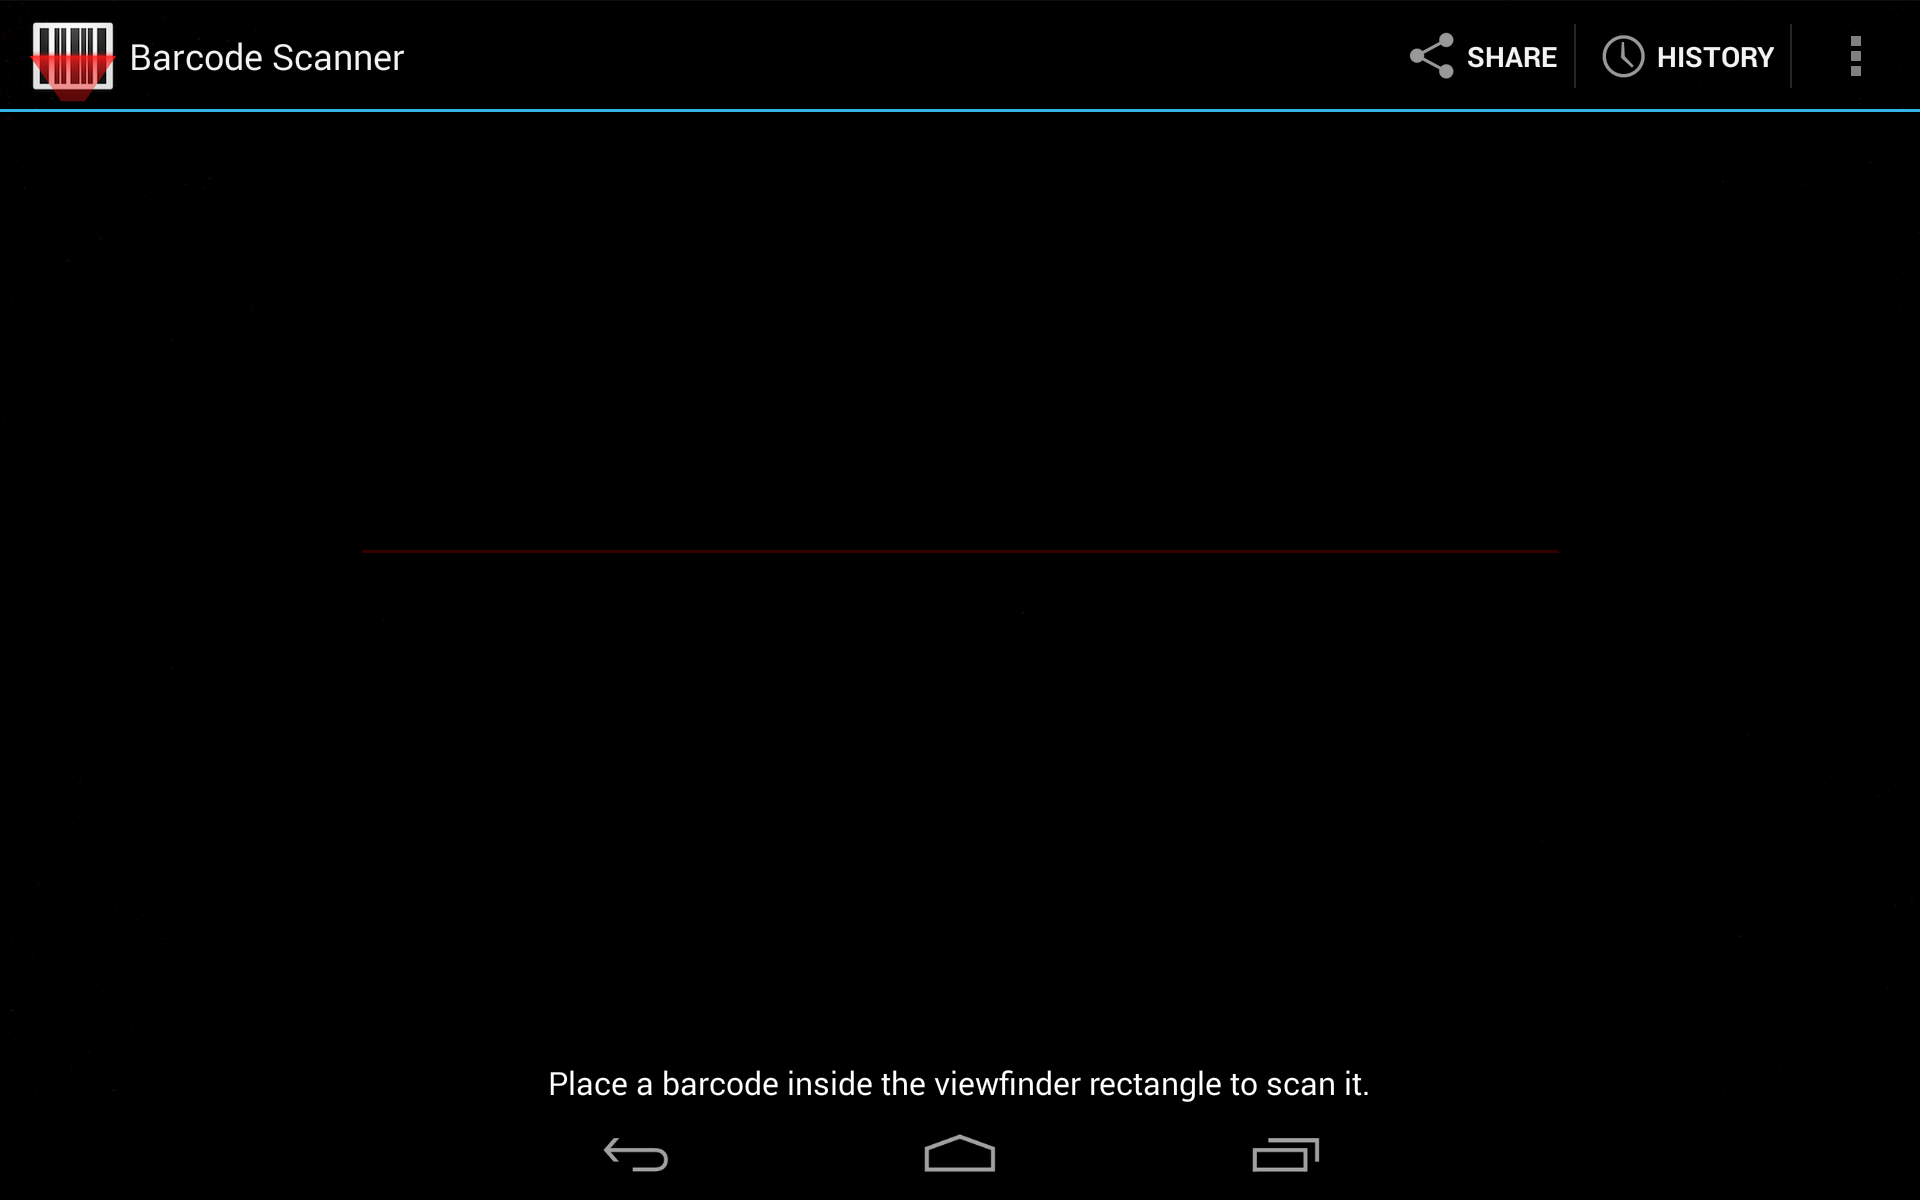
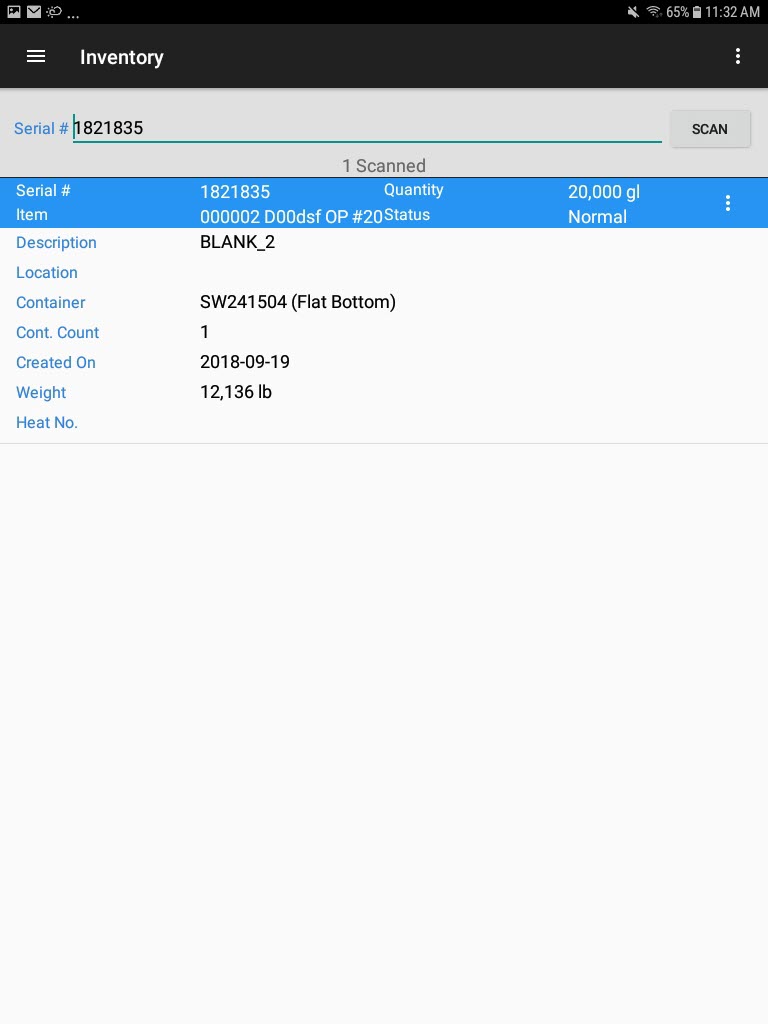
Point the Barcode Scanner at the label you wish to scan. The barcode label will display live on the Barcode Scanner as you move the device around to get a good scan on the label. Once the label is scanned, the Barcode Scanner will close, and the details will display on the Scanning screen.
Note
Instead of scanning, users can manually enter in a serial number the Serial # textbox. When finished, select the Enter key and the serial number details will appear.
Note
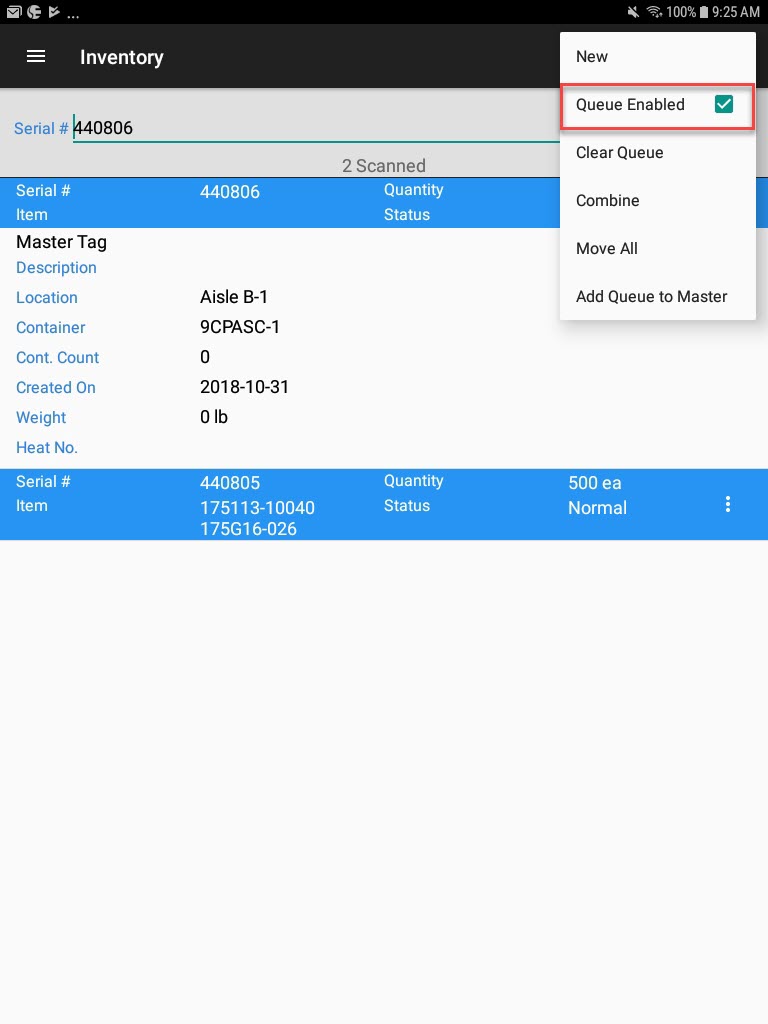
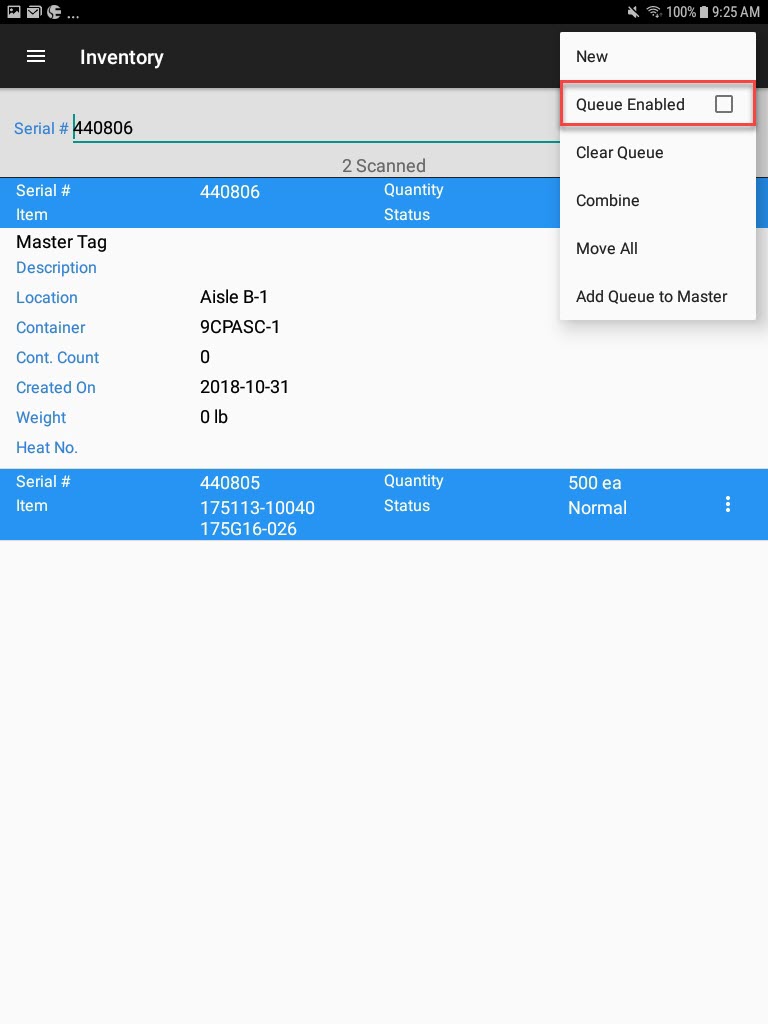
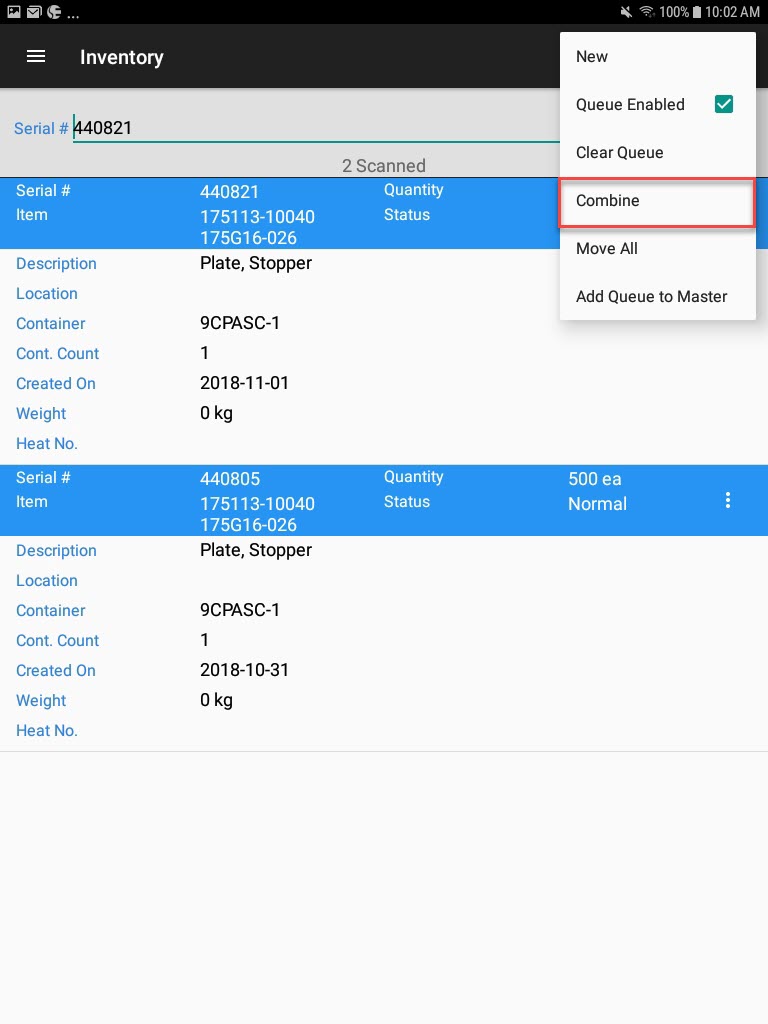
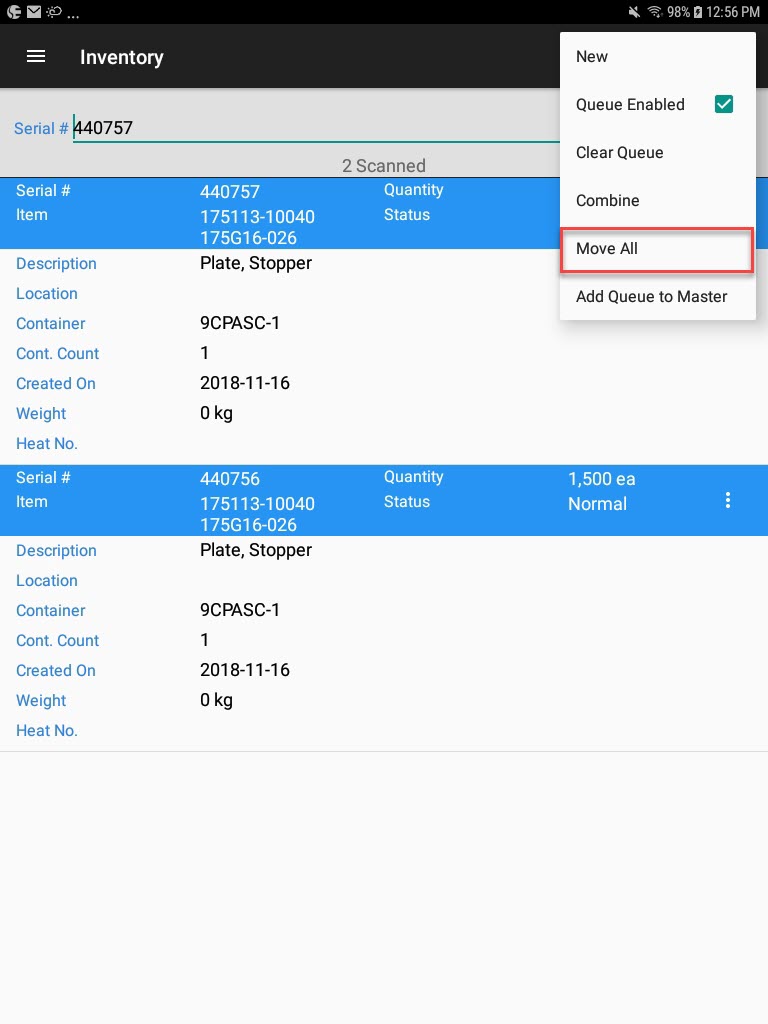
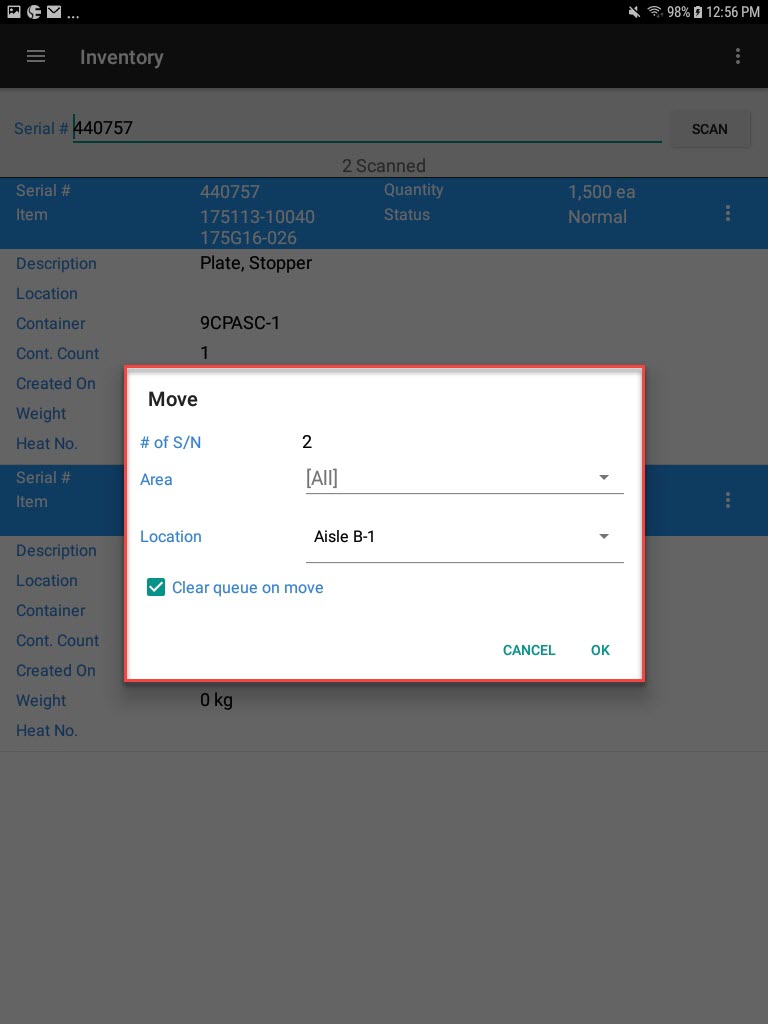
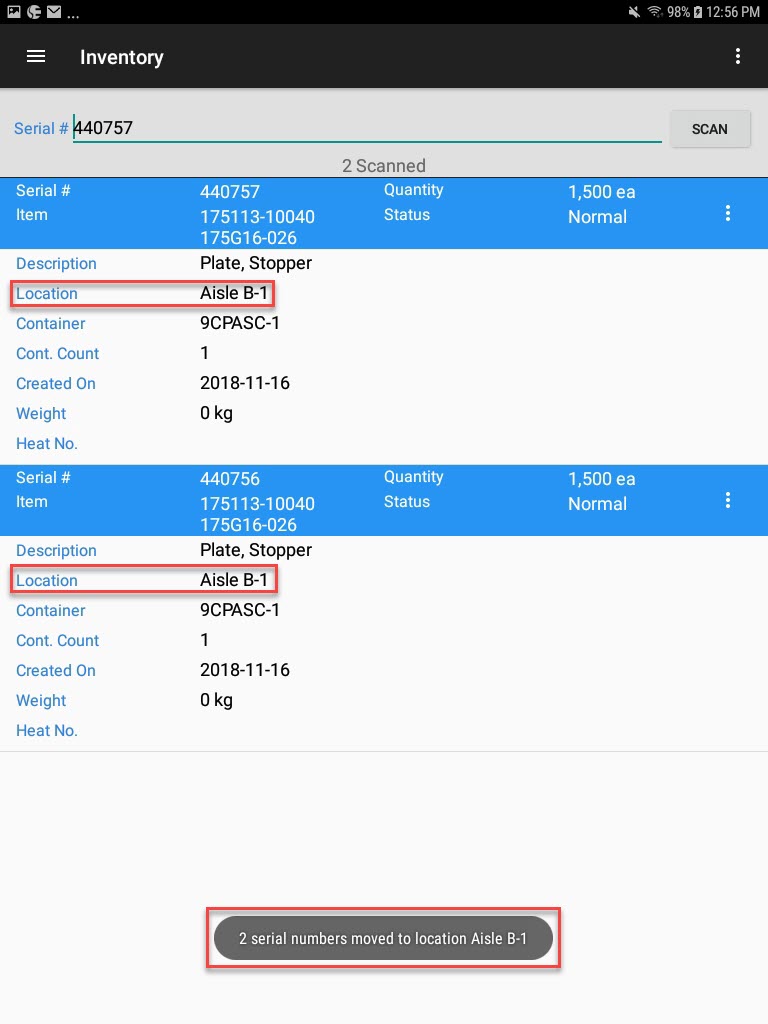
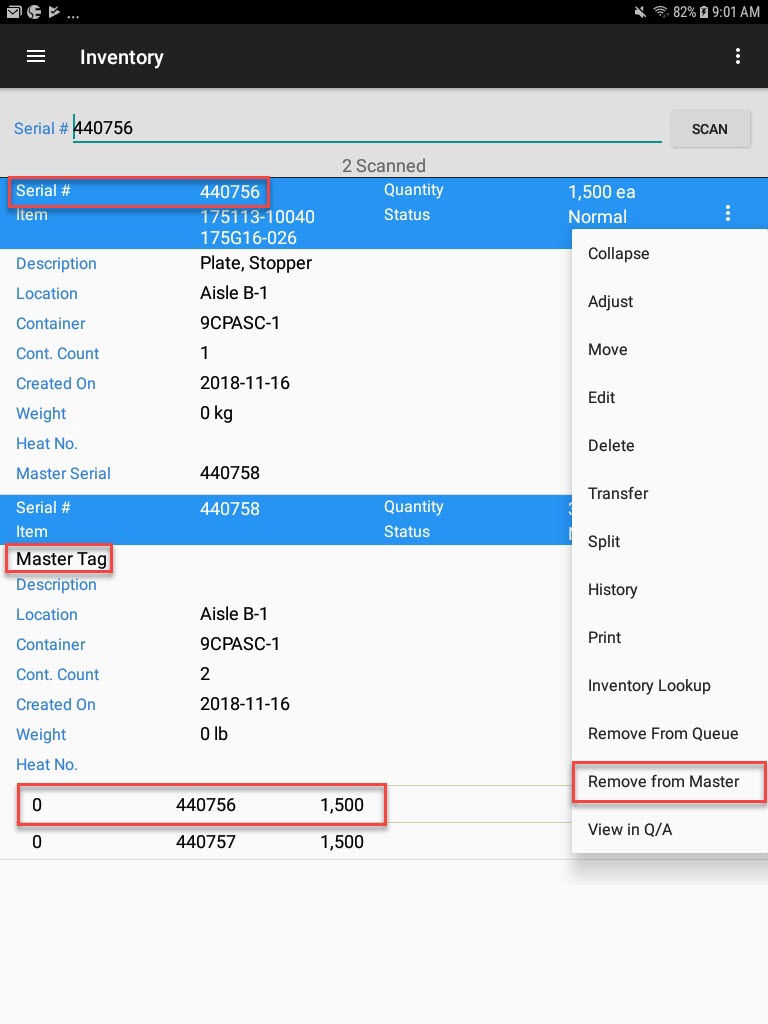
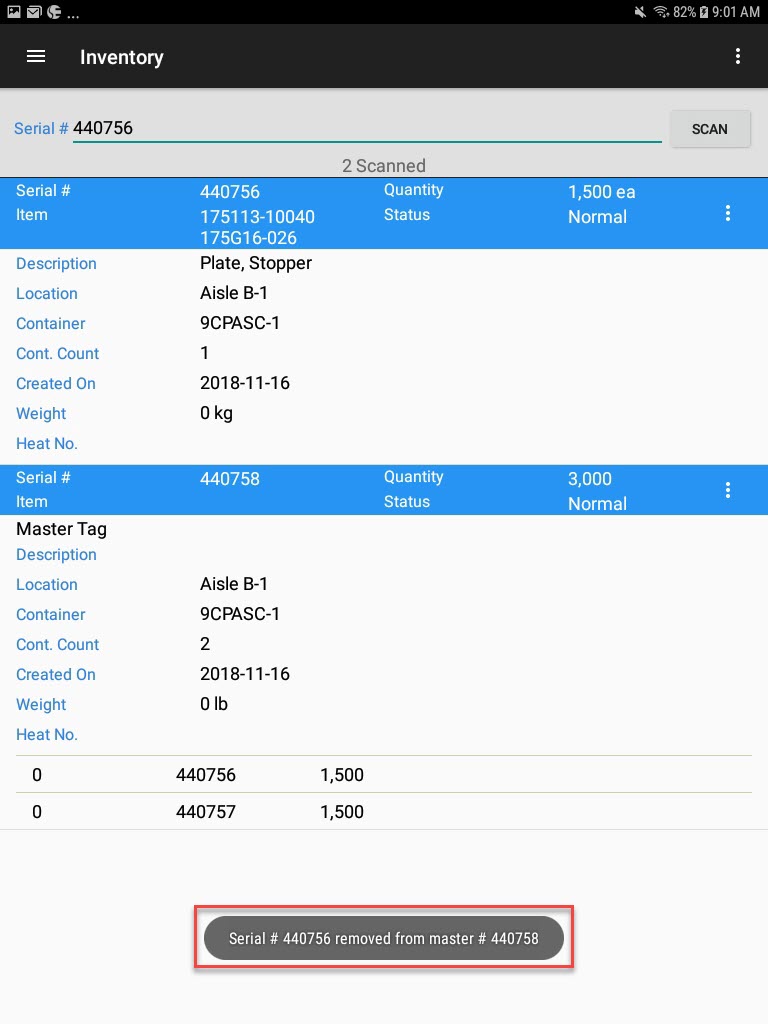
If users wish to perform an action for multiple serial numbers, make sure that the Queue Enabled checkbox is selected in the menu located in the top-right corner of the screen. This will allow users to scan multiple serial numbers at one time.
Note
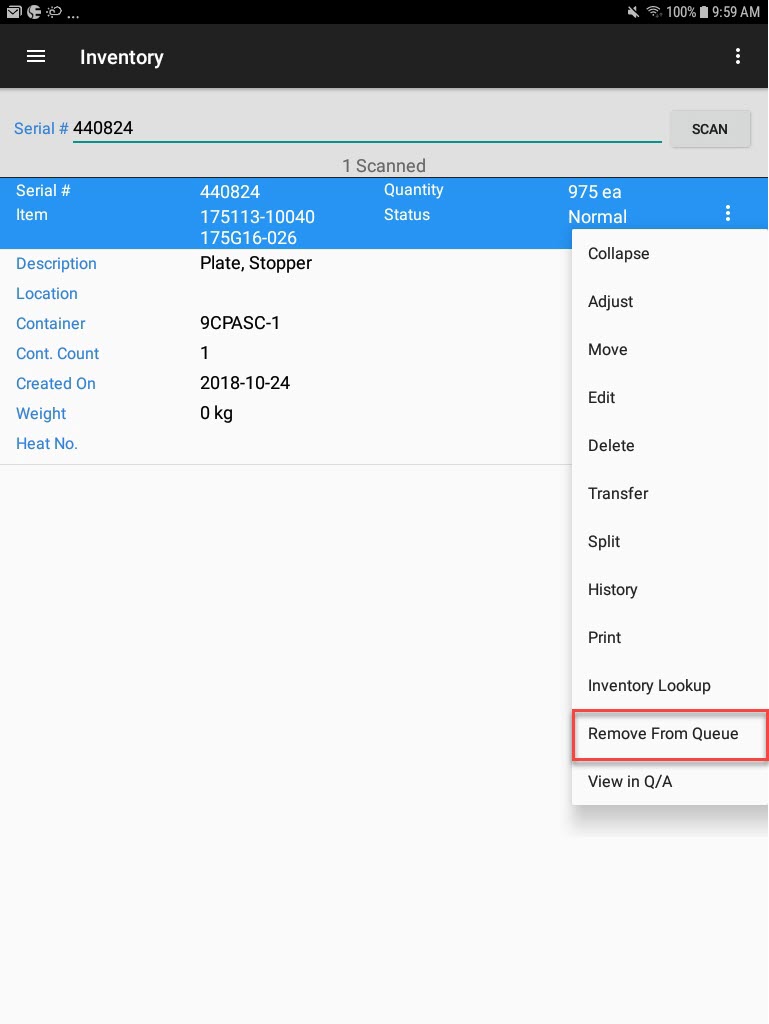
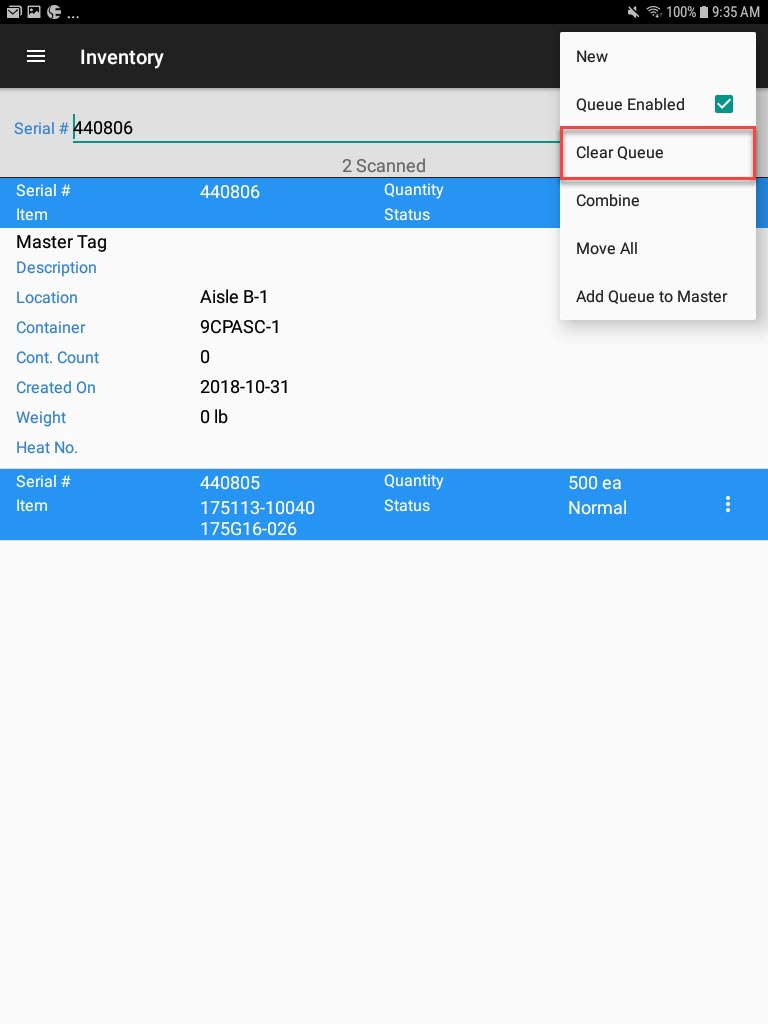
Users can also select Clear Queue at anytime to remove serial numbers from the Scanning screen. This option can be found from the menu located in the top-right corner of the screen.
Cycle Count
The Cycle Count module is used to scan serial number barcodes for validation as part of a cycle count that has been started in the main ShopEdge Application.
Cycle Counts
To use the Android application for a Cycle Count, users first must create and define a Cycle Count in the main ShopEdge application. Then, users can select it and scan barcodes on the Android Application.
Note
For more information on how to create a Cycle Count in the main ShopEdge application, navigate to Inventory > Cycle Counts.
To find and view Cycle Counts, select Cycle Count under the Inventory module from the navigation drawer.
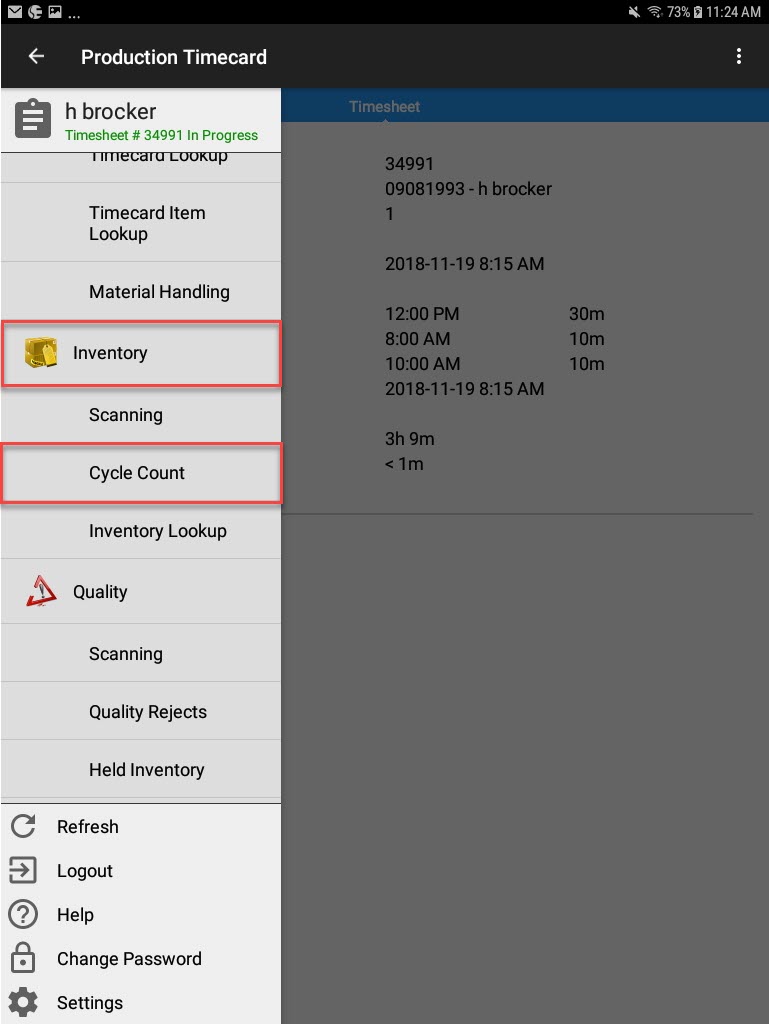
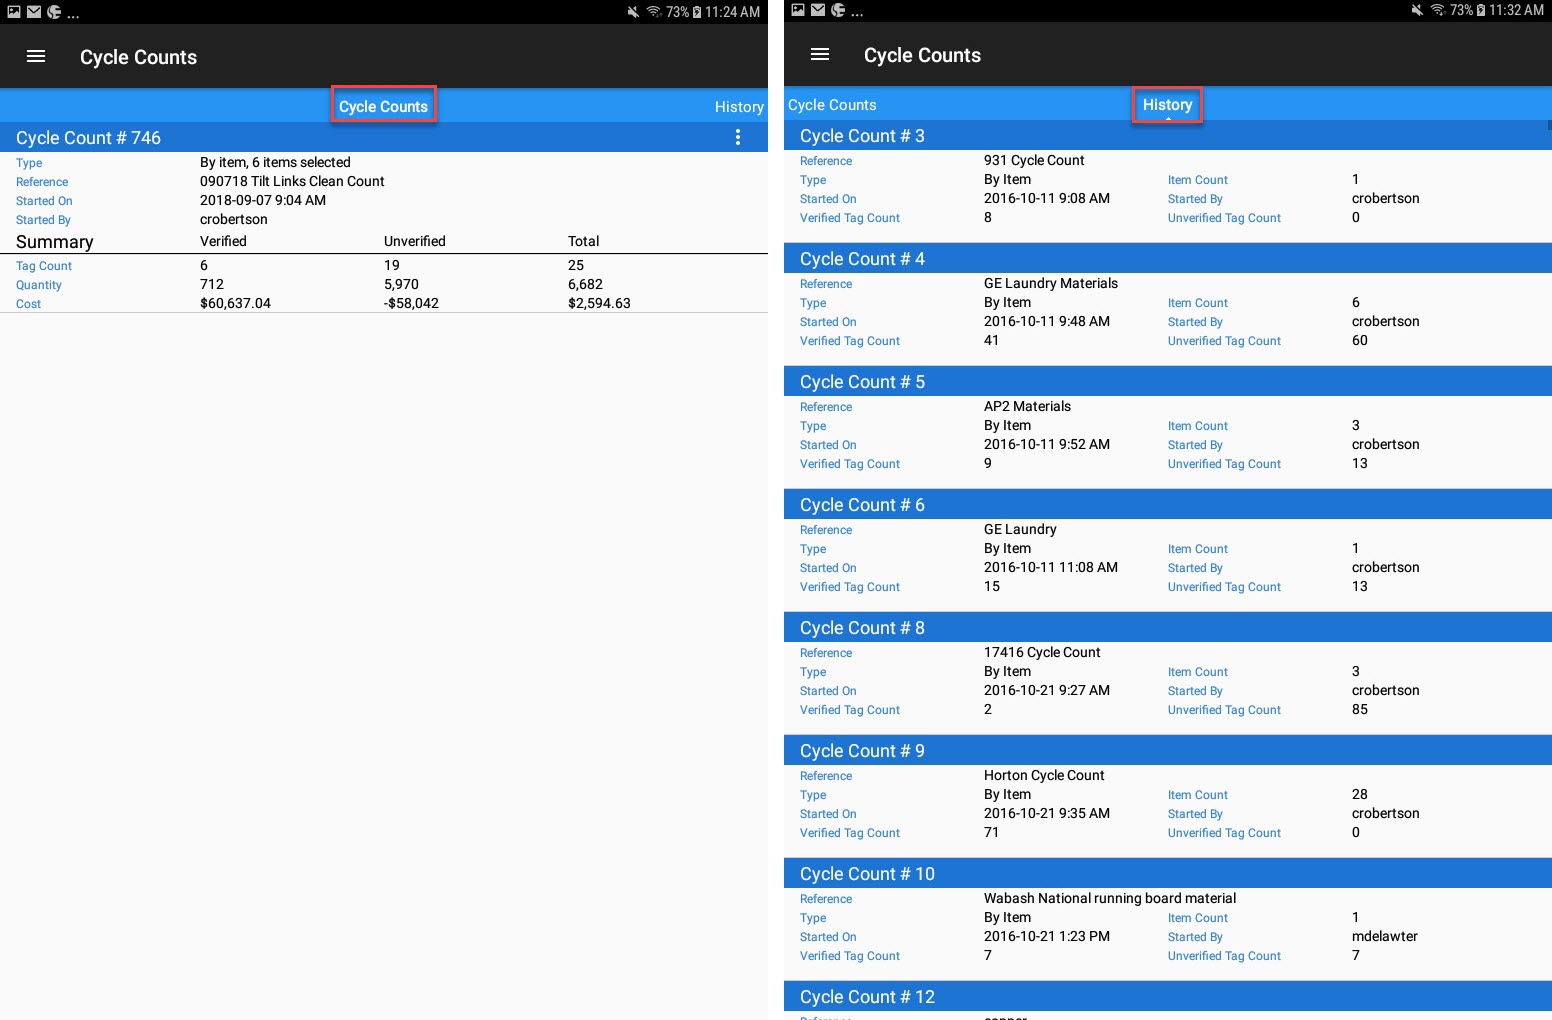
The Cycle Count screen will appear listing all of the available Cycle Counts created in the main ShopEdge application.
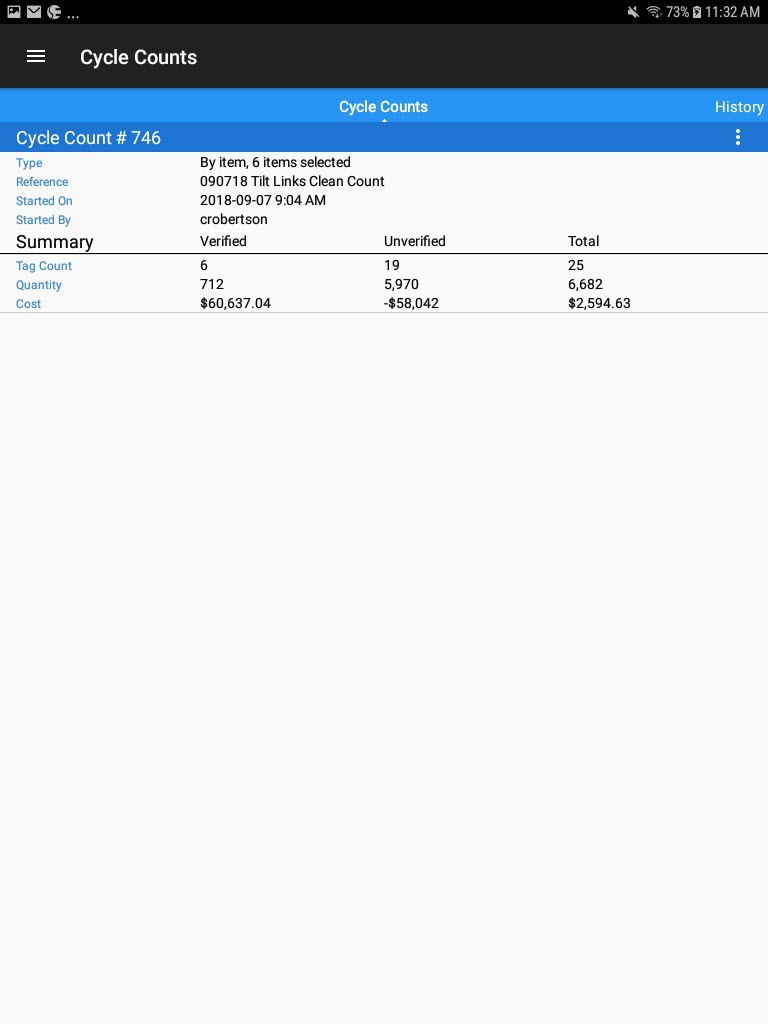
The first tab, Cycle Counts, lists the current Cycle Counts; and the second tab, History, lists previous Cycle Counts.
Opening a Cycle Count
To open a Cycle Count, select Cycle Count under the Inventory module from the navigation drawer.

The Cycle Count screen will appear listing all of the available Cycle Counts created in the main ShopEdge application.

Locate the Cycle Count you wish to view and from the action menu, select Open.
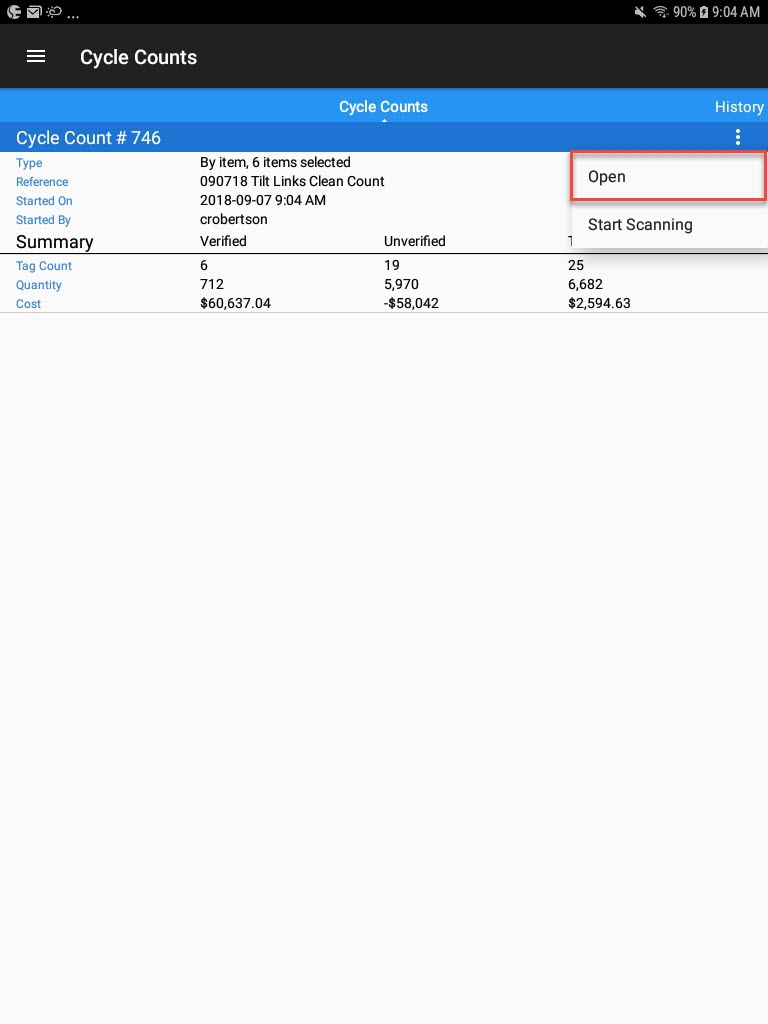
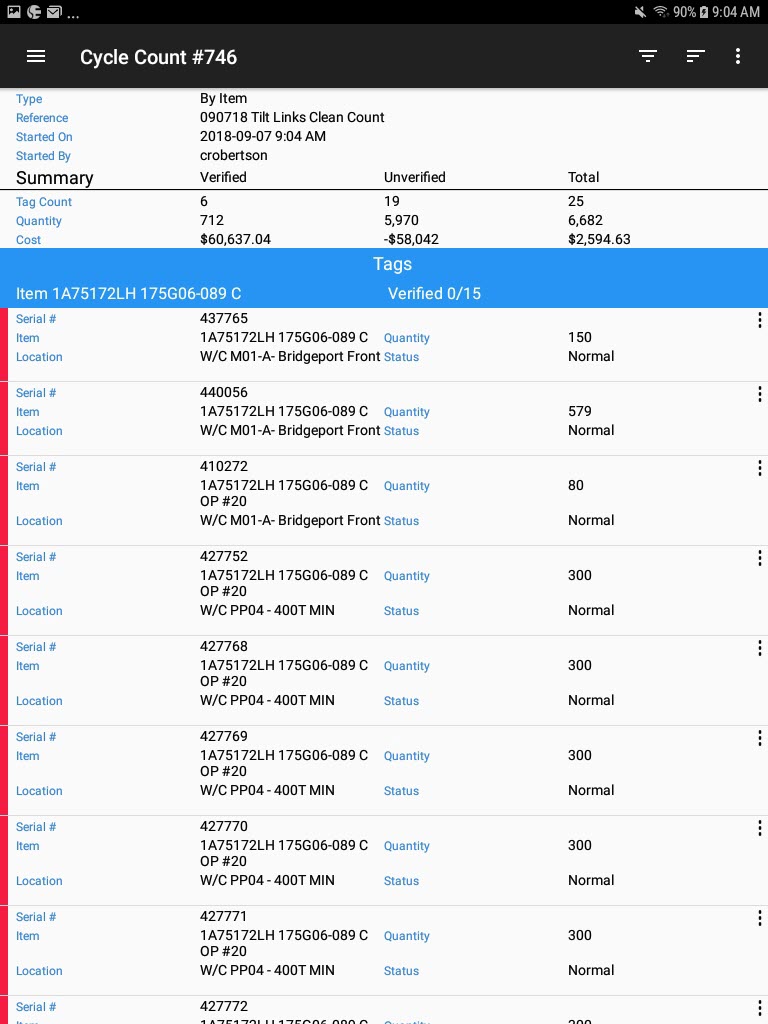
The Cycle Count detail screen will appear.
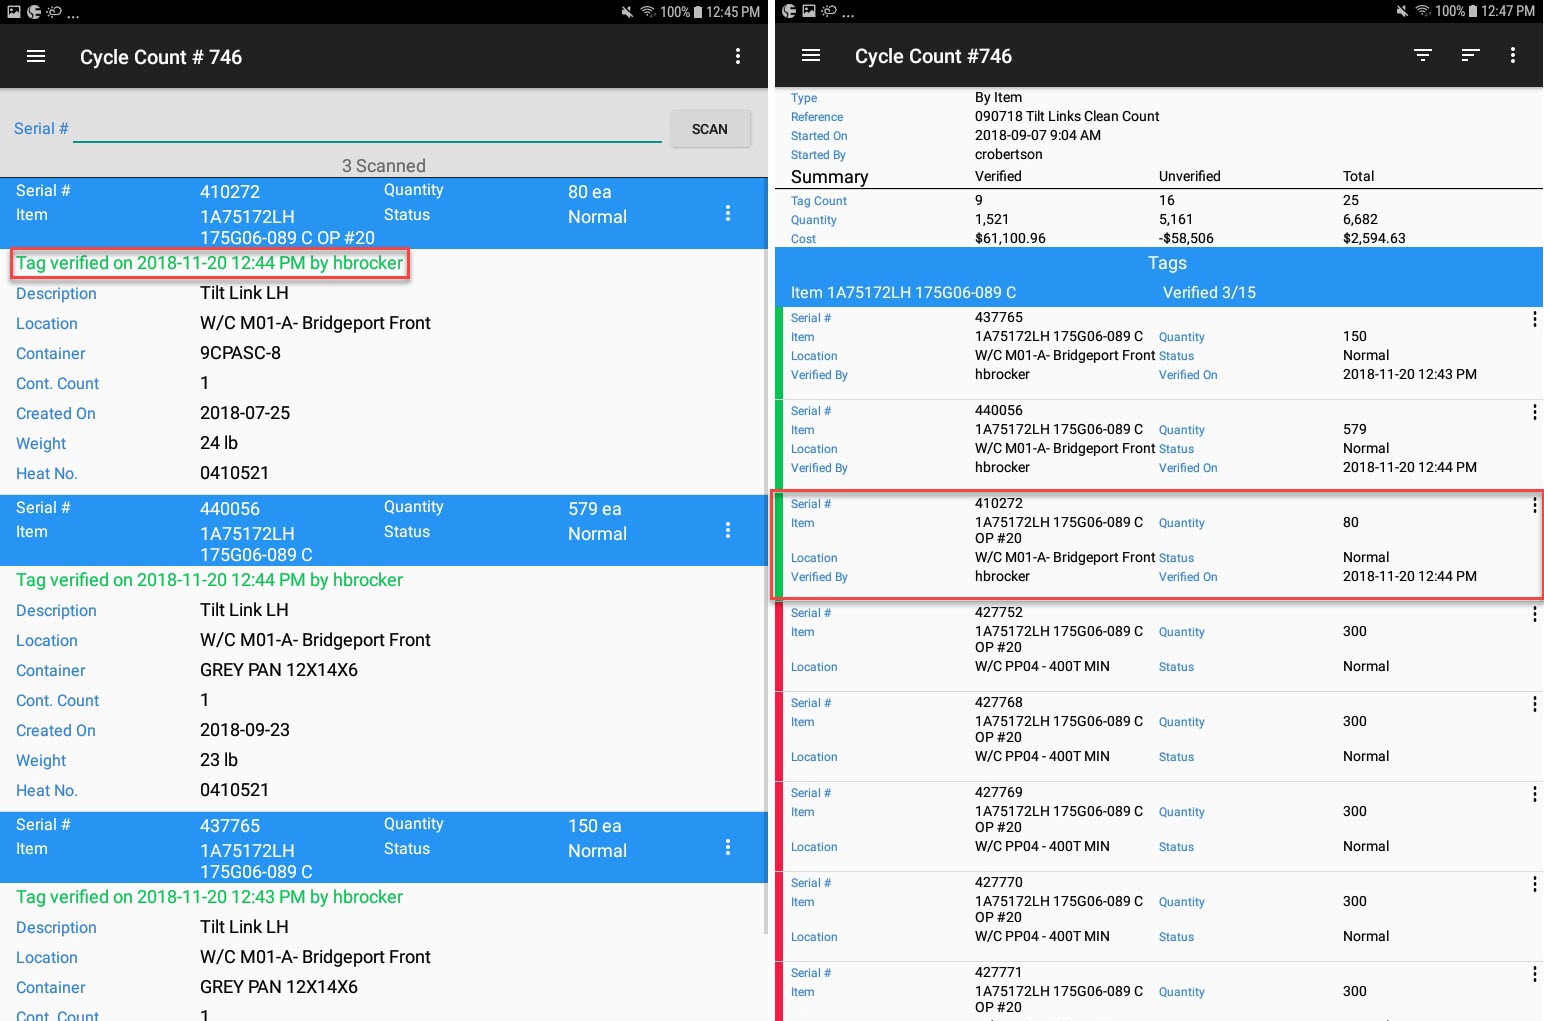
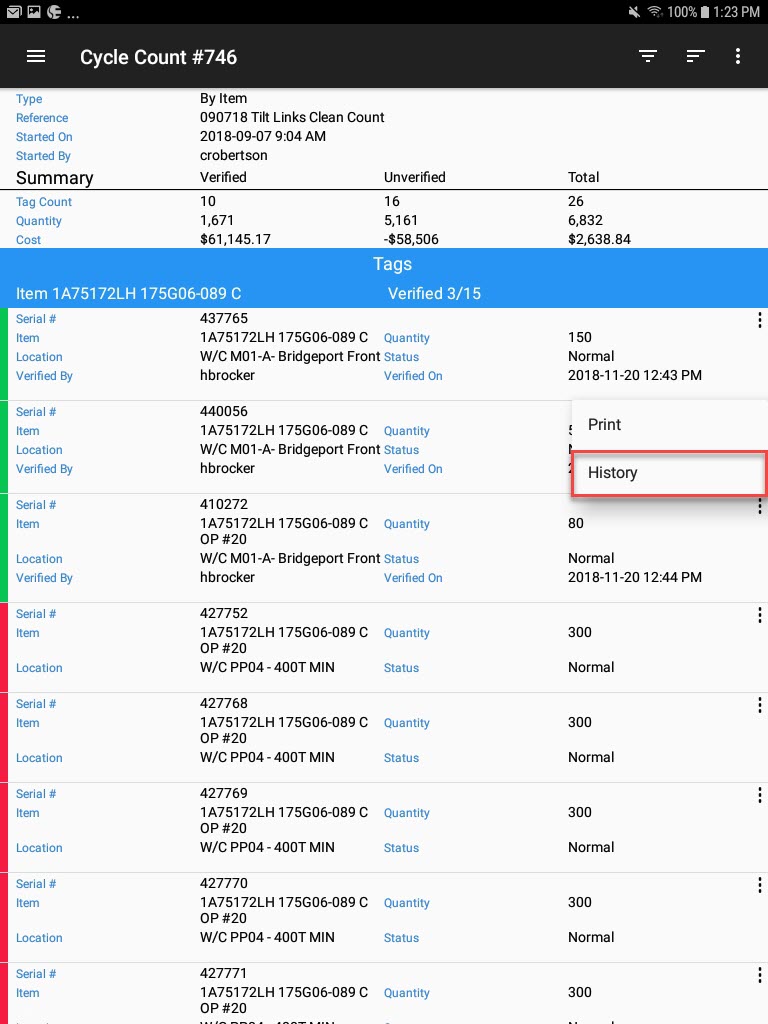
The system will display the Cycle Count detailed information and the serial number information for each item. When a serial number is scanned, it will show in green; unscanned serial numbers will show as red.
Scanning Serial Numbers for a Cycle Count
There are two ways in Android to scan serial numbers for a Cycle Count.
The first way is to select Cycle Count under the Inventory module from the navigation drawer.

The Cycle Count screen will appear listing all of the available Cycle Counts created in the main ShopEdge application.

Locate the Cycle Count you wish to scan serial numbers for and from the action menu, select Start Scanning.
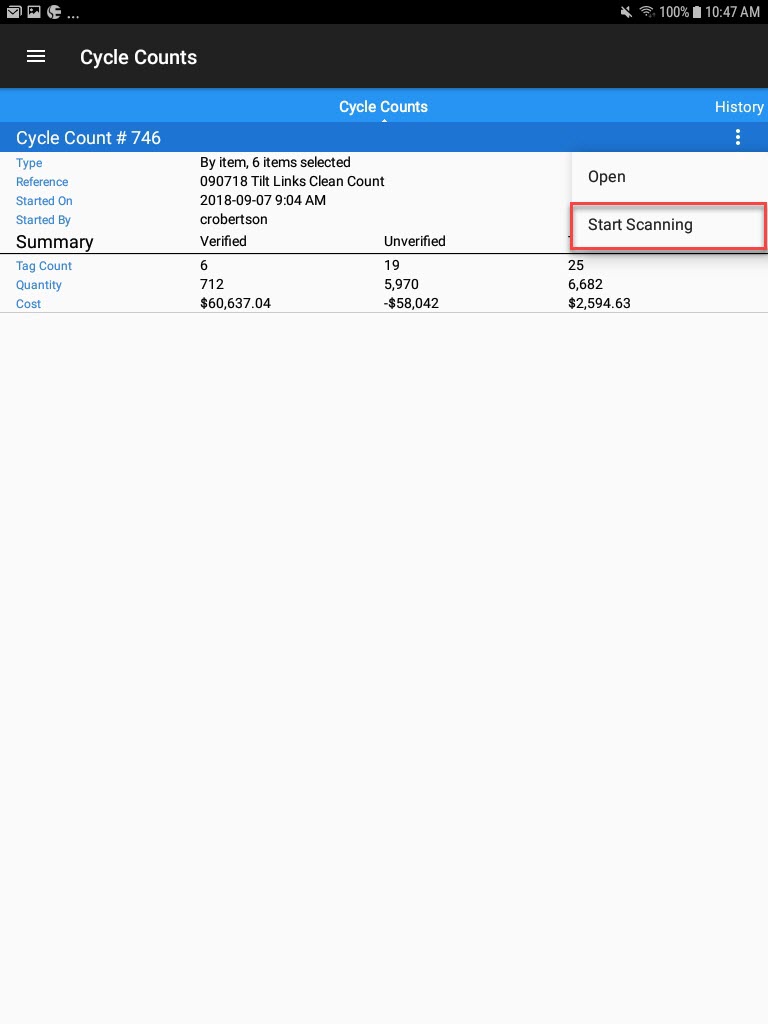
The second way is to open the Cycle Count you wish to scan serial numbers for and from the action menu, select Start Scanning.
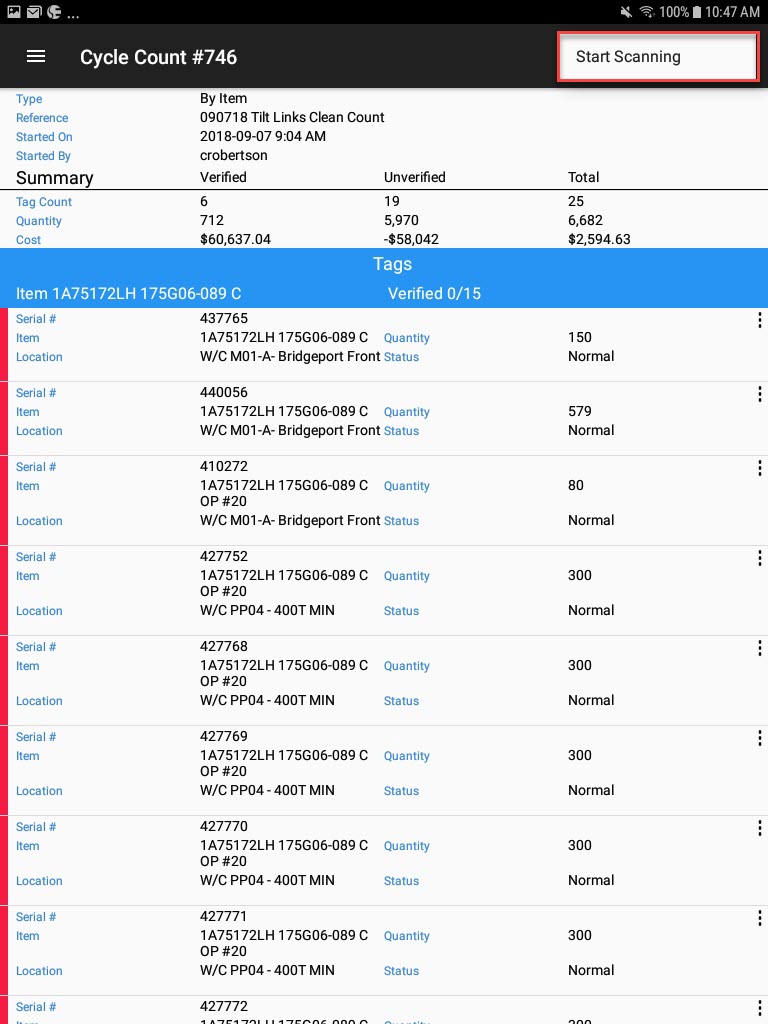
Both options will open the Cycle Count scanning screen.
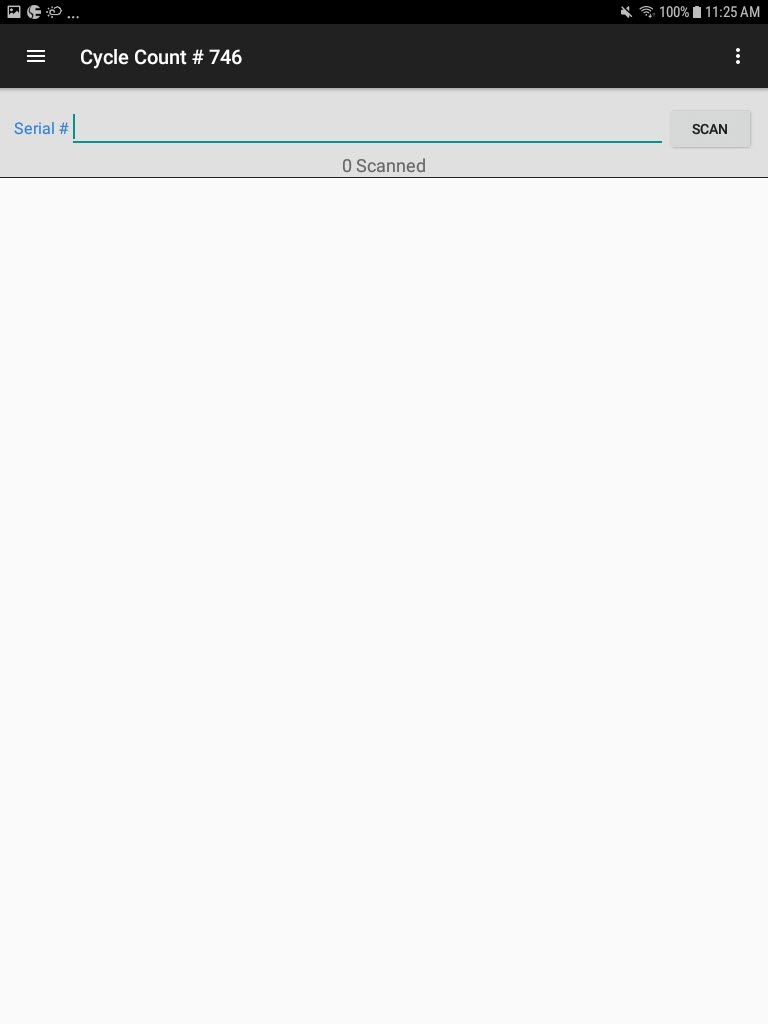
Users can manually enter in serial numbers; scan them using the Scan button; or if using the Handheld Scanner simply hold the trigger to scan the serial number barcode.
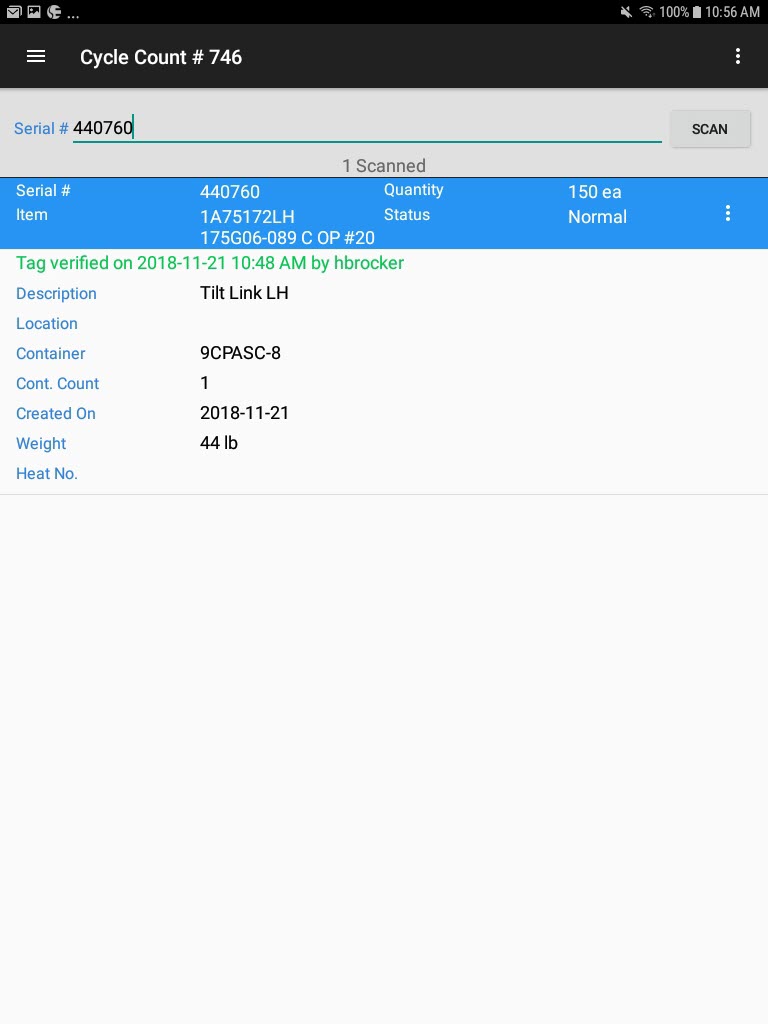
Once a serial number has been scanned, it will show in green as verified both on the scanning and Cycle Count detailed screen.
Creating a Serial Number for a Cycle Count
Users have the ability to create new serial numbers while scanning serial numbers for a Cycle Count.
To do so, locate the Cycle Count you wish to create a serial number for and from the action menu select Start Scanning.

The Cycle Count scanning screen will open.

From the action menu, select New.
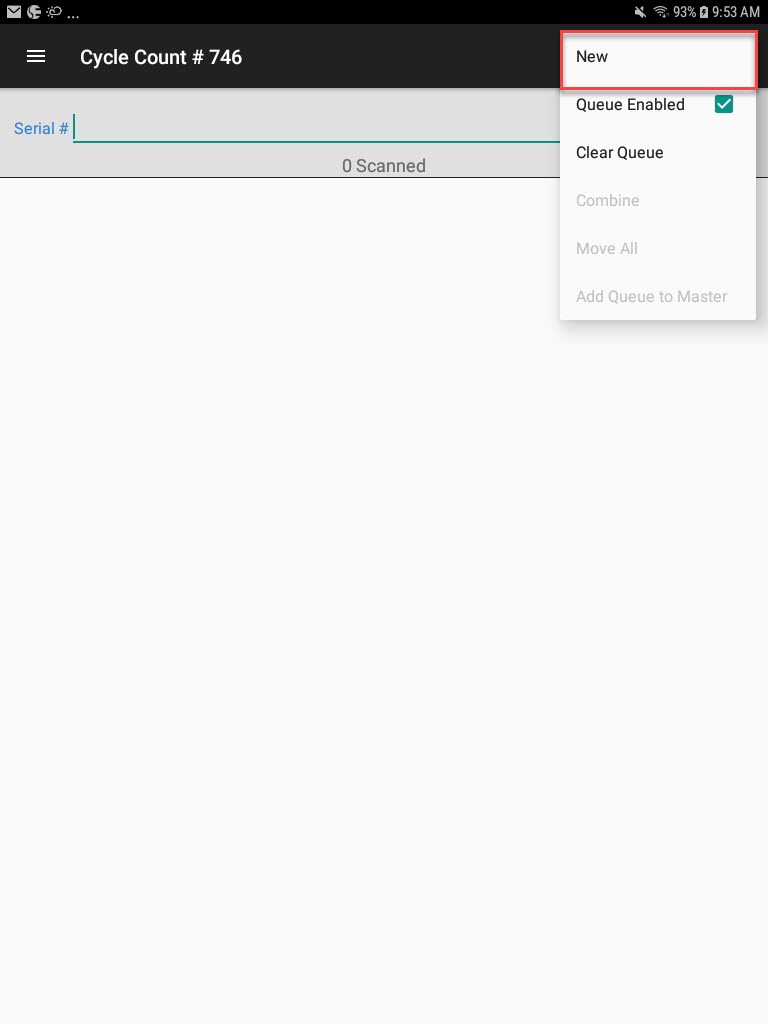
Users can create Finished Good/WIP, Master, and/or Purchased serial numbers.
Note
For more information on how to create Finished Good/WIP, Master, and/or Purchased serial numbers please navigate to ShopEdge Mobile Android Application > Inventory > Scanning > Creating a Serial Number and Printing a Barcode.
The New Serial # screen will appear.

Users must complete the details for the Finished Good/WIP serial number:
- Item - select the item from the drop-down list or use the lookup (required).
- OP # - select Finished from the drop-down list to create a finished goods item or select an operation to create a WIP serial number (required).
- Quantity - enter the quantity for the serial number (required). The unit of measure for the item will automatically display beside the quantity edit box.
- Weight - enter the weight for the serial number (optional). The weight of the serial number will automatically calculate based on the quantity.
- Heat No. - enter the heat number (optional).
- Container - select the container from the drop-down list or use the lookup(required).
- Location - select the location from the drop-down list or use the lookup(optional). The location is used to find the serial number in the warehouse. The location can also be set later by scanning the serial number to a stock location.
- # of S/N - enter the number of serial numbers to generate. Each serial number will contain the same information entered, but a different serial number will be generated.
- Close on Print - check this box to close the New Serial # screen after printing. Un-check this box if you want to create another serial number after creating this one.
Once the serial number(s) has been saved and printed, users must scan the serial number so that it can be verified for the Cycle Count.
Printing a Serial Number on a Cycle Count
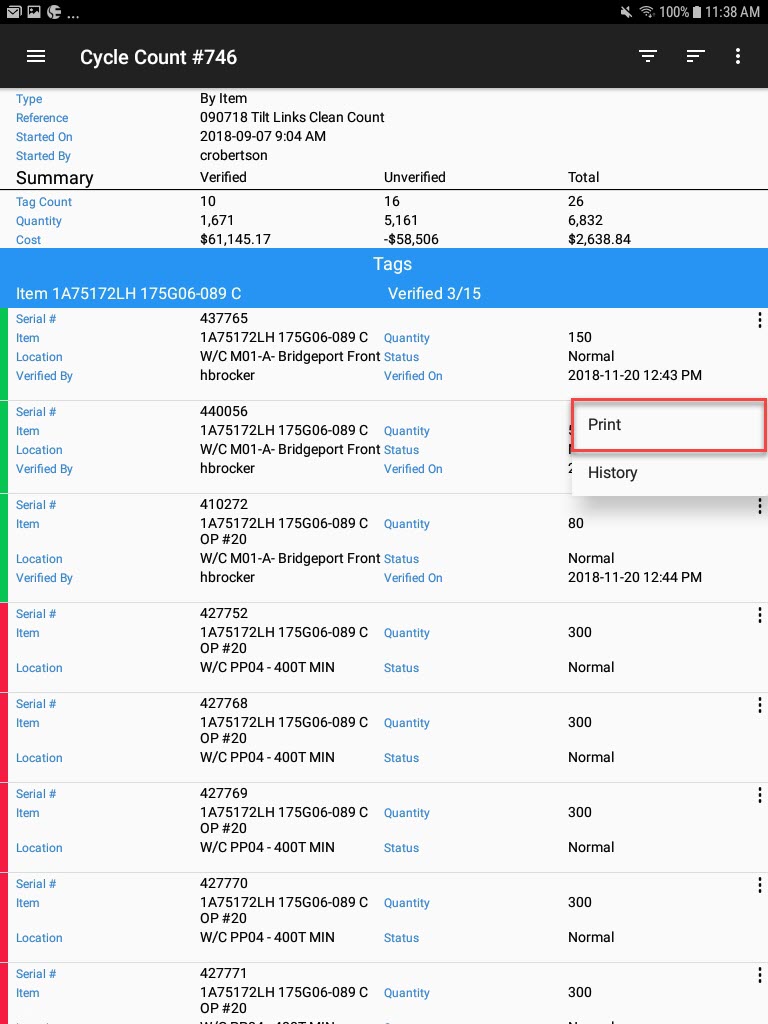
To print a serial number that is on a Cycle Count, locate the Cycle Count you wish to print a serial number from and from the action menu, select Open.

The Cycle Count detail screen will appear.

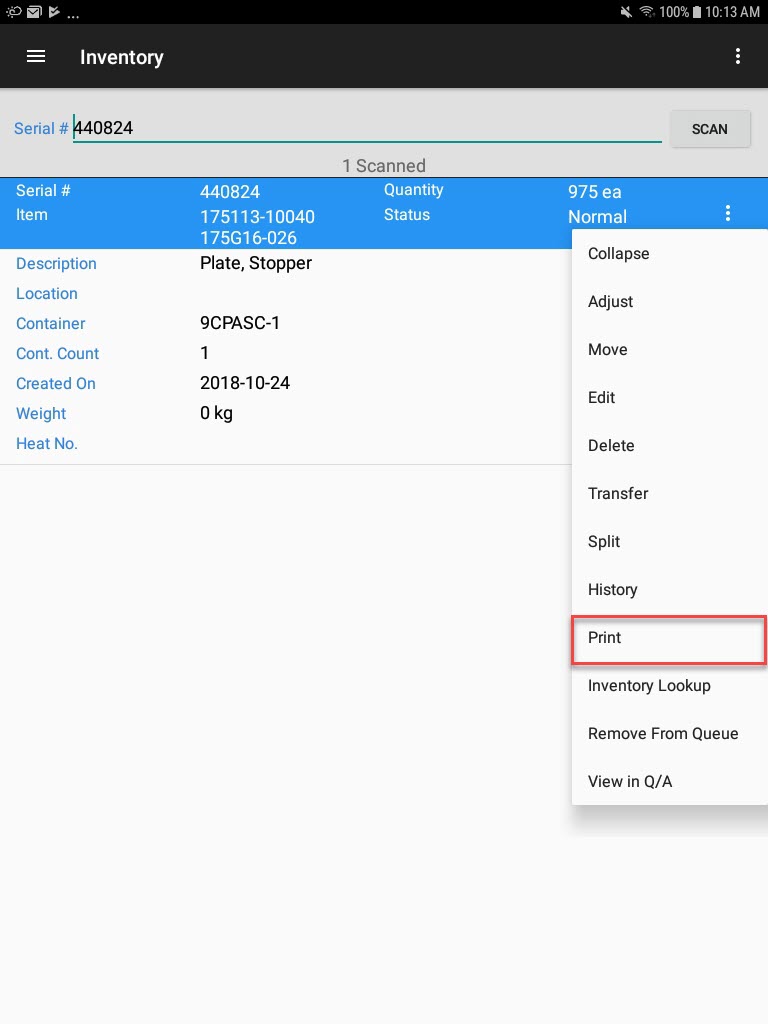
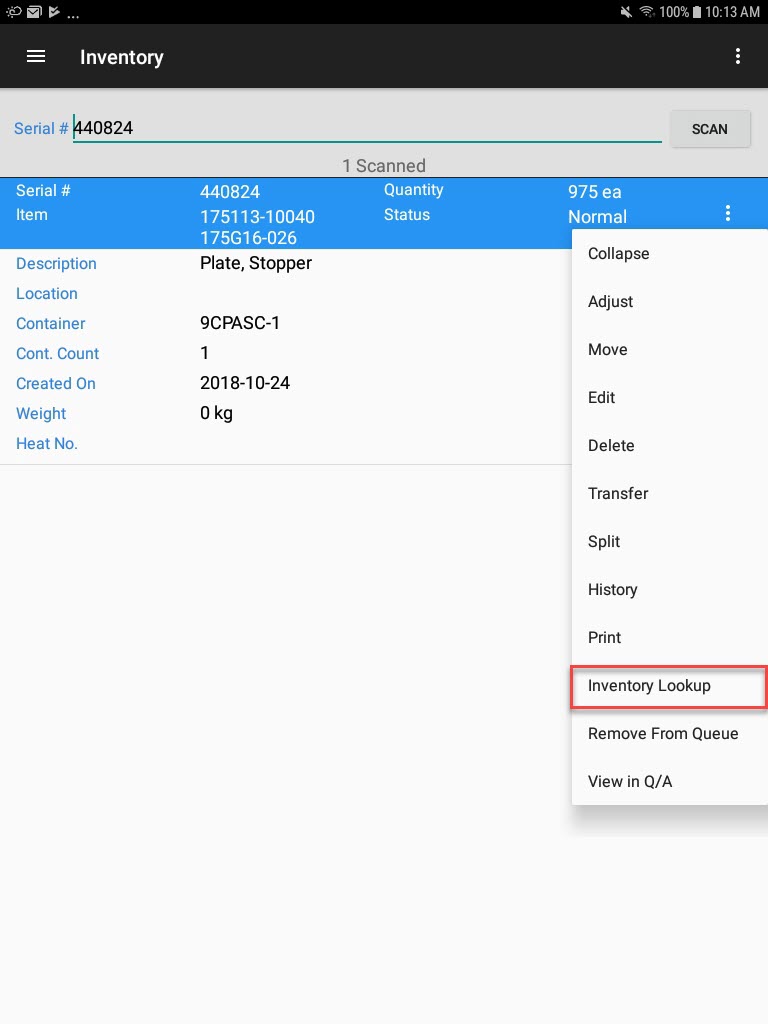
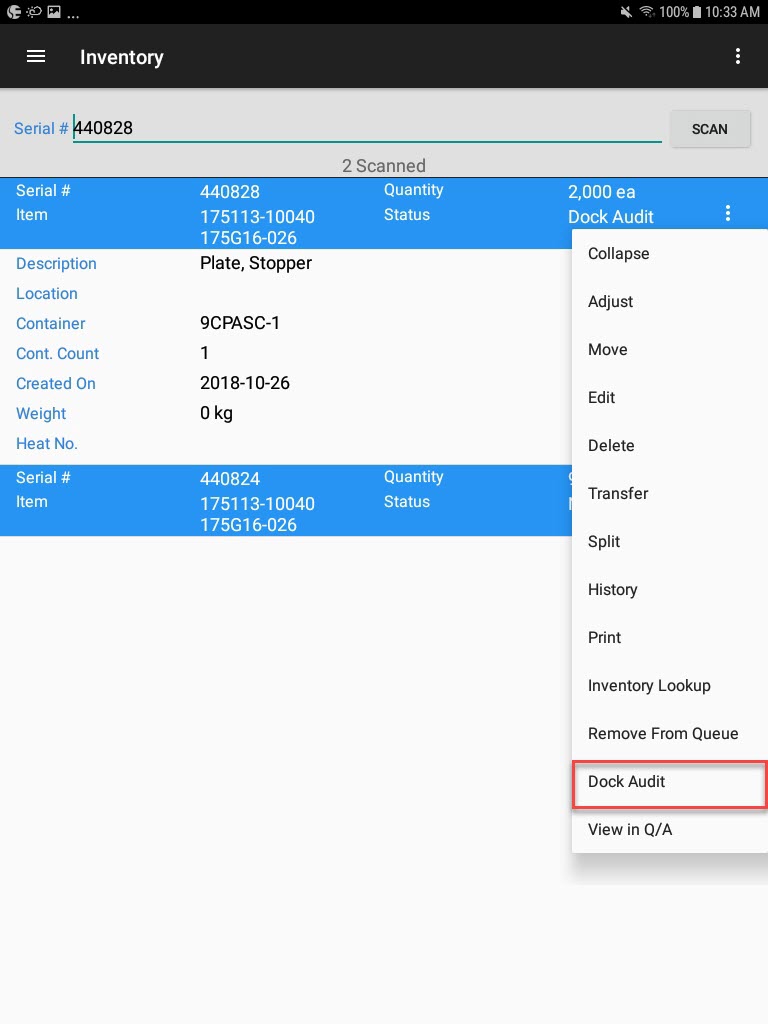
Locate the serial number you wish to print and from the action menu, select Print.
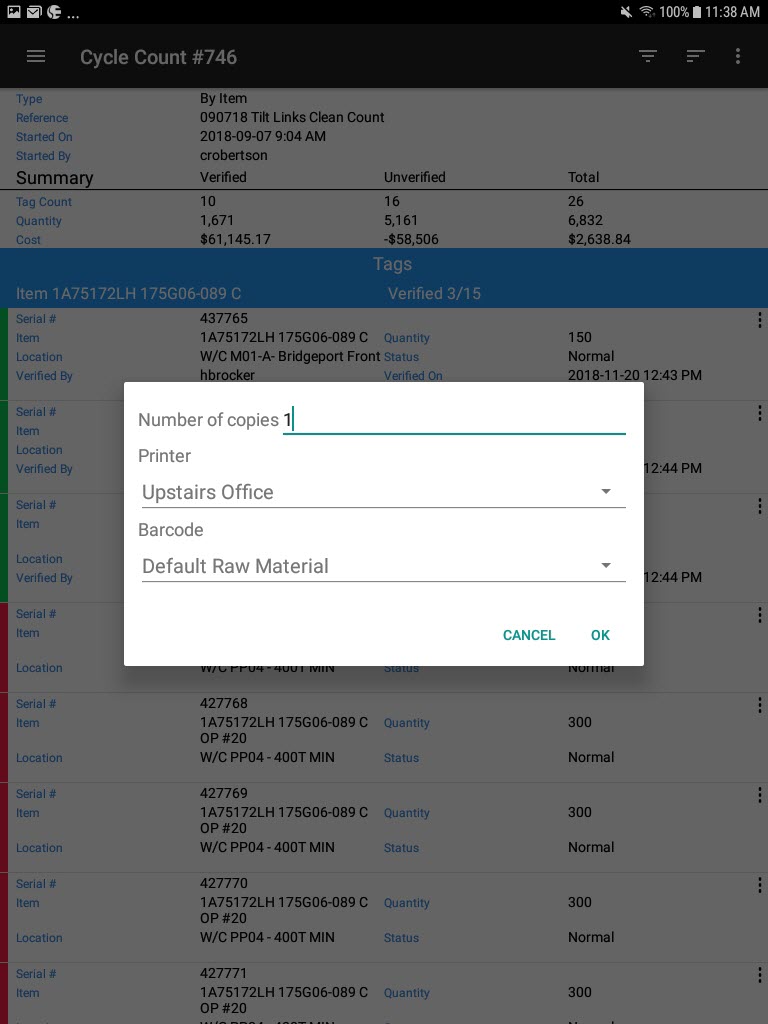
A window will appear where users can enter in the number of copies to print and select the printer and barcode. Then, select OK.
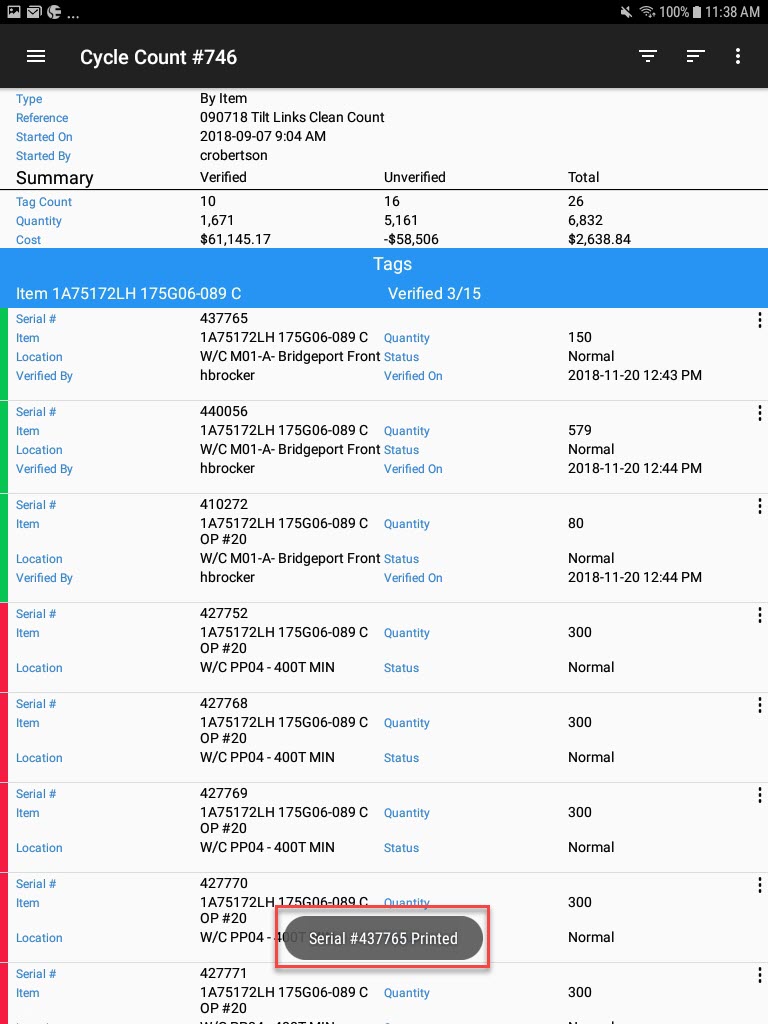
The selected serial number will be printed.
Viewing History of a Serial Number on a Cycle Count
To view the history of a serial number on a Cycle Count, locate the Cycle Count you wish to view a serial numbers history for and from the action menu, select Open.

The Cycle Count detail screen will appear.

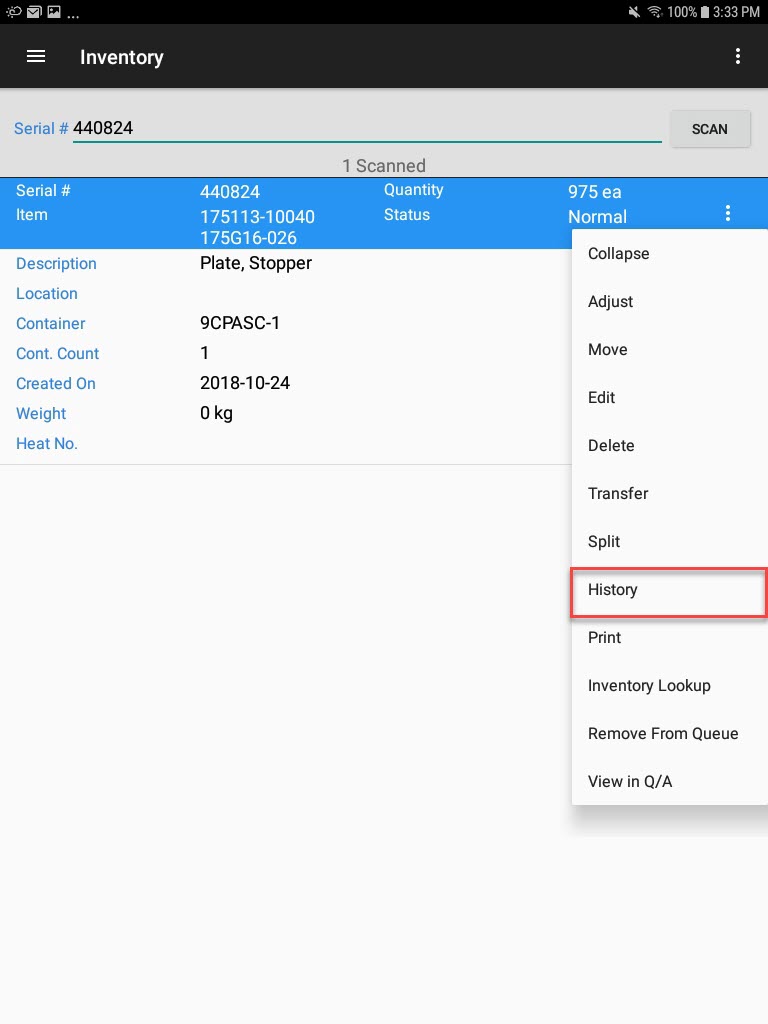
Locate the serial number you wish to view a serial numbers history for and from the action menu, select History.
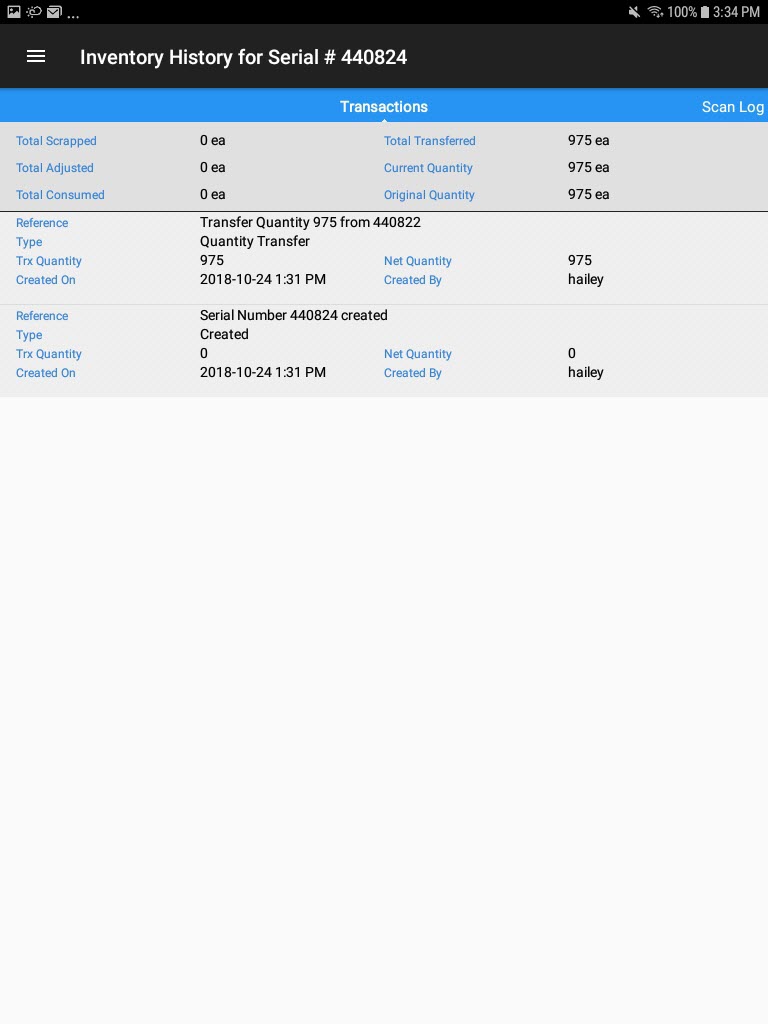
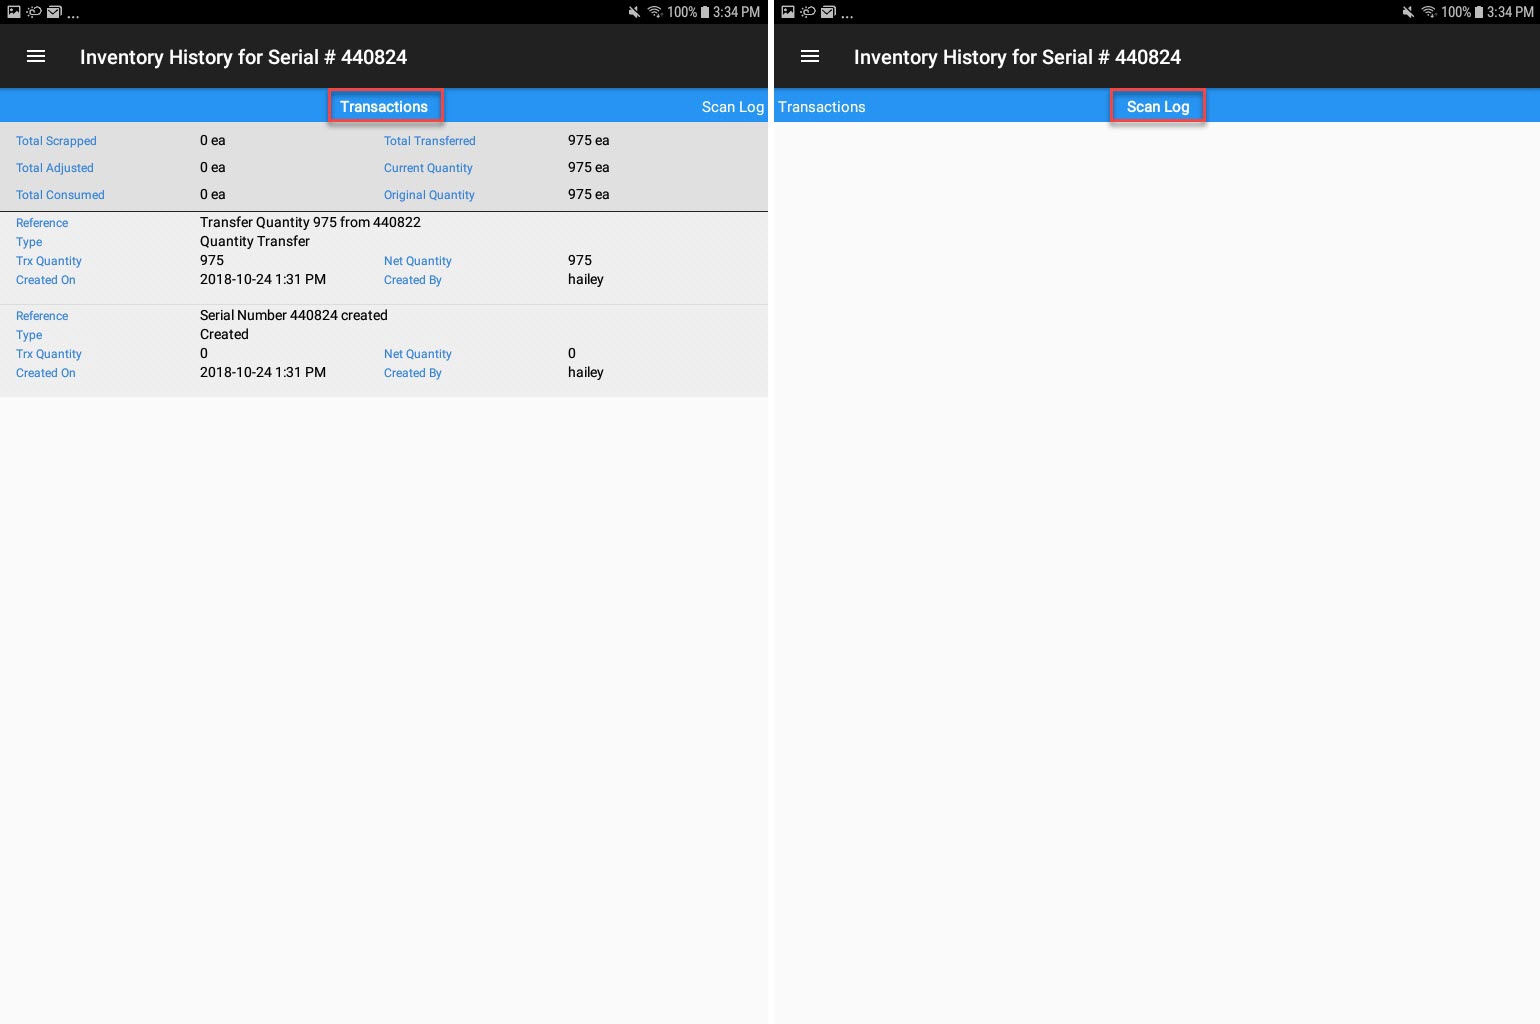
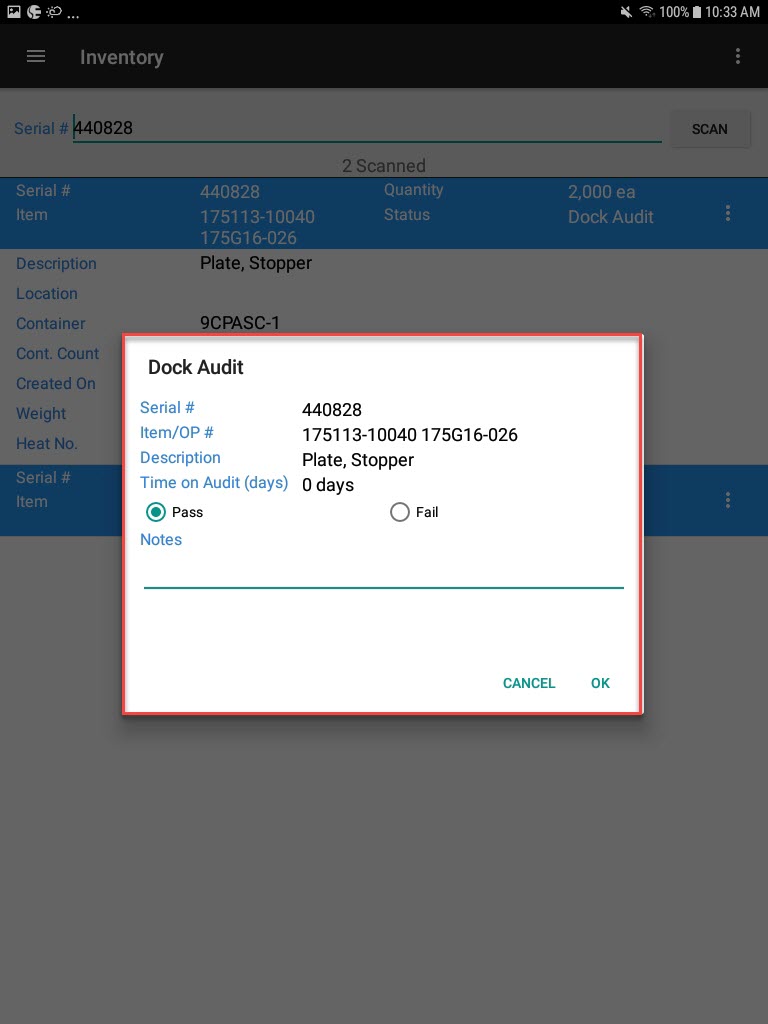
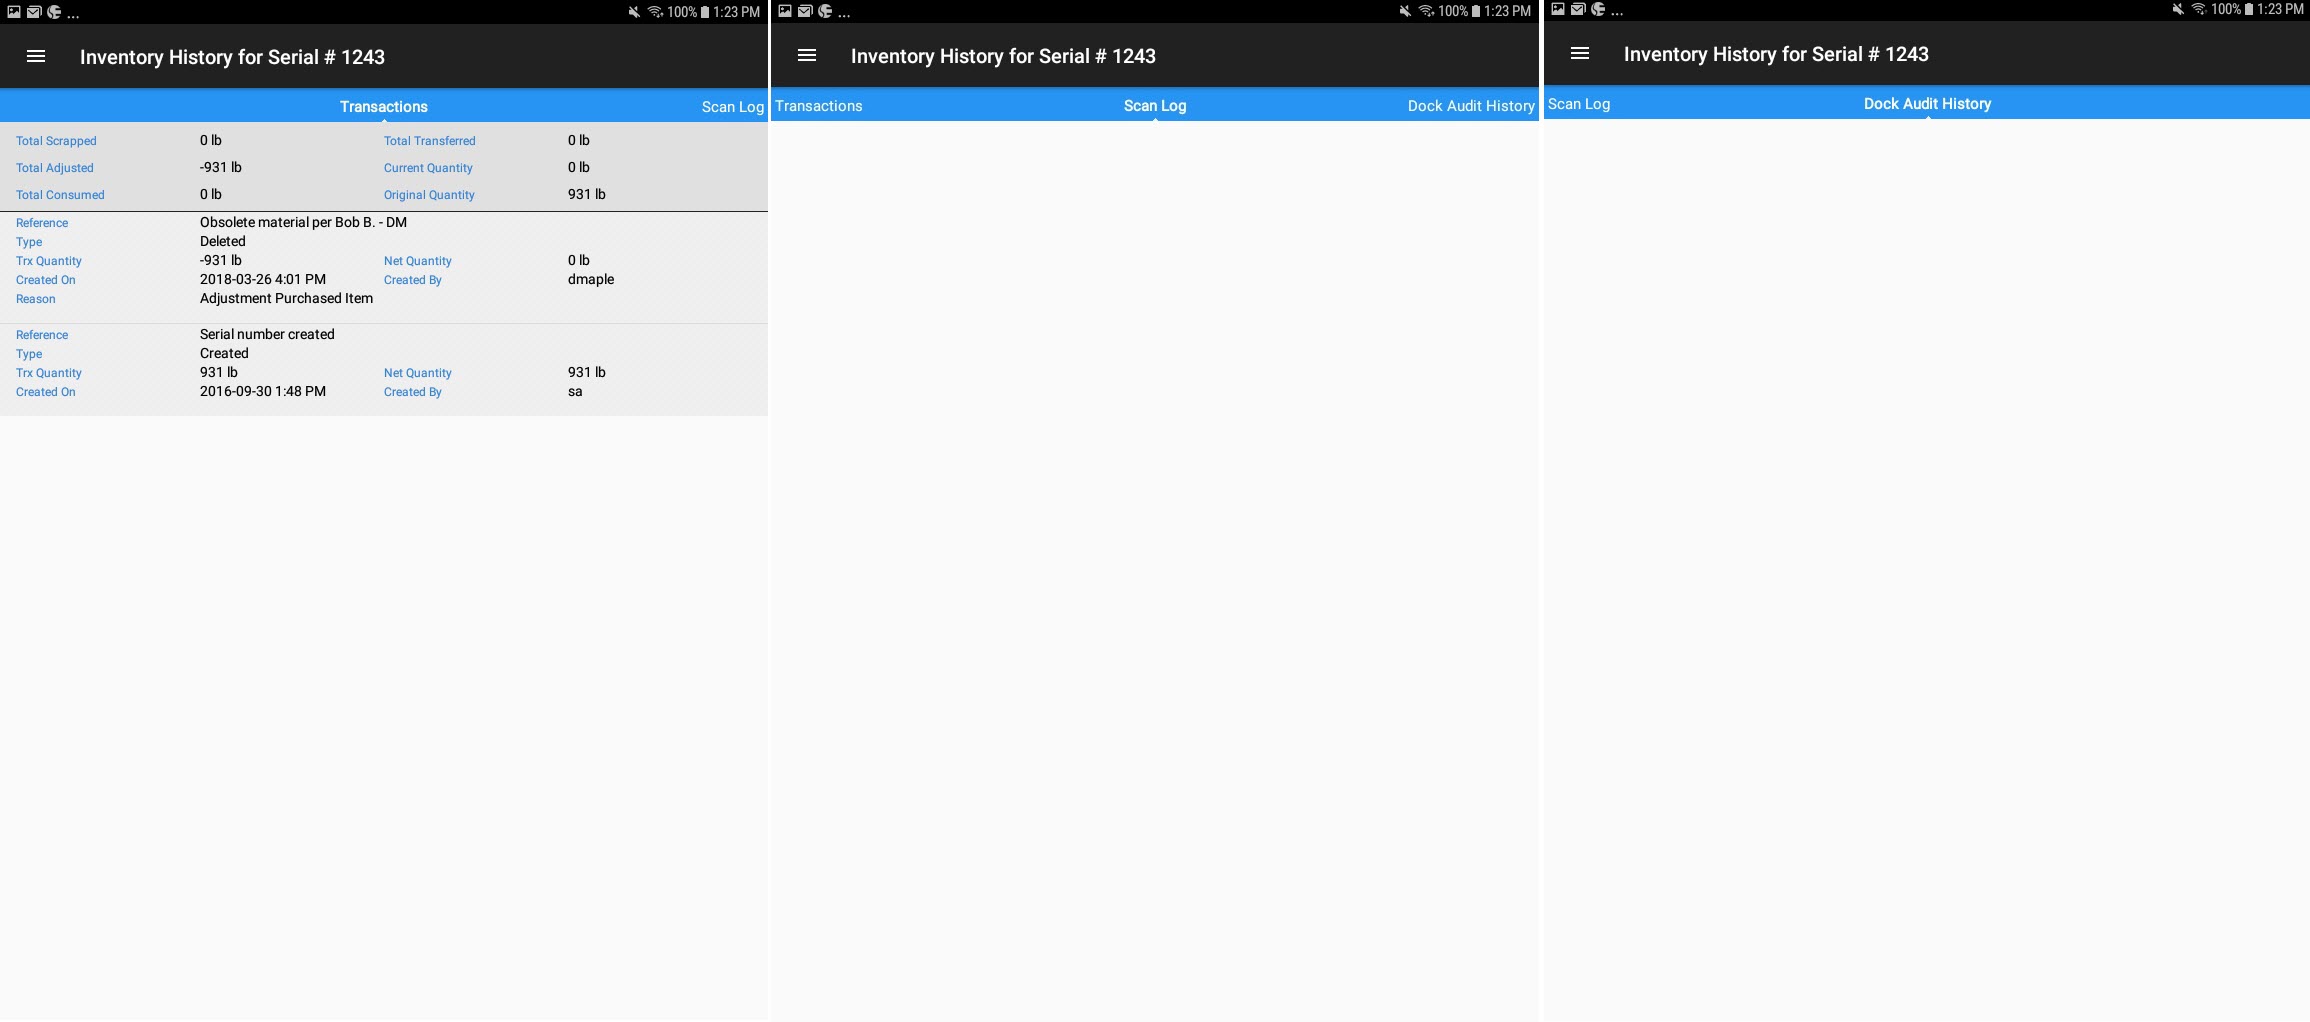
The history will be displayed with different tabs including Transactions, Scan Log, and Dock Audit History.
Inventory Lookup
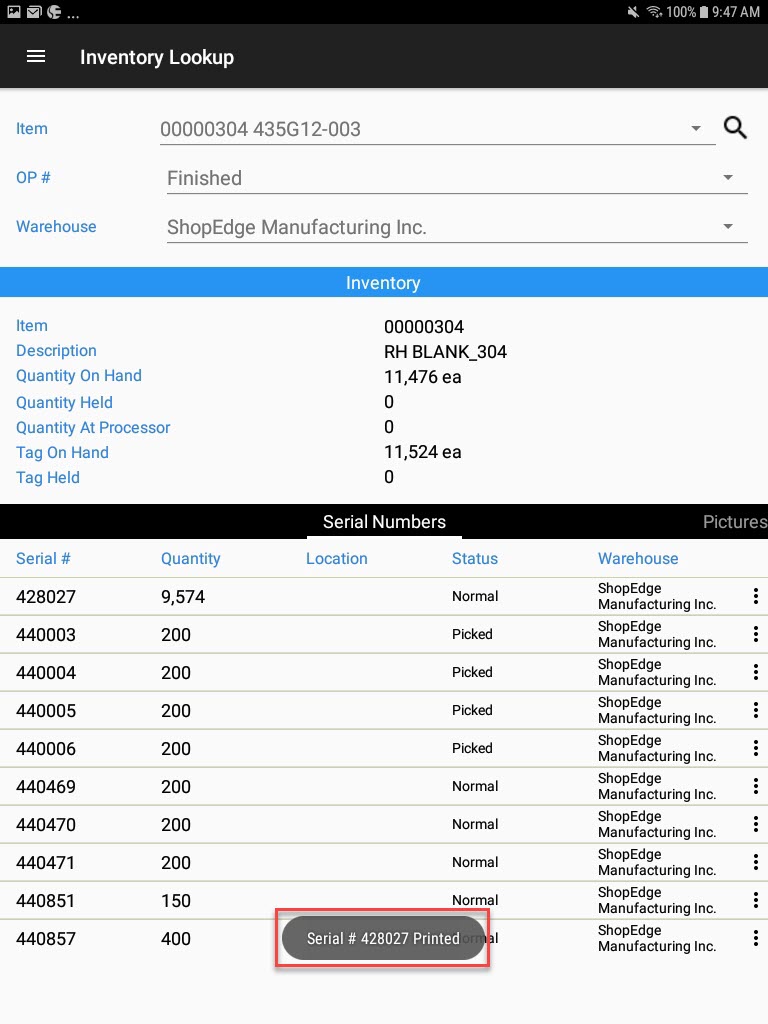
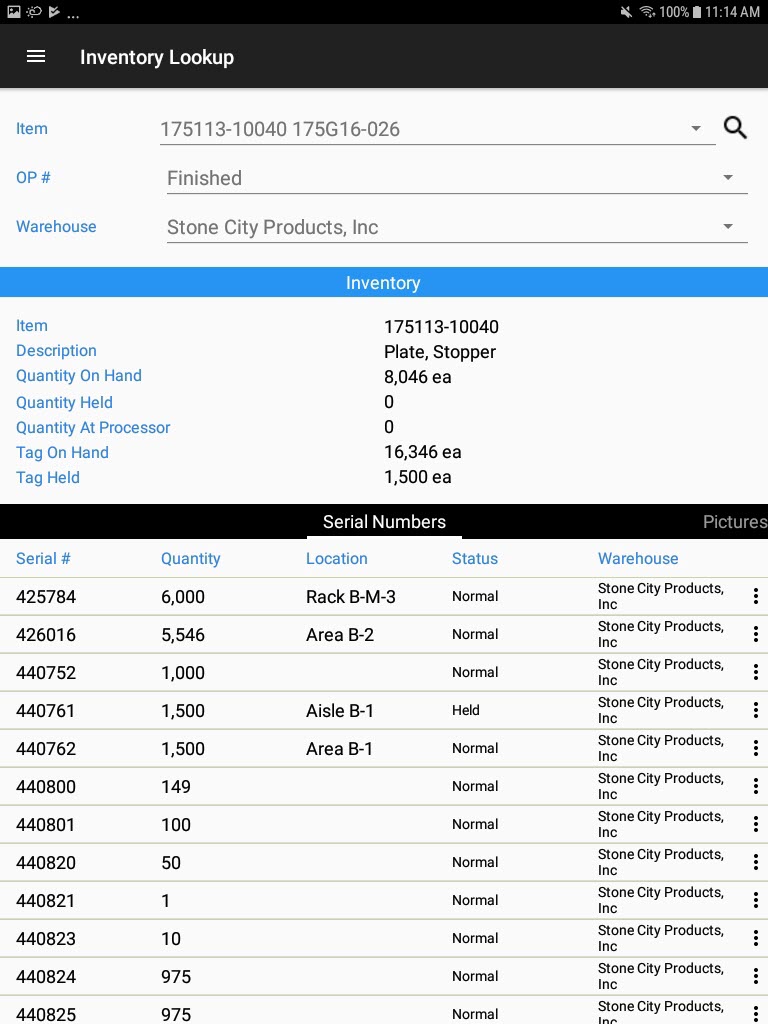
The Inventory Lookup can be used to search for inventory within the ShopEdge system.
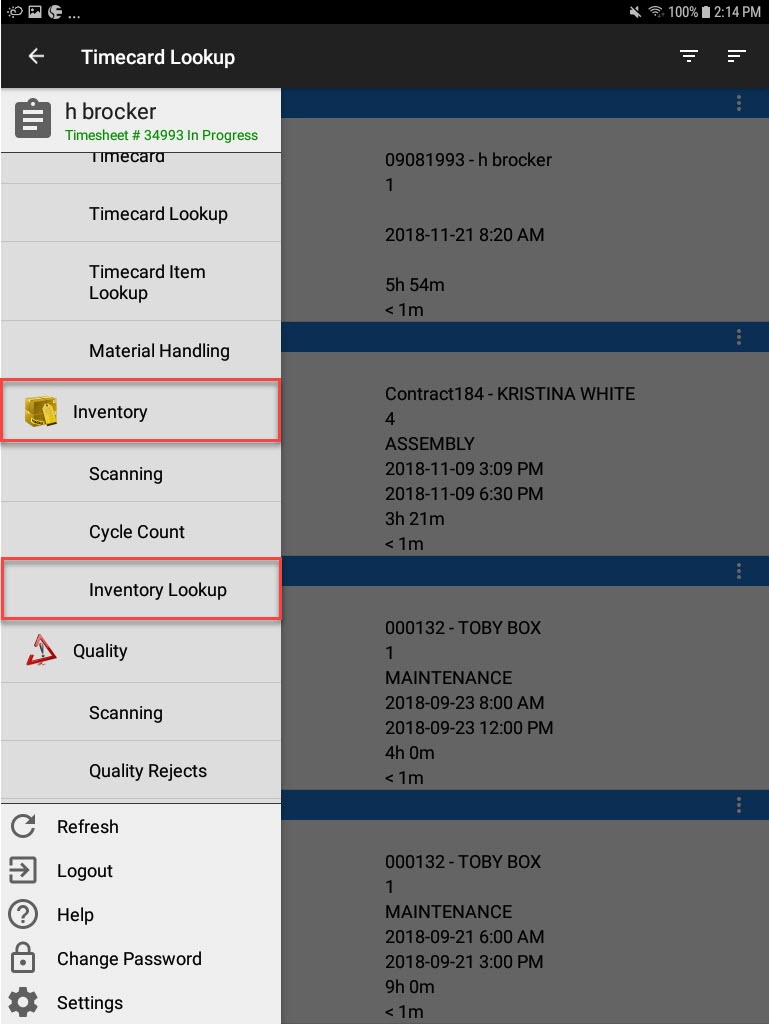
To view the Inventory Lookup, select Inventory Lookup under the Inventory module from the navigation drawer.
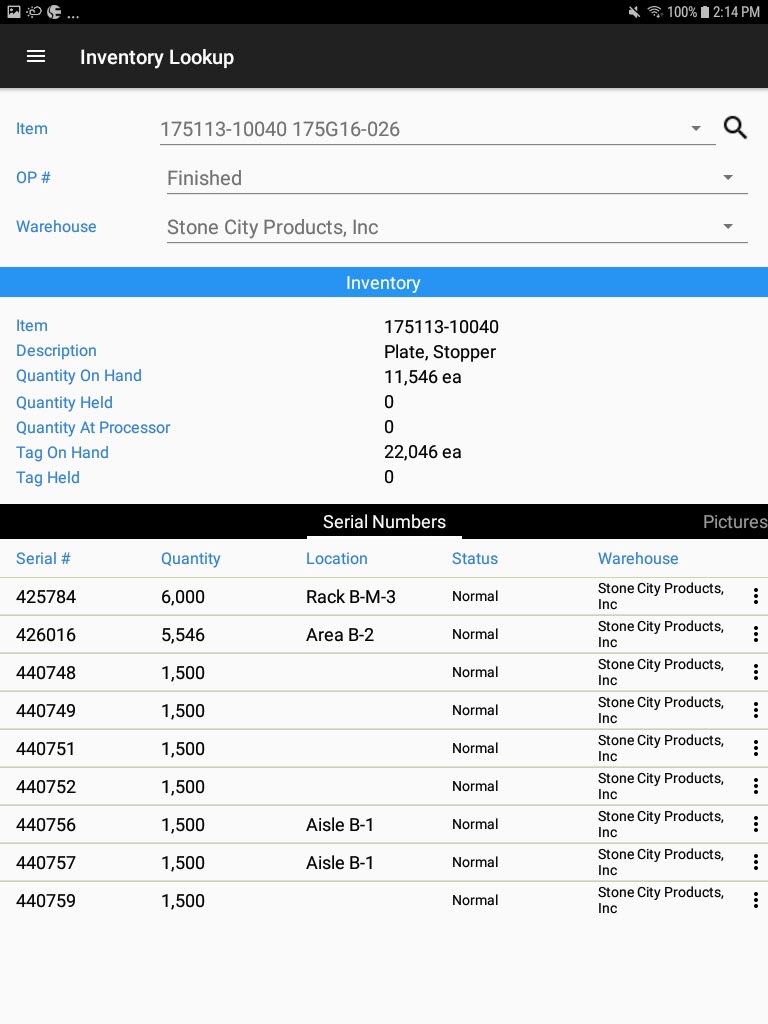
The Inventory Lookup screen will appear.
Searching for Inventory
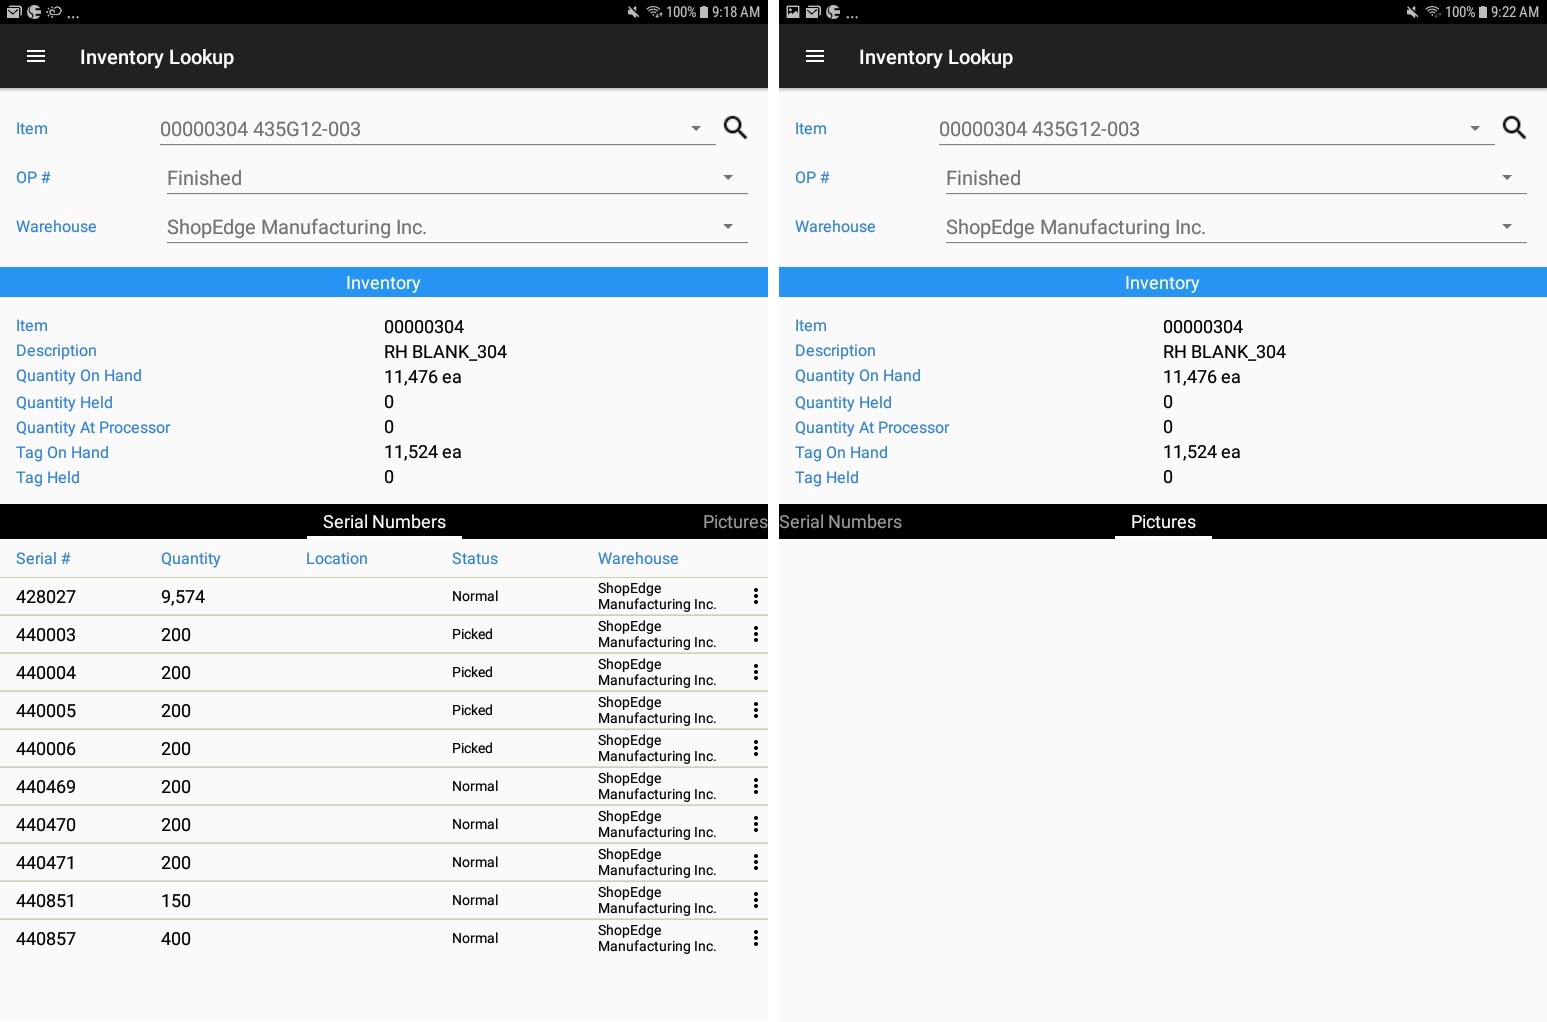
Users can search for inventory based on the Item, OP #, and Warehouse using the Inventory Lookup screen.
To search for inventory, select Inventory Lookup under the Inventory module from the navigation drawer.

The Inventory Lookup screen will appear.

Users can then select an Item, OP #, and/or Warehouse using the available drop-downs. The system will display the inventory (serial numbers) along with pictures if applicable.
Viewing Serial Numbers in Inventory Scanning
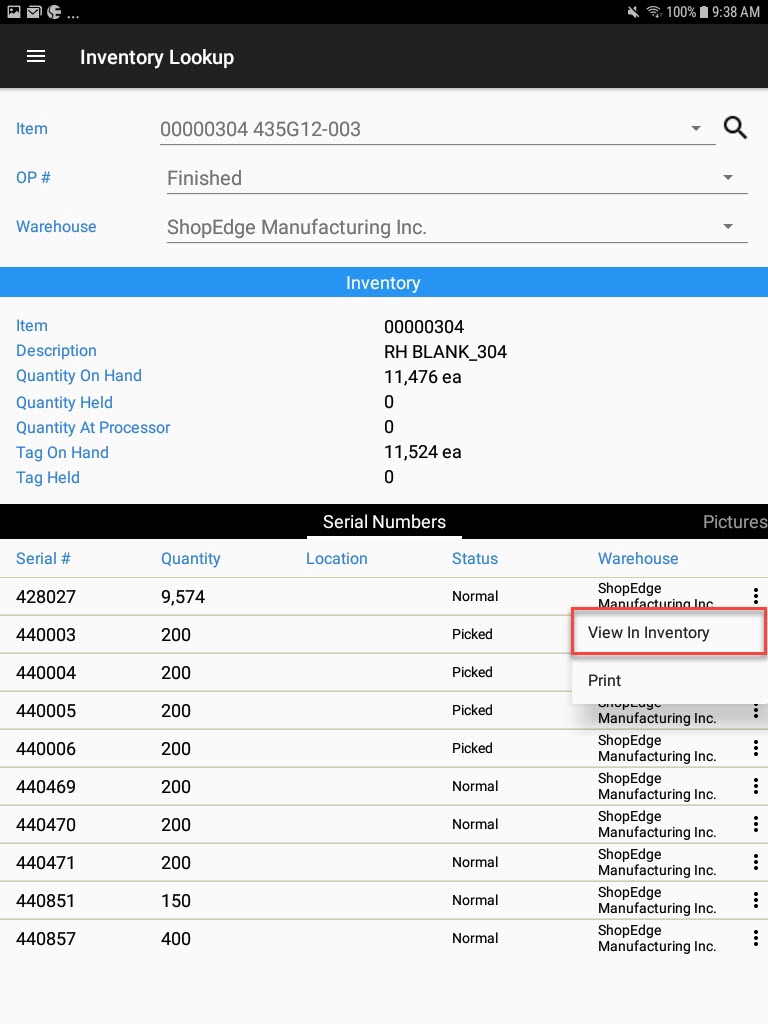
To view serial numbers on the Inventory Scanning screen, locate the serial number and from the action menu, select View in Inventory.
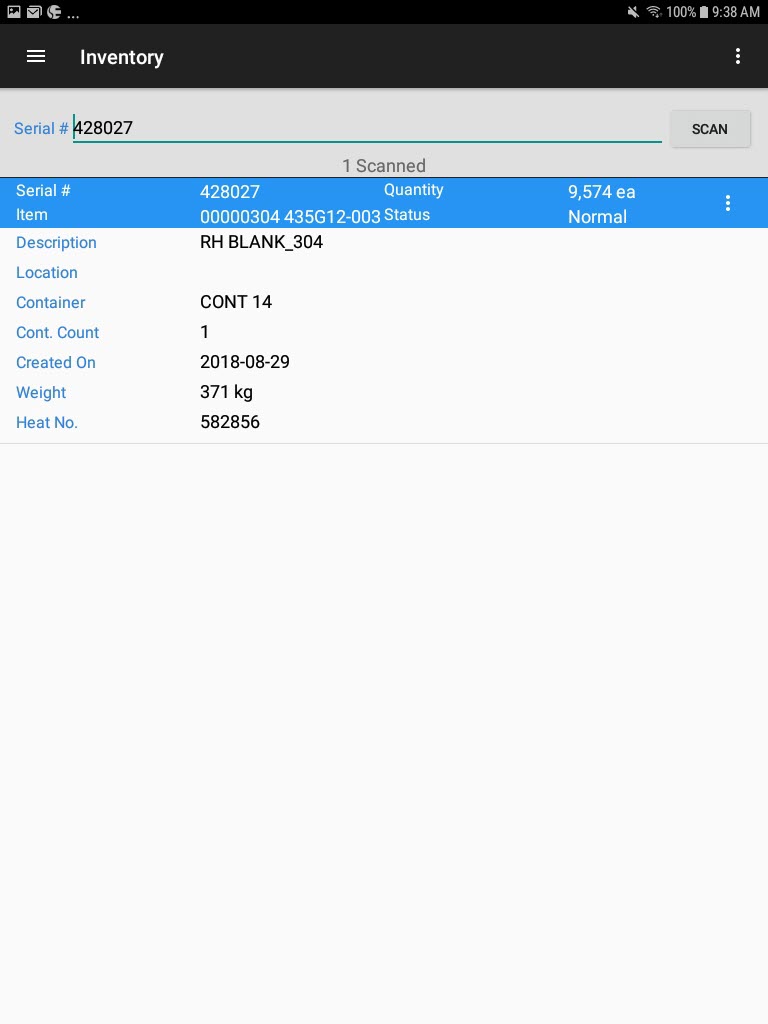
The selected serial number will be displayed from the Inventory Scanning screen.
Printing Serial Numbers
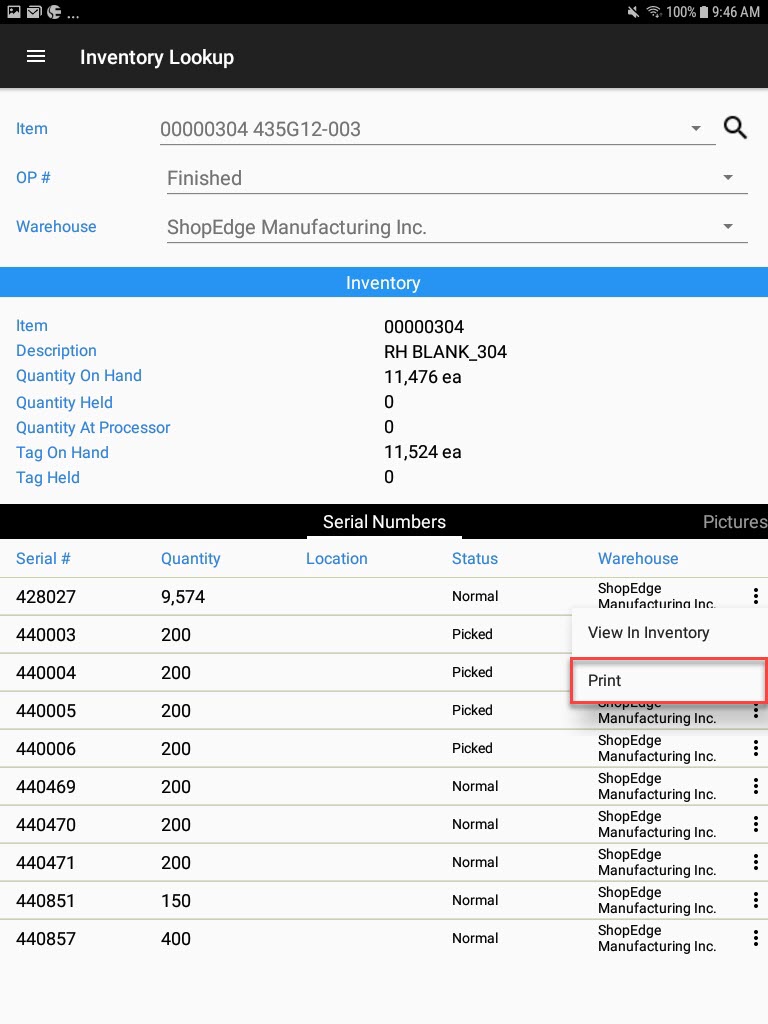
To print a serial number from the Inventory Lookup screen, locate the serial number and from the action menu, select Print.
A window will appear where users can enter in the number of copies to print and select the printer and barcode. Then, select OK.
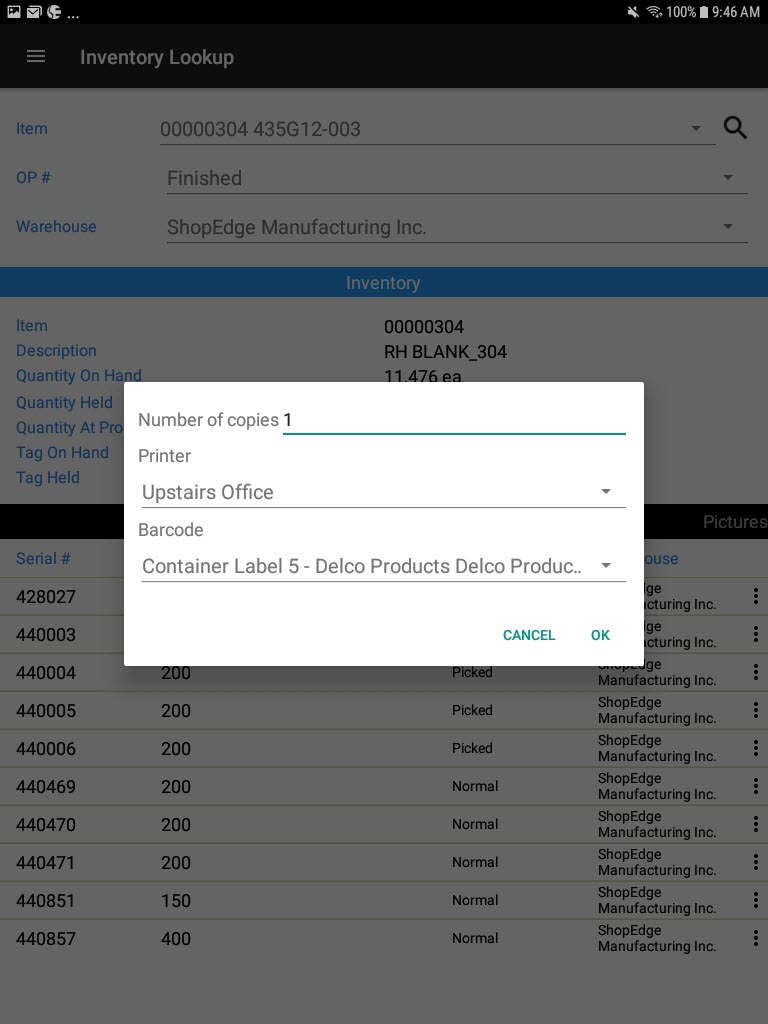
The selected serial number will be printed.
