PPAP Approvals
PPAP Approvals can be used to prevent parts from shipping until a PPAP Approval or interim approval has been entered in the APQP module.
Approvals are controlled at the Item level.
Enabling PPAP Approvals
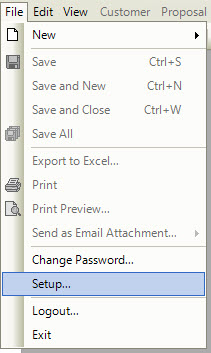
To enable PPAP Approval checks in the Shipping module, access the system settings for the Shipping module by clicking on File and selecting Setup.
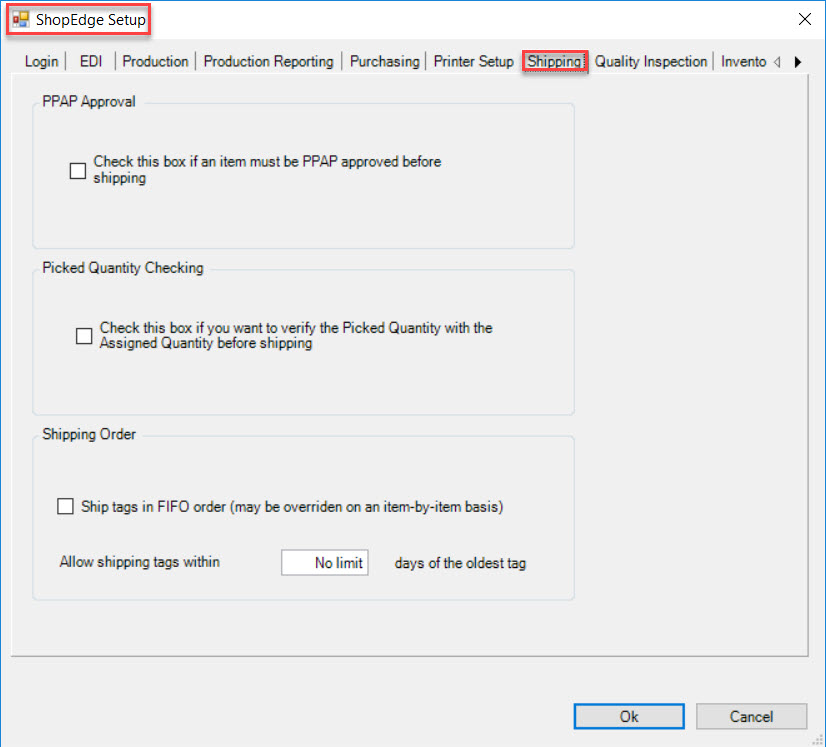
This will open the ShopEdge Setup window. Navigate to the Shipping tab.
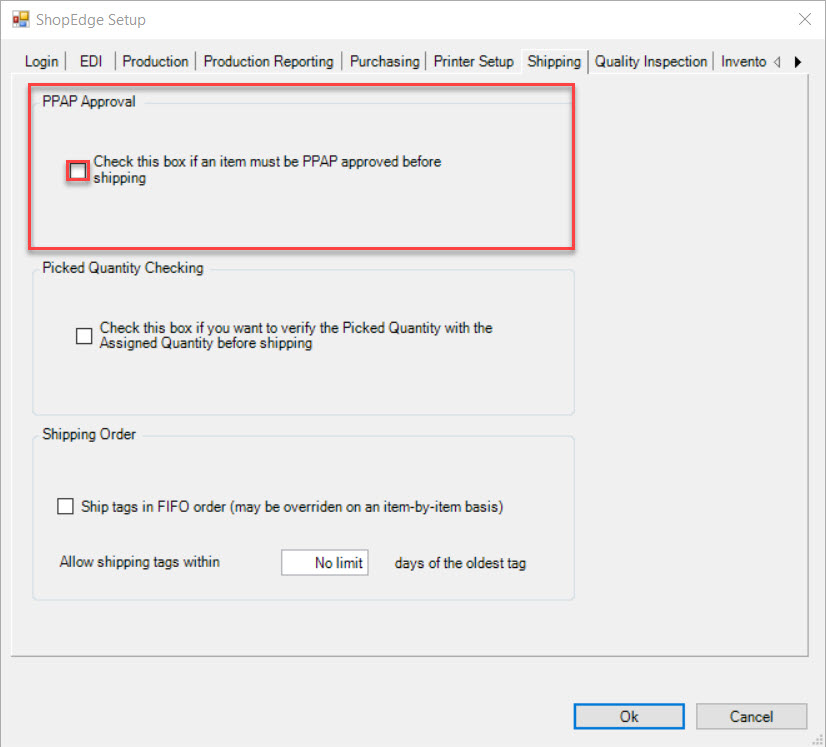
The checkbox for PPAP Approval must be checked to enable the feature.
Click on the  to exit.
Entering PPAP Approval Information
To access the PPAP Approval settings, navigate to the  tab, and click on the
 ![]() icon. This will open the Planned Job Listing screen.
icon. This will open the Planned Job Listing screen.
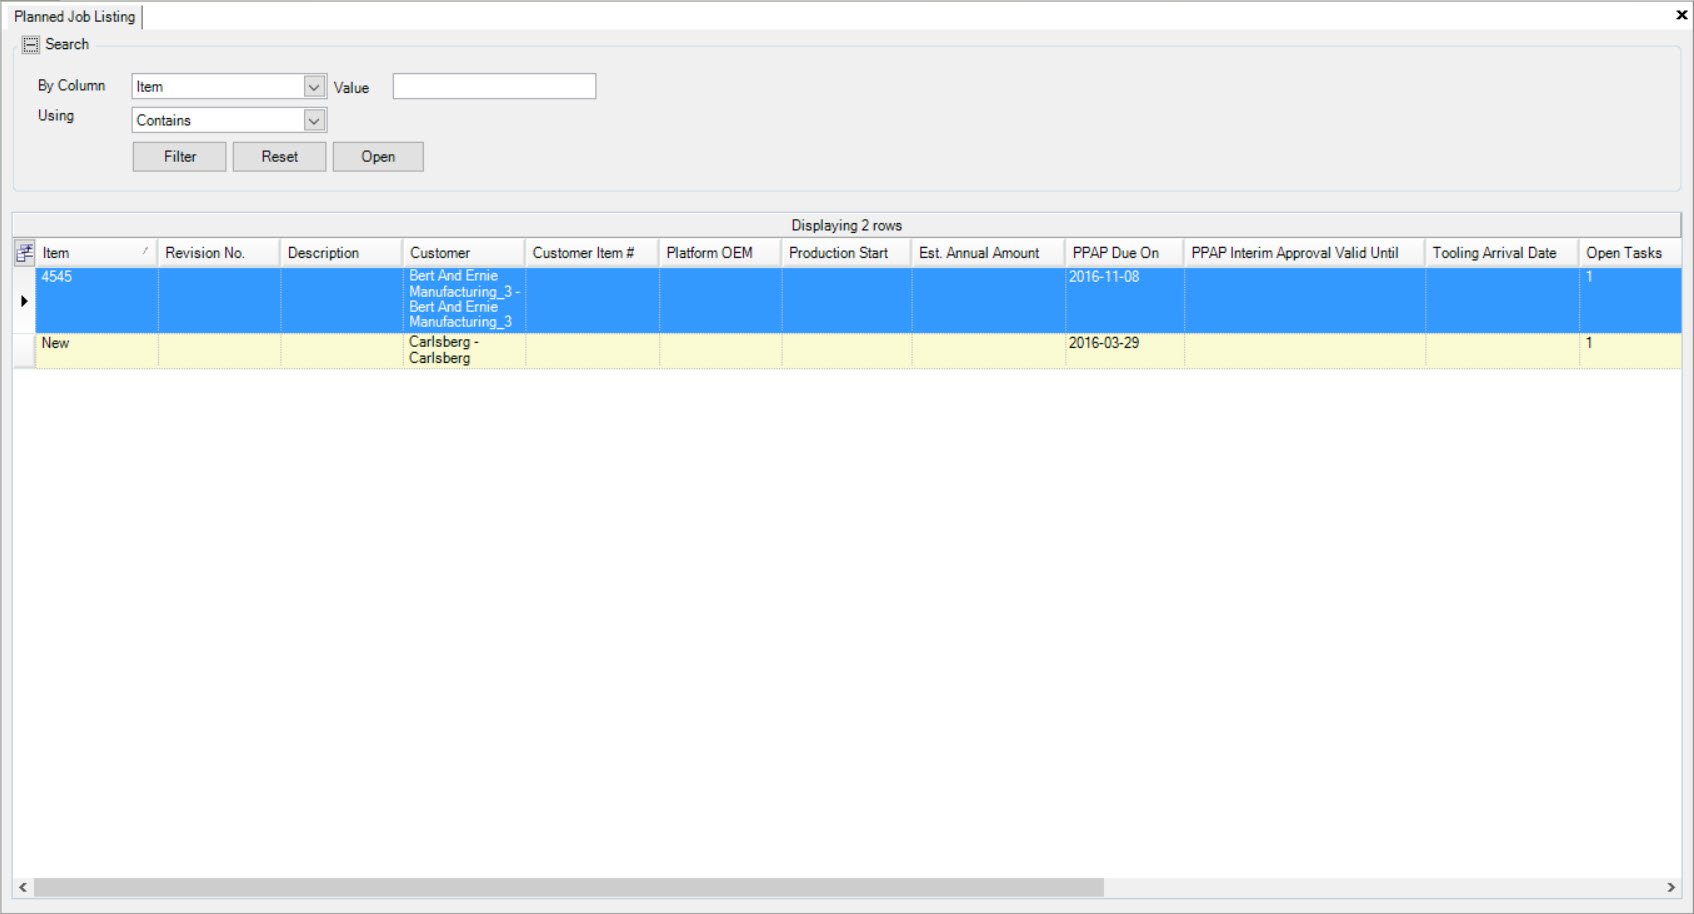
Double-click on the desired Planned Job from the screen to view the details. The PPAP-related fields are displayed in the details section.
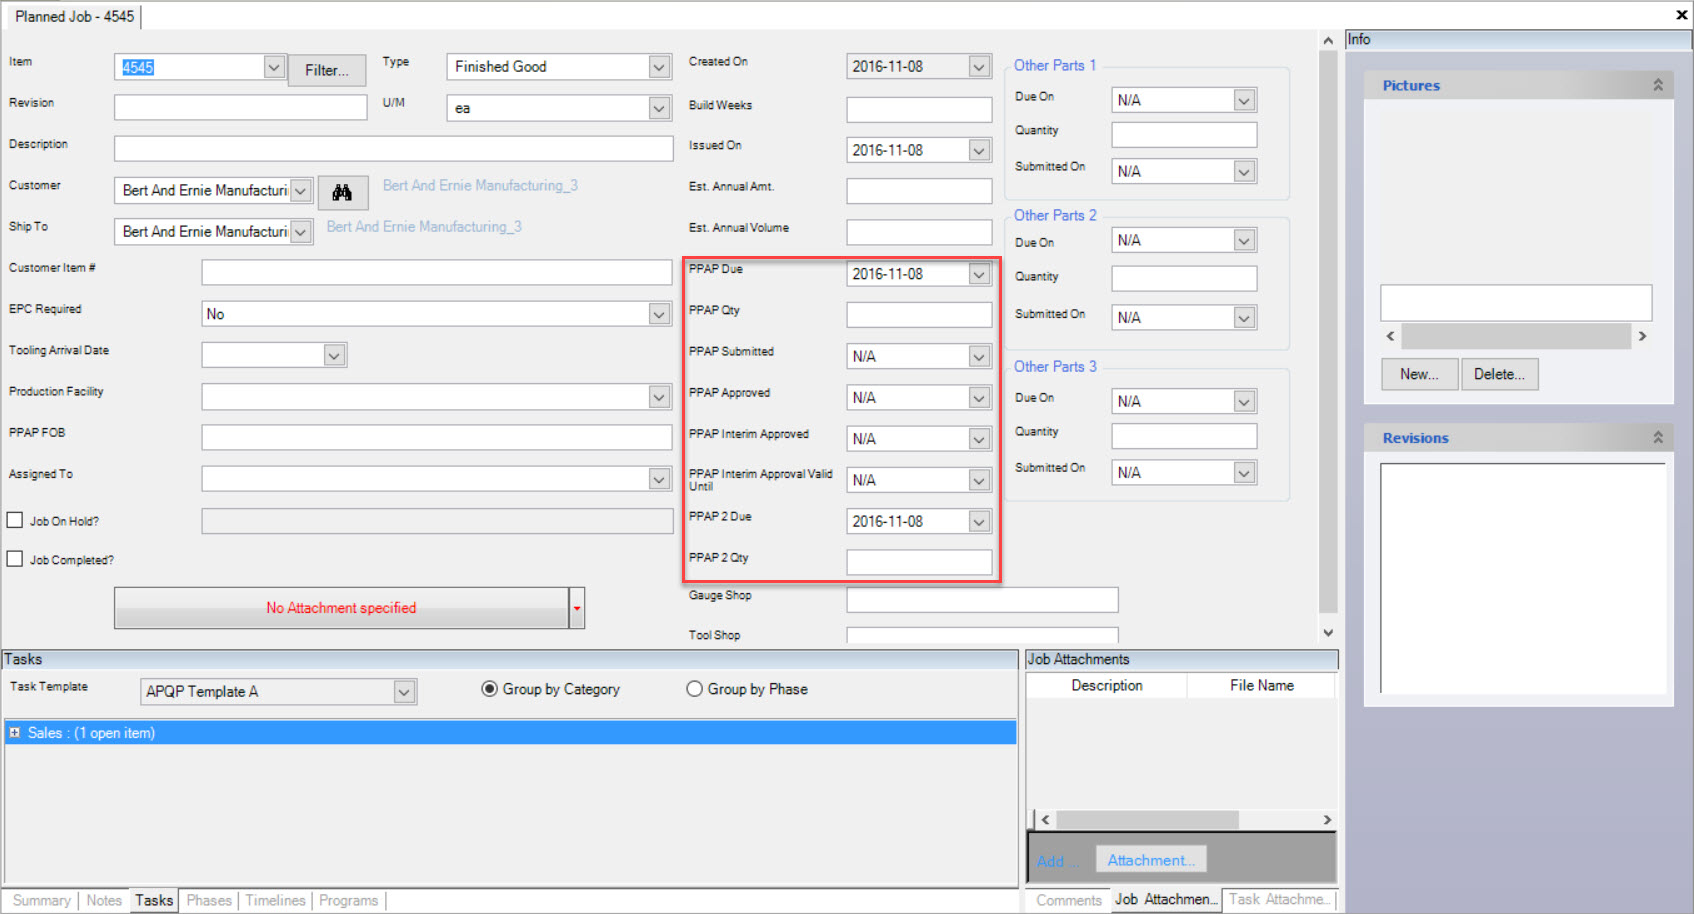
The PPAP Approved field indicates whether or not the Item has been PPAP Approved. Setting this date will indicate that the Item has been PPAP Approved. Items that have this date set are approved for shipping.
The PPAP Interim Approved field indicates that an Item has an Interim Approval. Items with PPAP Interim Approved date value set are approved for shipping.
Finally, the PPAP Interim Approved Valid Until field sets the expiry date for the PPAP Interim Approval. Once this date is passed, the Interim Approval is no longer valid and parts will not be approved to ship unless the PPAP Approved field is set, or the PPAP Interim Approved Valid Until is changed to a later date.
Shipping PPAP Parts
Once PPAP Approval has been enabled in the system settings, Items that have not been PPAP Approved will not be able to be added to a Packing Slip. If you try to add Items that have not been PPAP Approved to a Packing Slip, a message will be displayed when you try adding the Open Releases.
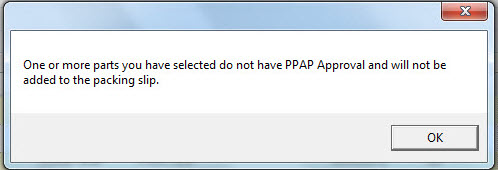
The Releases will not be added to the Packing Slip. They must be PPAP Approved first before they can be added to the Packing Slip.