Inventory
Shipping Inventory
Inventory is used in the system to maintain Shipping Inventory: inventory that is shipped to both a Customer, and to a Processor.
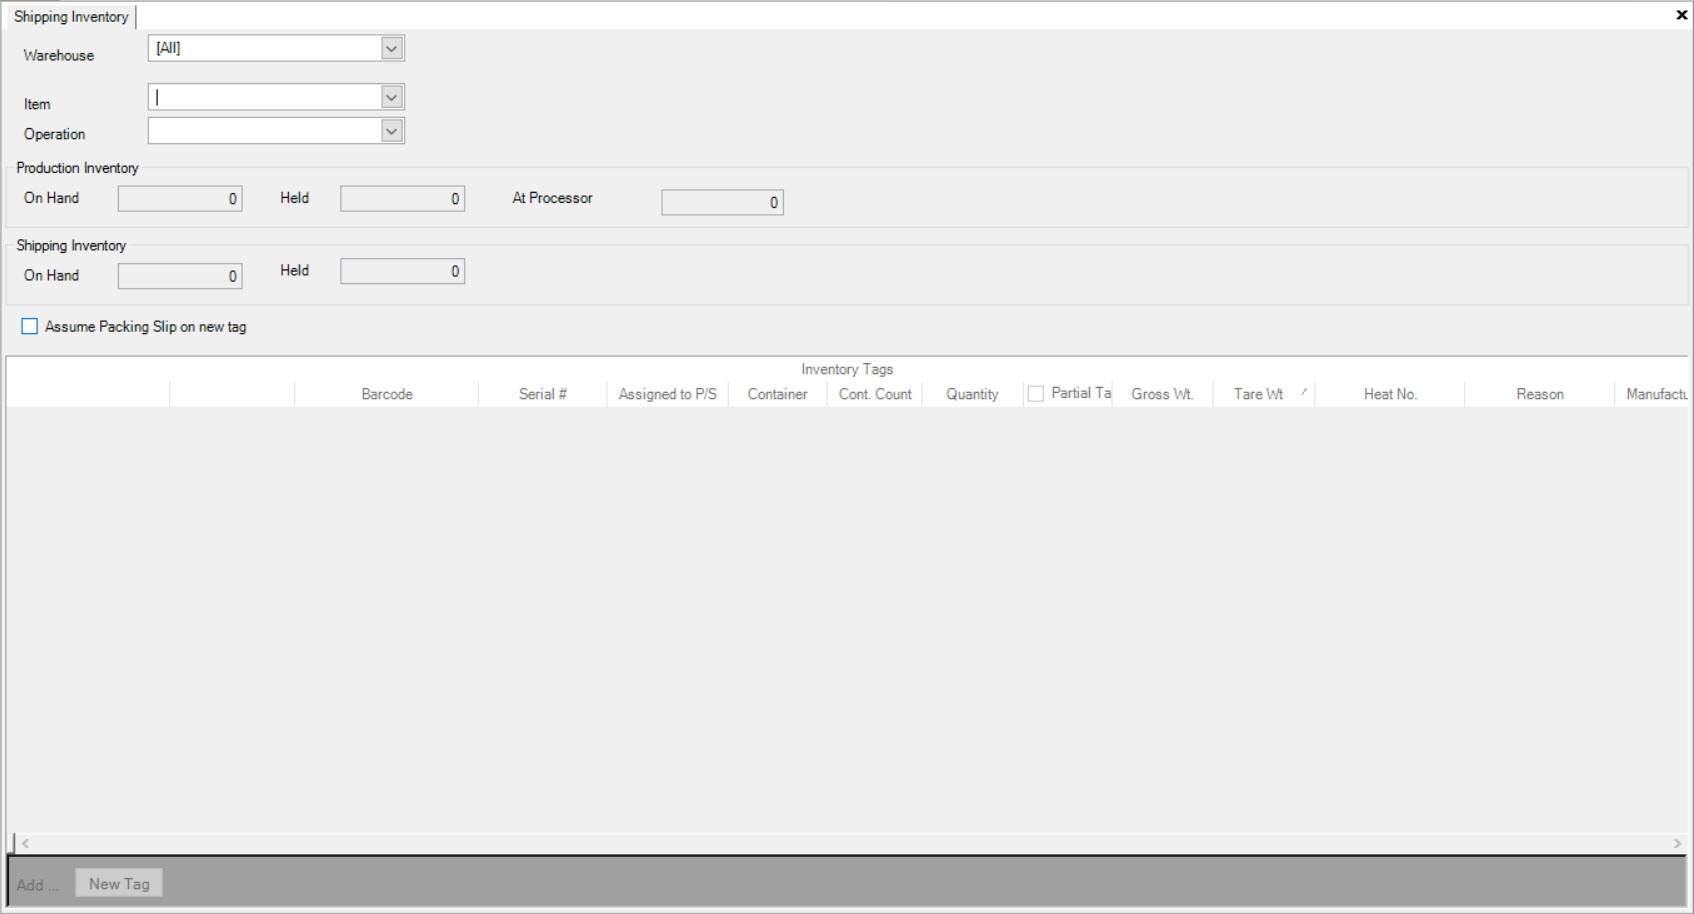
The Shipping Inventory screen is similar to the Production Inventory screen in that it tracks both Production Inventory (produced by Timecards) and Tag Inventory (produced by Scanning).
To open the Shipping Inventory screen, navigate to the  tab and click on the
 ![]() icon. This will open the Shipping Inventory screen.
icon. This will open the Shipping Inventory screen.

Inventory is viewed by Item and by Operation. Select the Item you wish to view using the drop-down button, and then choose the Operation.
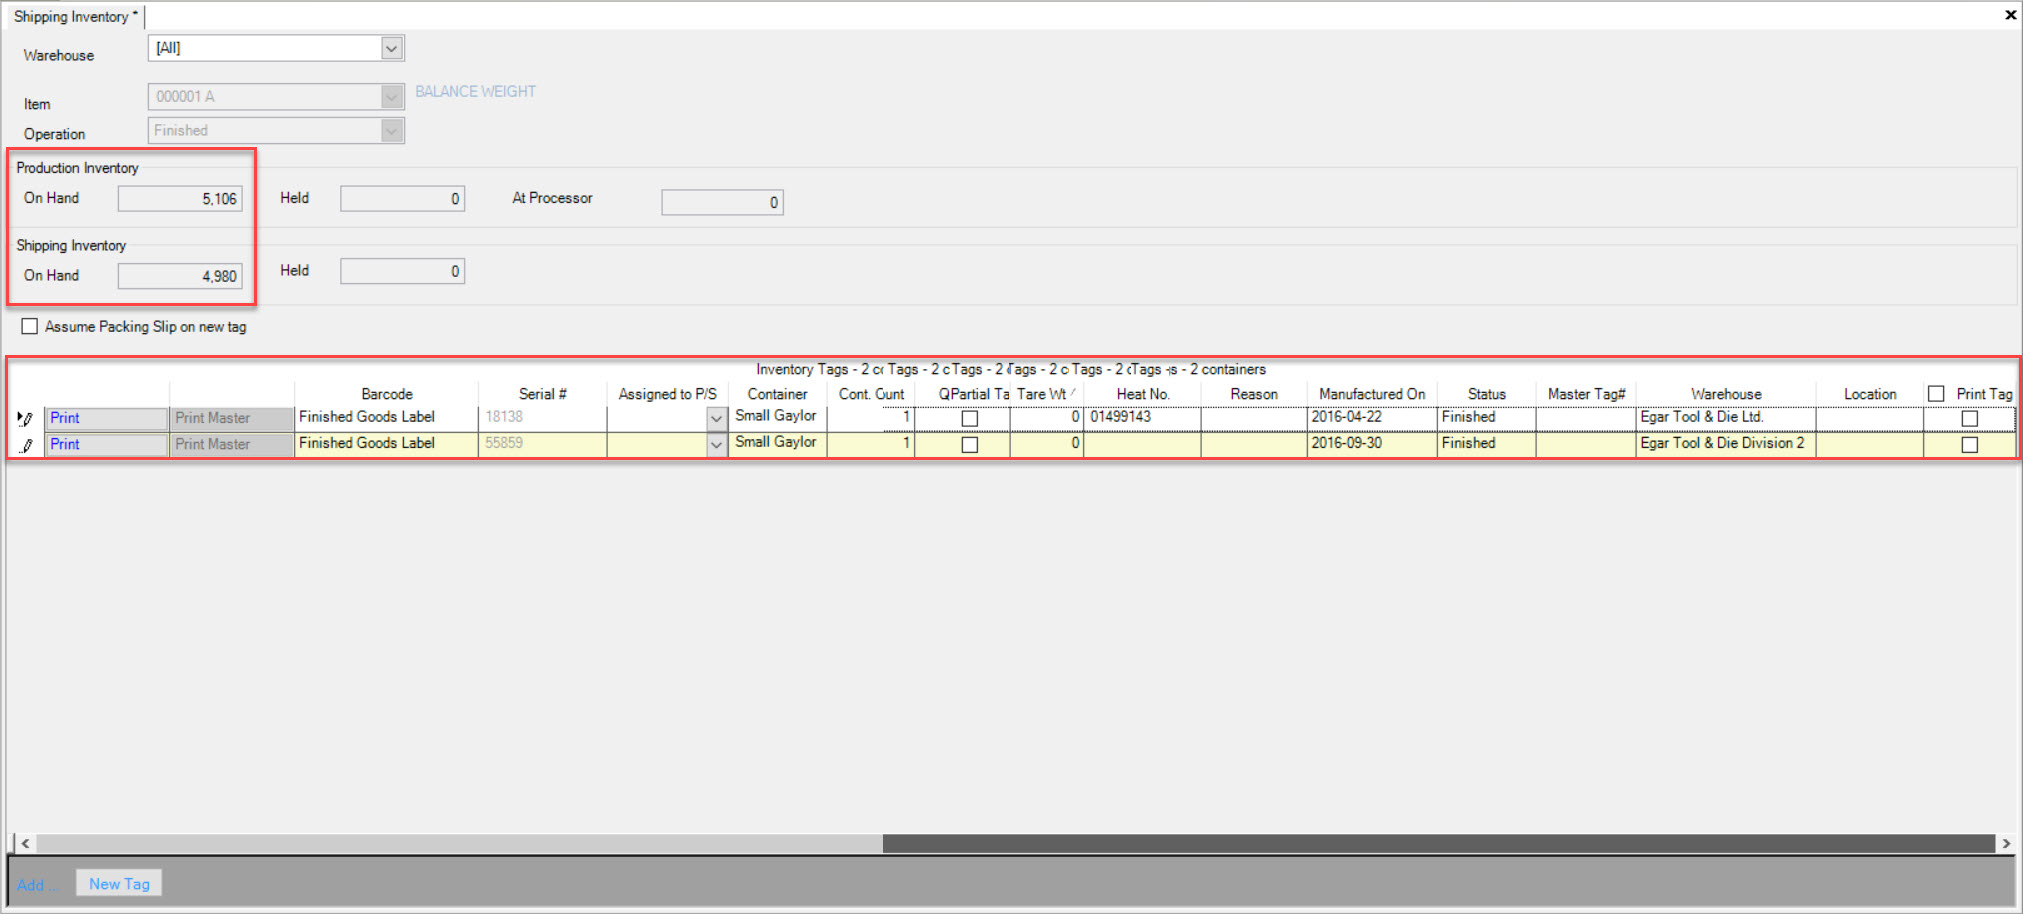
The Production and Shipping Inventory balances will be populated, and on-hand Tags visible below.

Maintaining Shipping Inventory
To maintain Shipping Inventory, navigate to the  tab and click on the
 ![]() icon. This will open the Shipping Inventory screen.
icon. This will open the Shipping Inventory screen.

Inventory is viewed by Item and by Operation. Select the Item you wish to view using the drop-down button, and then choose the Operation.
The Production and Shipping Inventory balances will be populated, and on-hand Tags visible below.

Find the Tag you wish to maintain and make the necessary changes. You can assign Tags to a Packing Slip, change the Container and Quantity, modify the Heat Number, change the Status (Production, Held, or Finished), and update the Location.
Once changes have been made, make sure you save before exiting the screen.
Adding a New Tag
To add a new Tag, navigate to the  tab and click on the
 ![]() icon. This will open the Shipping Inventory screen.
icon. This will open the Shipping Inventory screen.

Note
In order to add a Tag, users must select an Item first.
Inventory is viewed by Item and by Operation. Select the Item you wish to view using the drop-down button, and then choose the Operation.
The Production and Shipping Inventory balances will be populated, and on-hand Tags visible below.

Click on the  button at the bottom of the screen.
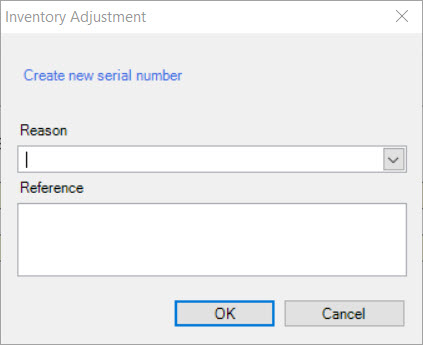
An Inventory Adjustment window will pop-up asking for a Reason and Reference. Enter in the appropriate information and click  .
.

A new row will appear where users can fill in the necessary fields for the new Tag.
Note
The information in the new row will default depending on the previous Tag row, but can all be overridden.
Make sure to save your changes before exiting the screen.
Deleting a Tag
To delete a Tag from the system, navigate to the  tab and click on the
 ![]() icon. This will open the Shipping Inventory screen.
icon. This will open the Shipping Inventory screen.

Note
In order to delete a Tag, users must select an Item first.
Inventory is viewed by Item and by Operation. Select the Item you wish to view using the drop-down button, and then choose the Operation.
The Production and Shipping Inventory balances will be populated, and on-hand Tags visible below.

Find the Tag(s) you wish to delete and highlight the appropriate row. Use your Delete key. An Inventory Adjustment window will appear. You must select a Reason and click on the  button.
The row will be deleted immediately.

Note
If you remove a Tag that has an entry under the Assigned to P/S column, it will also be removed from the Packing Slip.
Make sure to save your changes before exiting the screen.