Spending Approval Groups
To view all available Spending Approval Groups in the system, navigate to the  tab and click on the
![]() icon. The Spending Approval Groups screen will appear.
icon. The Spending Approval Groups screen will appear.
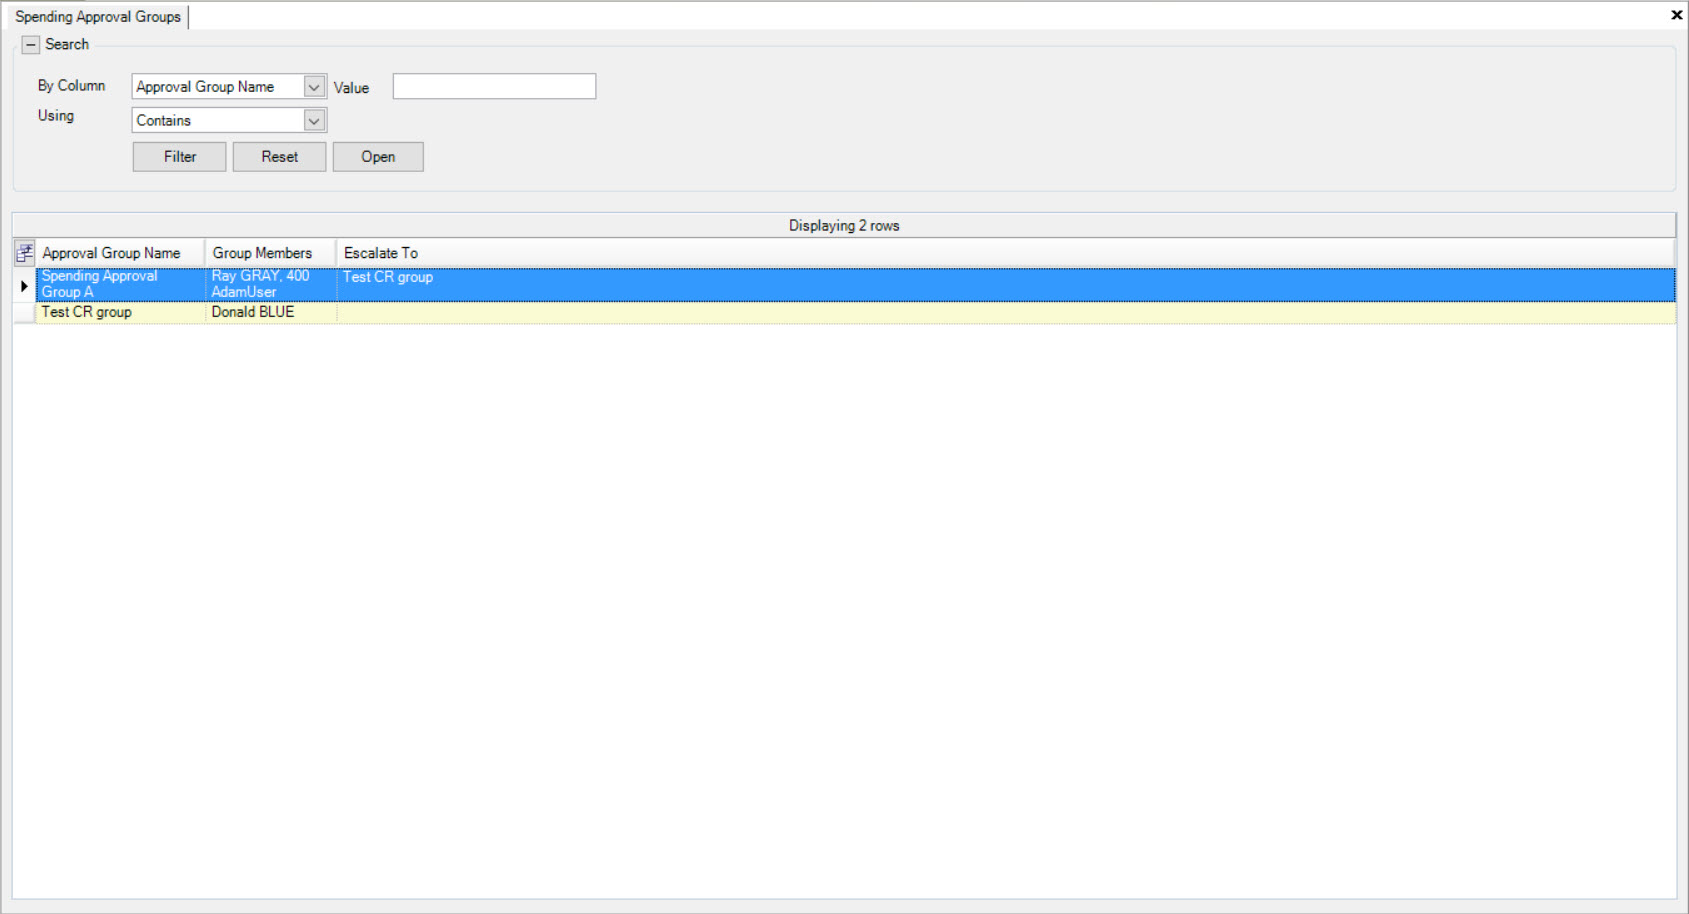
Users will be able to view all available Spending Approval Groups in the system.
To open a Spending Approval Group, simply locate the one you wish to open and double-click on the appropriate row. The Spending Approval Group detail screen will appear.
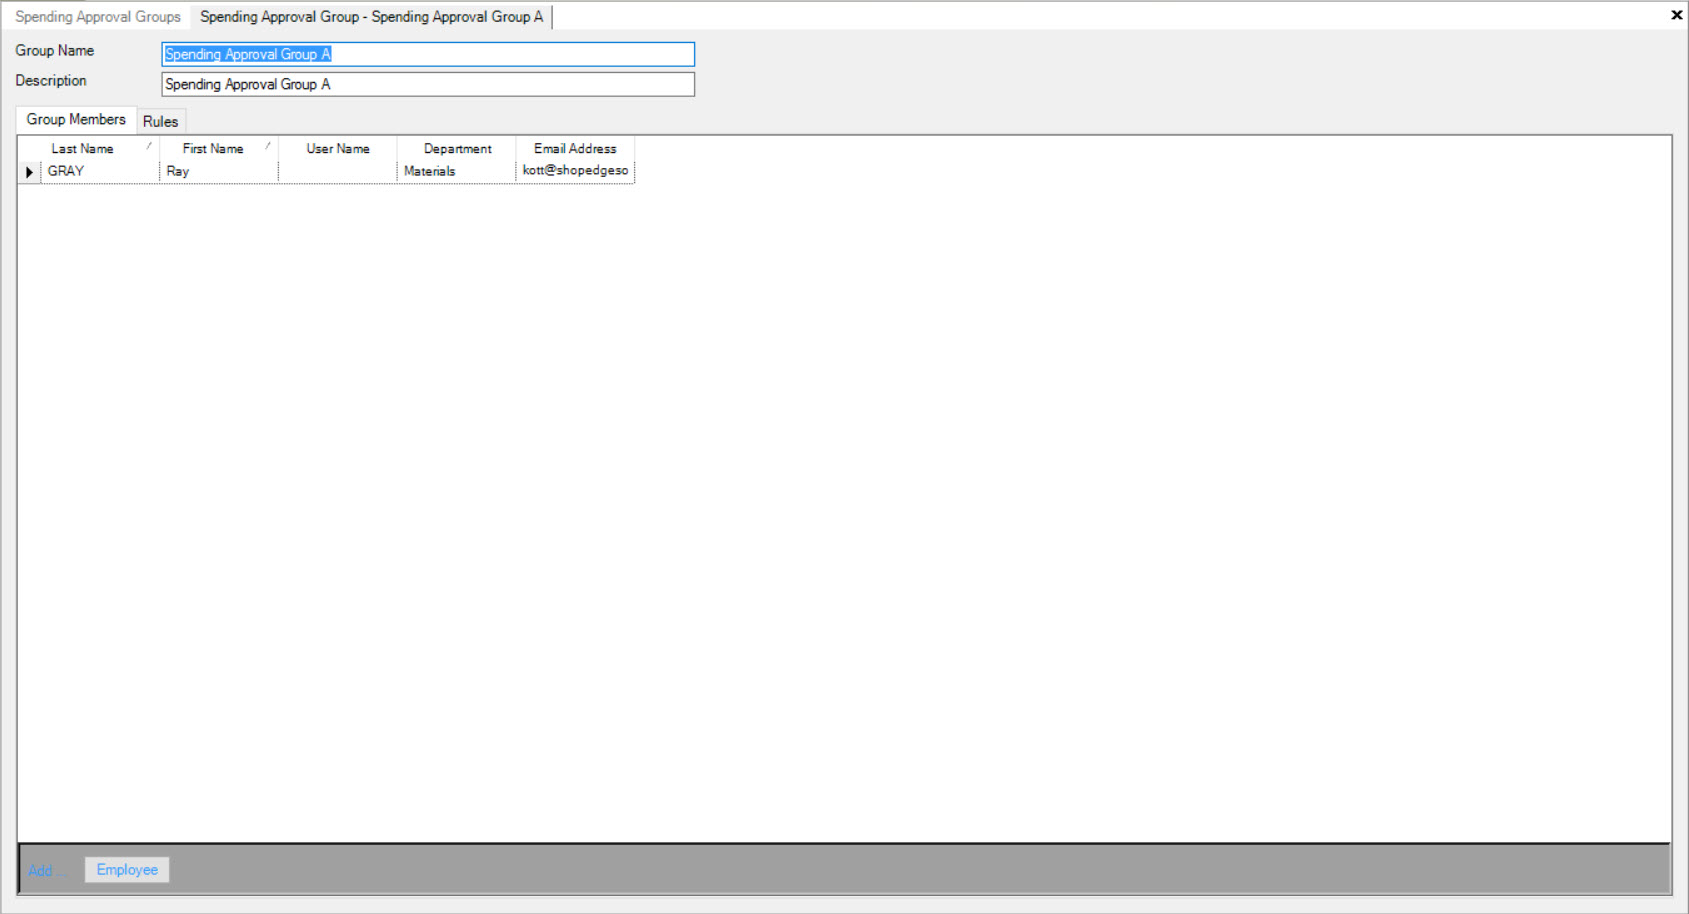
Creating a New Spending Approval Group
There are two ways to create a new Spending Approval Group. The first way is to navigate to File > New > Spending Approval Group.
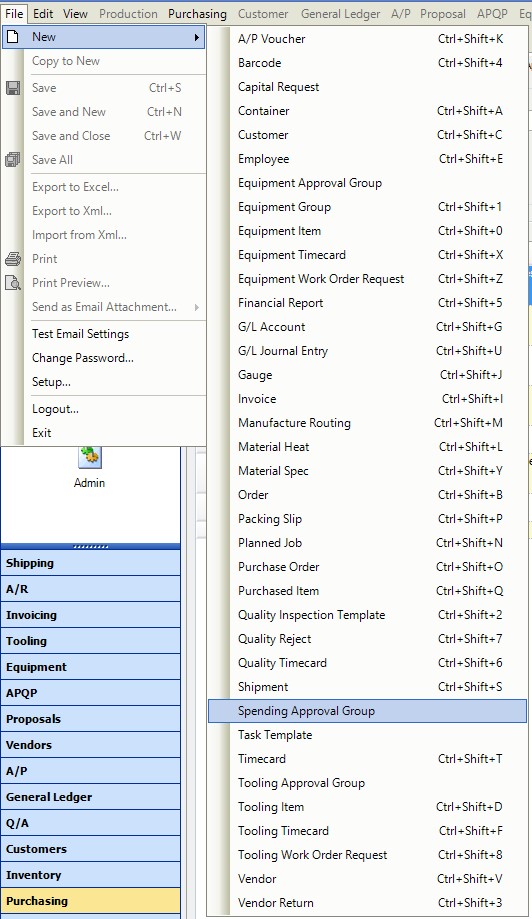
The second way is to click on the  button and then on the Spending Approval Group option.
Both of these ways will open a new Spending Approval Group screen.
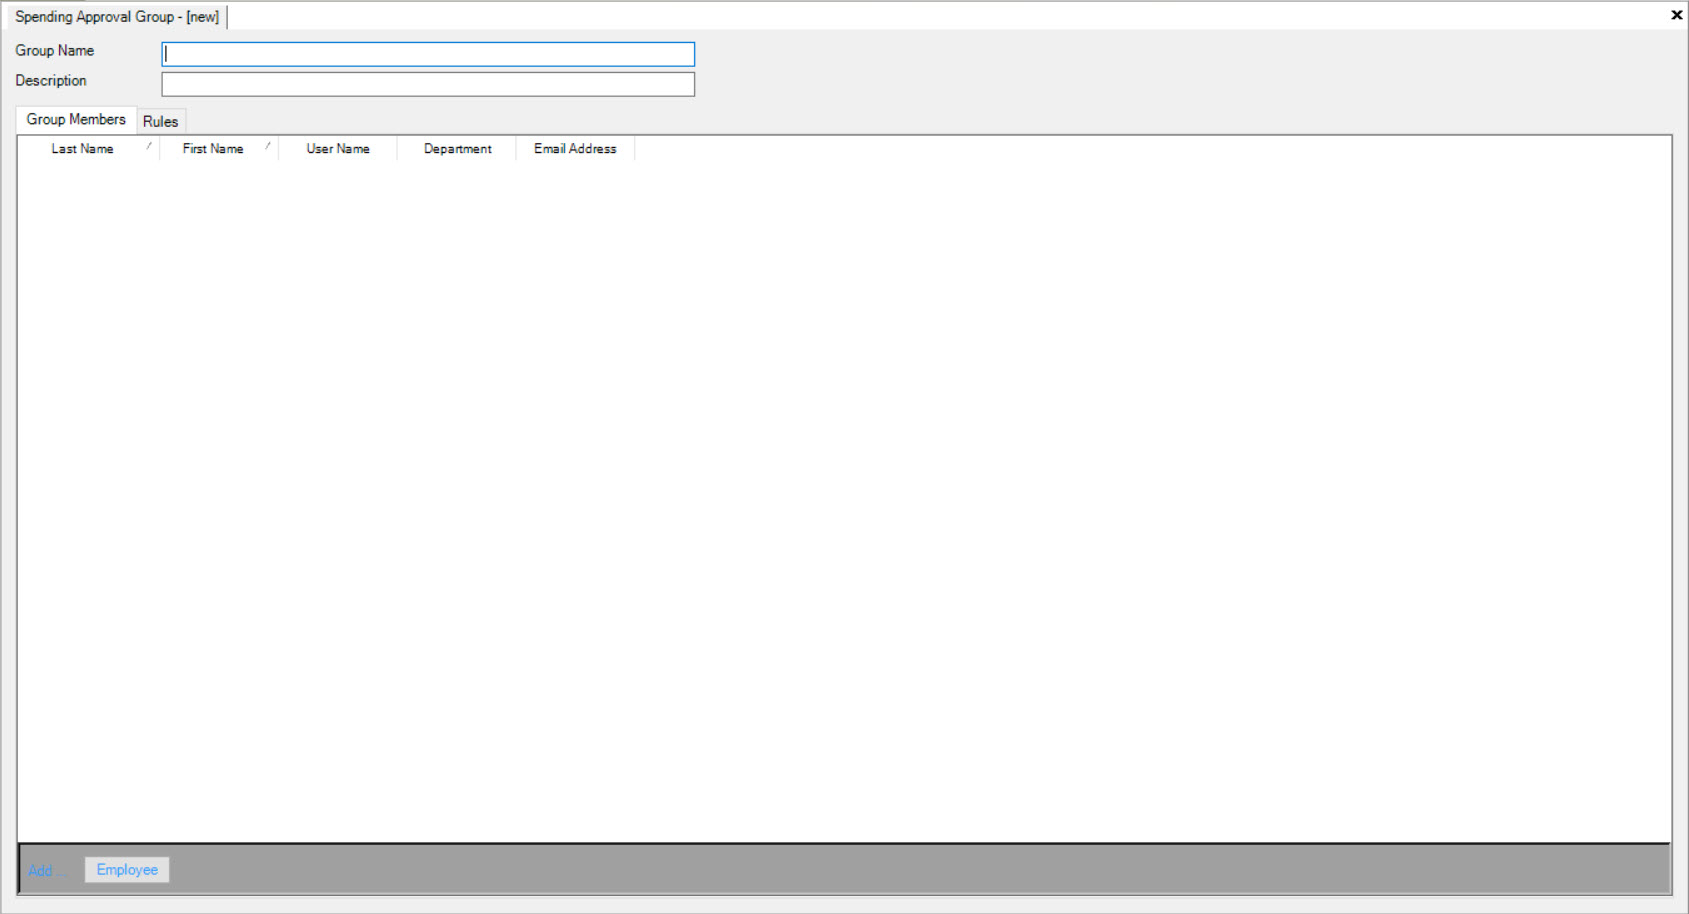
Users must create a Group Name and Description for the new Spending Approval Group. Once this has been completed, users can add Employees to the group.
To do so, make sure to select the  tab.
tab.
Then, click on the  button located at the bottom of the screen.
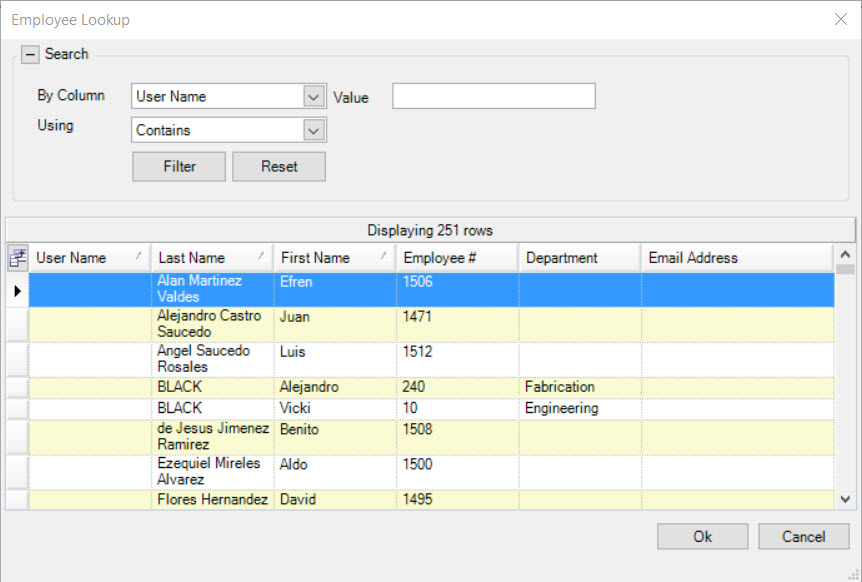
The Employee Lookup window will appear where users can locate the Employee or Employees they wish to add, highlight the appropriate row(s), and click on the
 button. The selected Employee(s) will be added.
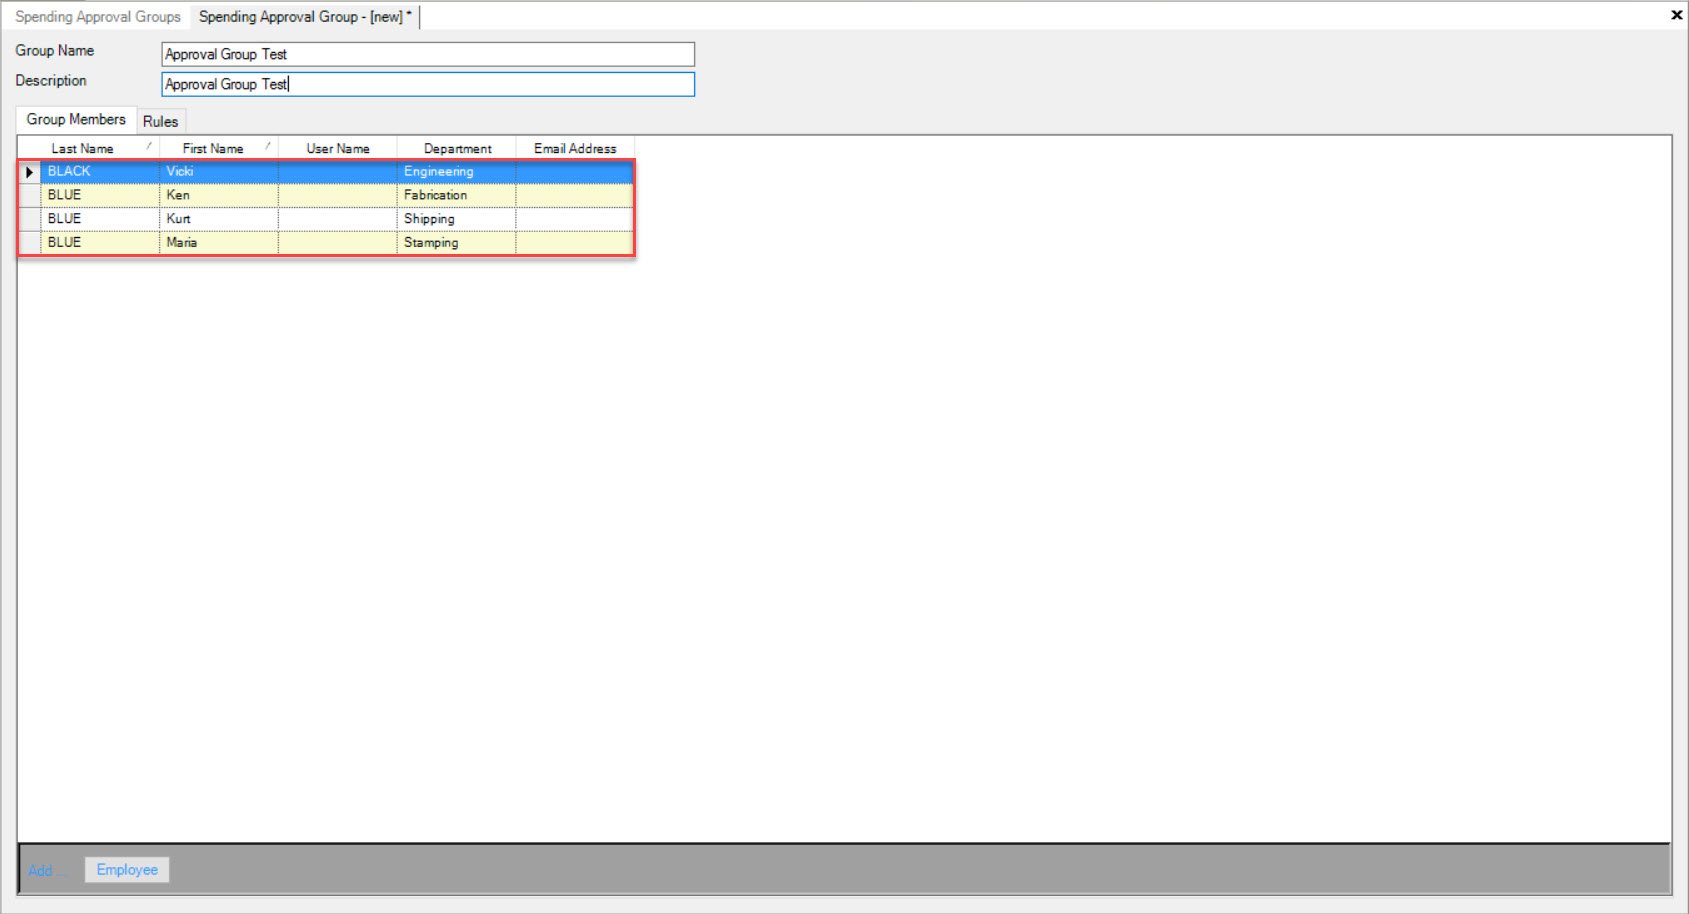
Employees that are part of the Spending Approval Group can approve or deny Spending Requests that are generated against the Spending Groups(s) for which the Approval Group is responsible for.
Note
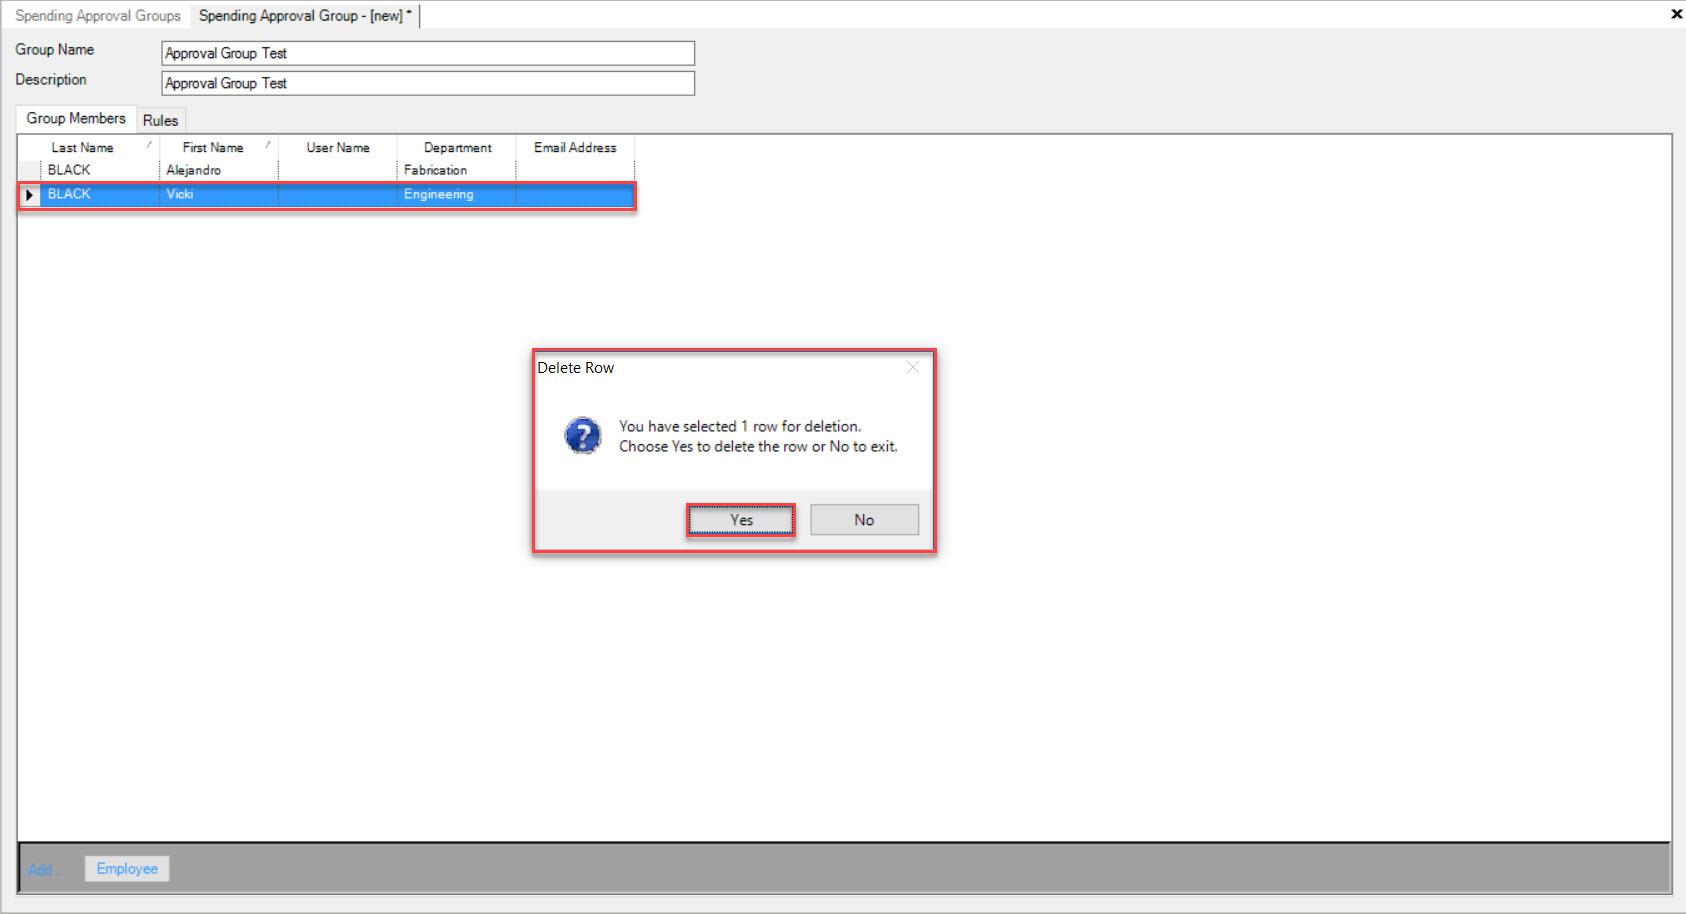
To delete an Employee from the Spending Approval Group, highlight the appropriate row of the Employee you wish to delete. Use your Delete key and when the system prompts you, select Yes. The Employee will be deleted. Make sure to save your changes before exiting the screen.
Once the appropriate Employees have been added, click on the  tab.
tab.
The  tab allows users to select or de-select Rules for the Spending Approval Group.
For Approval Rules, users have the option to select or de-select the following options:
- Anyone in the group can approve requests - If the group has multiple members, only one is required to approve requests
- All group members must approve requests - If the group has multiple members, all members must approve the requests to continue
Send notifications when:
- Requests are approved
- Requests are denied
- Partial request approval
- Escalating Requests
For Escalation Rules, users have the option to select or de-select the following options:
- No escalations - No request will be escalated beyond this Spending Group
- Escalate all requests - Every request will be escalated to another group for approval
- Manual escalation - The Spending Approval Group has the option of escalating to another group
- Escalate Requests to Group - This is the group that will receive the Escalation Request, and will give the decision on whether to approve or deny
Once you have selected the appropriate Rules for the Spending Approval Group, make sure to save your changes before exiting the screen.
Note
A Spending Approval Group can be edited at any time by opening it and making the appropriate changes. Always make sure to save your changes before exiting the screen.
Deleting a Spending Approval Group
If users wish to delete a Spending Approval Group in the system, they can do so by navigating to the  tab and clicking on the
![]() icon. The Spending Approval Groups screen will appear.
icon. The Spending Approval Groups screen will appear.

Double-click on the appropriate row of the Spending Approval Group that you wish to delete. The Spending Approval Group detail screen will appear.

Then, click on the  button located at the top of the screen.
A window will appear for users to confirm the deletion of the selected Spending Approval Group. Click on the  button to confirm.
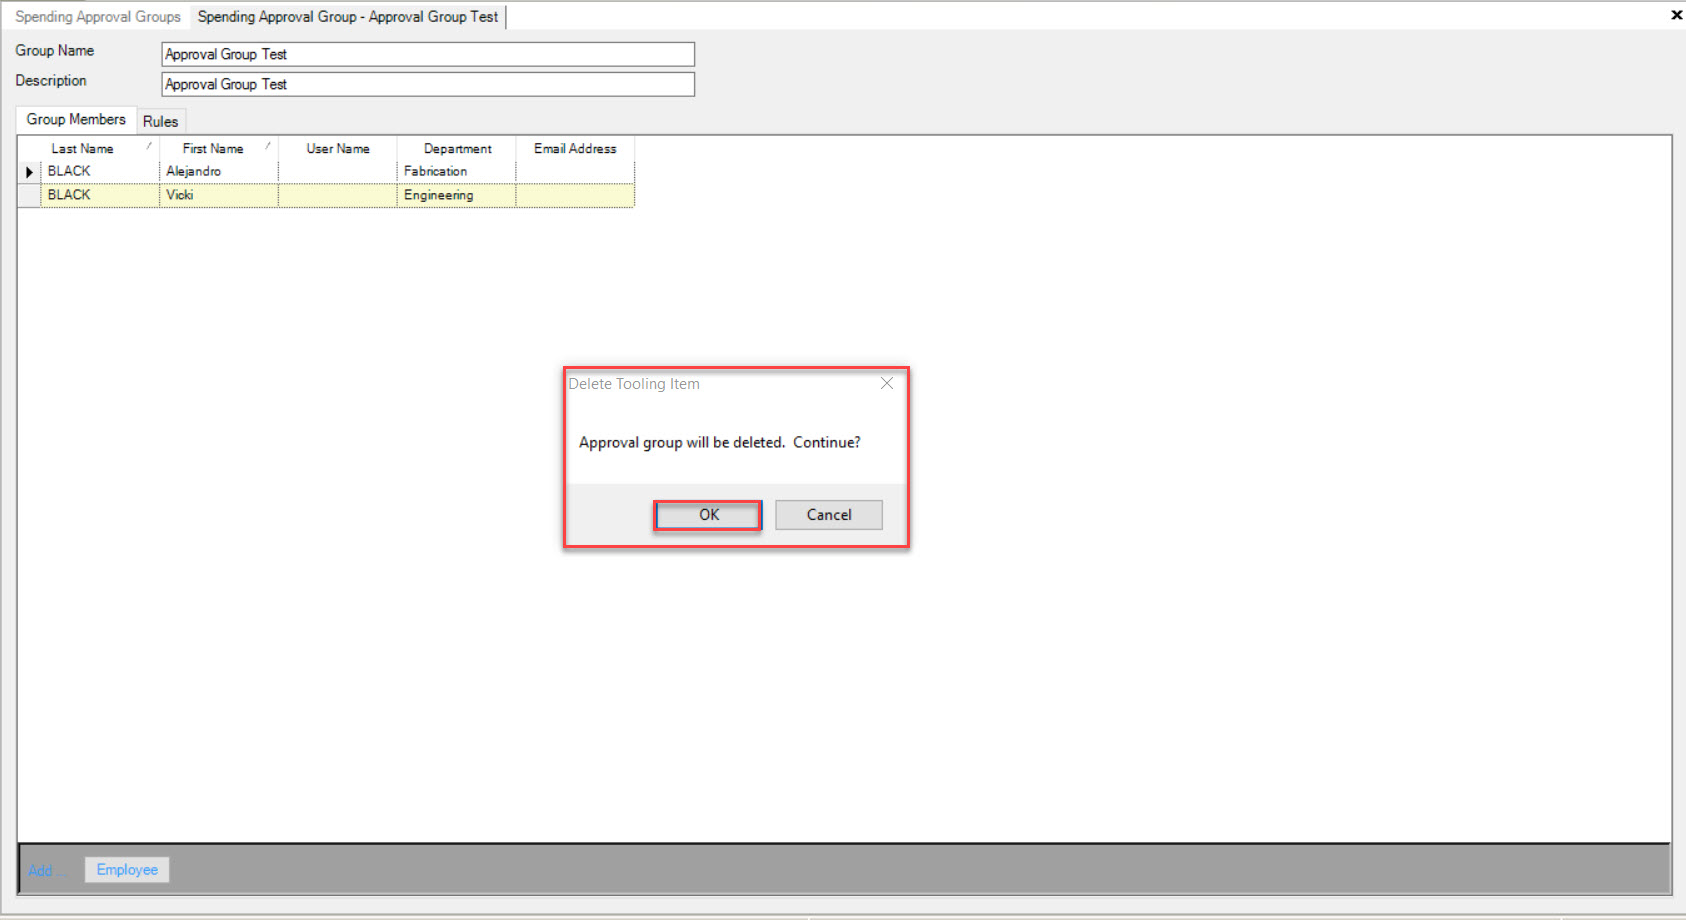
The selected Spending Approval Group will be deleted. Make sure to save your changes before exiting the screen.