Pending Receipts
To view all Pending Receipts in the system, navigate to the  tab and click on the
 ![]() icon. The Pending
Receipts screen will be displayed.
icon. The Pending
Receipts screen will be displayed.
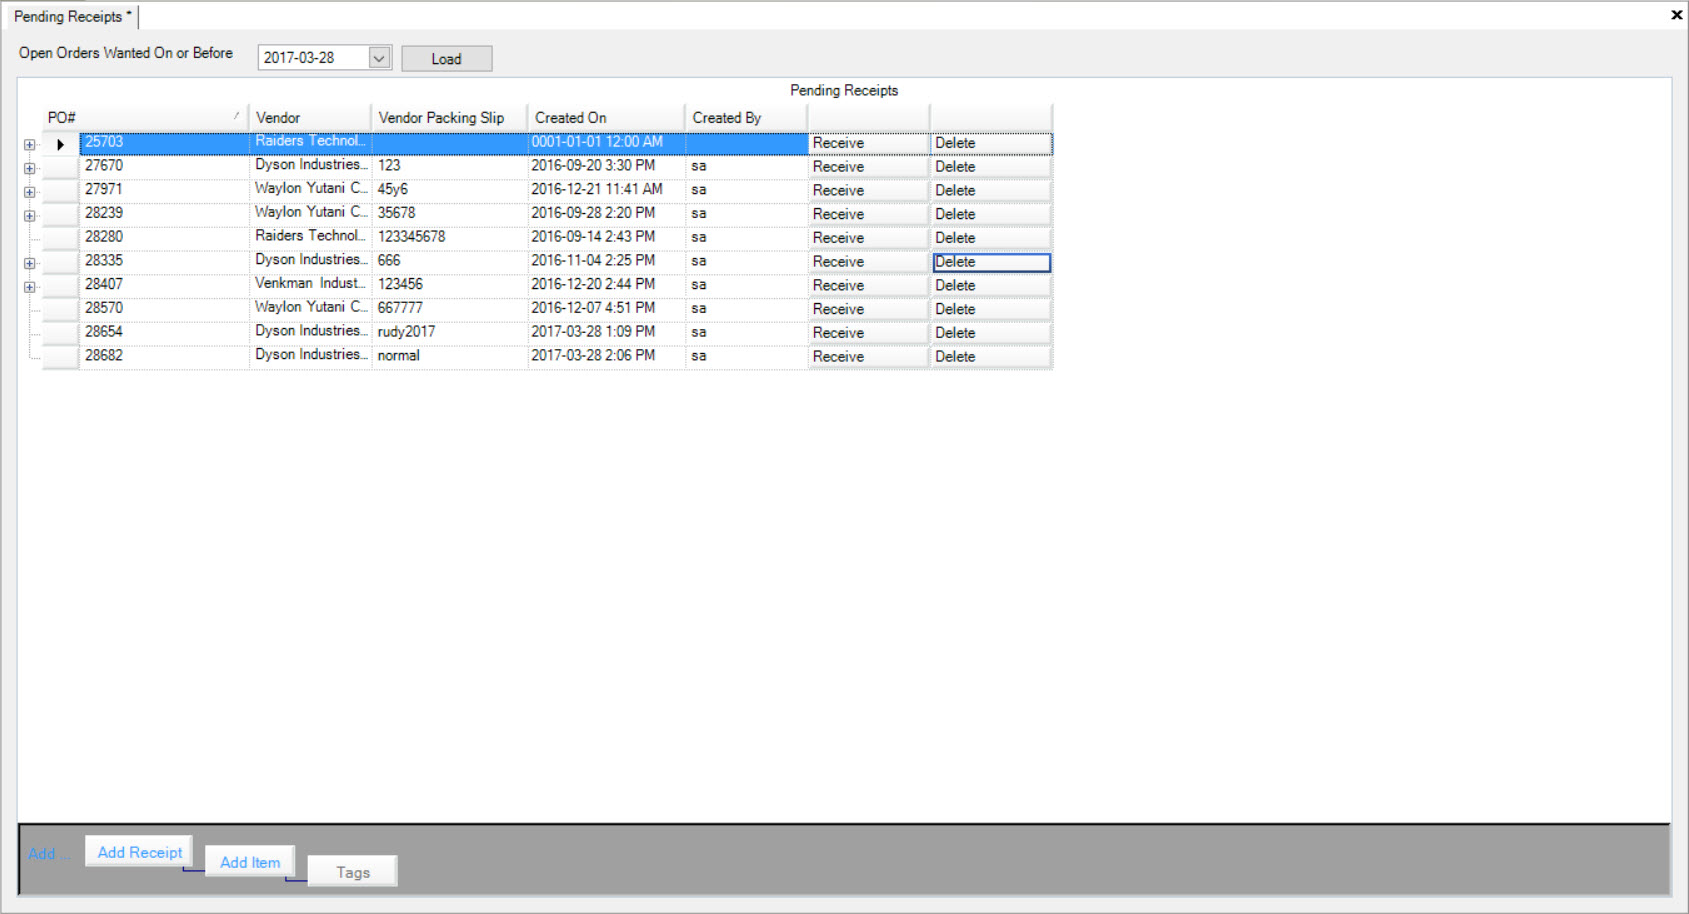
Users will be able to view all of the available Pending Receipts in the system. Details include P/O #, Vendor, Vendor Packing Slip, Created On date, and Created By.
Adding a Receipt
To add a Receipt to the Pending Receipts screen, navigate to the  tab and click on the
 ![]() icon. The
Pending Receipts screen will be displayed.
icon. The
Pending Receipts screen will be displayed.

Click on the  button located at the bottom of the screen.
The Open Purchase Orders window will appear where users can select the P/O # to create a Receipt for. Once it has been selected, click on the  button.
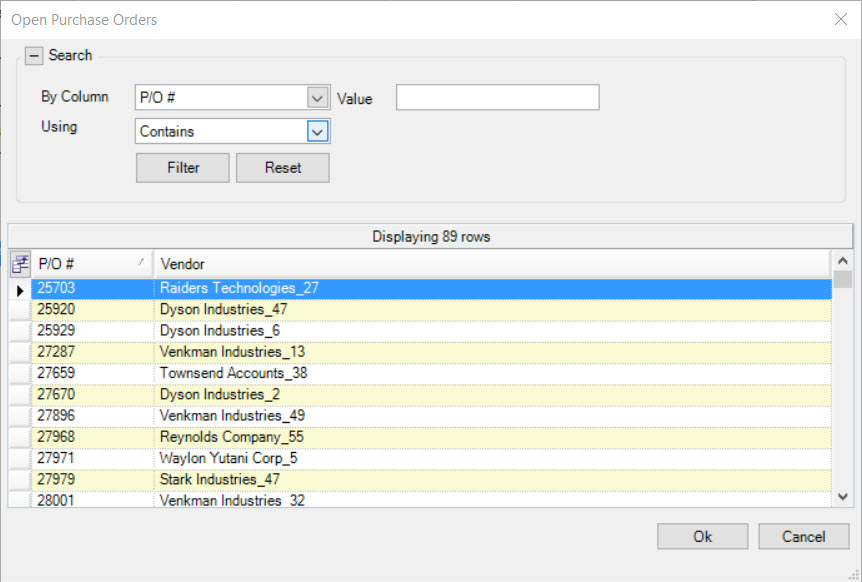
The selected P/O # will be added to the Pending Receipts screen.
Note
If users wish to make changes to a P/O #, simply click in the appropriate textbox to make the necessary changes.
Make sure to save your changes before exiting the screen.
Adding an Item to a Receipt
To add an Item to a Receipt, navigate to the  tab and click on the
 ![]() icon. The
Pending Receipts screen will be displayed.
icon. The
Pending Receipts screen will be displayed.

Locate the Receipt you wish to add an Item to and highlight the appropriate row. Users can also add a new Receipt if needed, in order to add an Item.
Next, click on the  button located at the bottom of the screen.
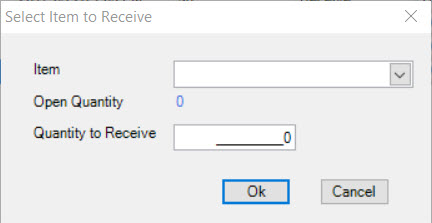
The Select Item to Receive window will appear. Users must select an Item using the drop-down menu, and enter in a Quantity to Receive. Then, click on the  button.
The Item will be added to the highlighted Receipt. Details will be displayed such as the Item, Expected Qty., Received Qty., Received Tag Count, and Open Qty.
Once the Item has been added, make sure to save your changes before exiting the screen.
Receiving a Receipt
To receive a Receipt, navigate to the  tab and click on the
 ![]() icon. The
Pending Receipts screen will be displayed.
icon. The
Pending Receipts screen will be displayed.

Locate the Receipt you wish to receive and click on the  button in the appropriate row.
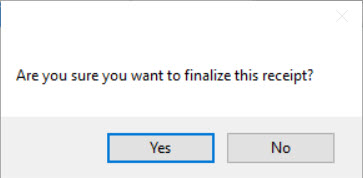
A window will appear asking you to finalize the receiving of the selected Receipt. Click on the  button to confirm.
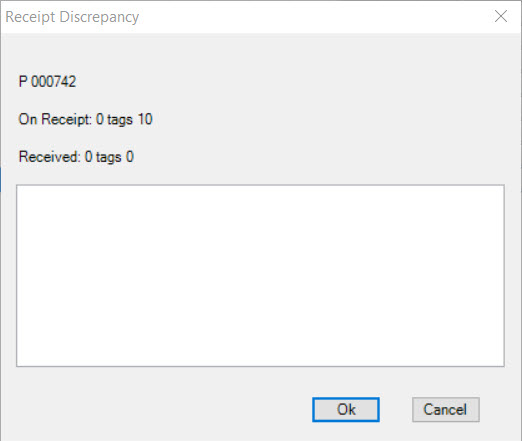
The Receive Discrepancy window will appear. Users can enter in notes if necessary and then, click on the  button.
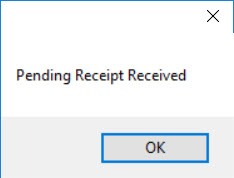
Another window will appear, stating that the Pending Receipt was received. Click on the  button.
Deleting a Receipt
To delete a Receipt from the Pending Receipts screen, navigate to the  tab and click on the
 ![]() icon. The
Pending Receipts screen will be displayed.
icon. The
Pending Receipts screen will be displayed.

Locate the Receipt you wish to delete and click on the  button in the appropriate row.
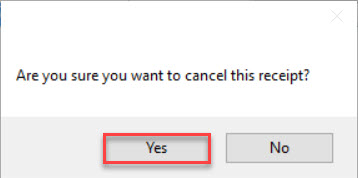
A window will appear asking you to confirm the deletion of the selected Receipt. Click on the  button to confirm.
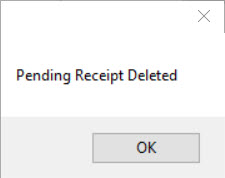
Another window will appear confirming the deletion. Click on the  button.
