Creating Invoices
There are three different ways to create a new Invoice in the system. The first way is to press the Ctrl + Shift + I keys. The second way is to navigate to File > New > Invoice.
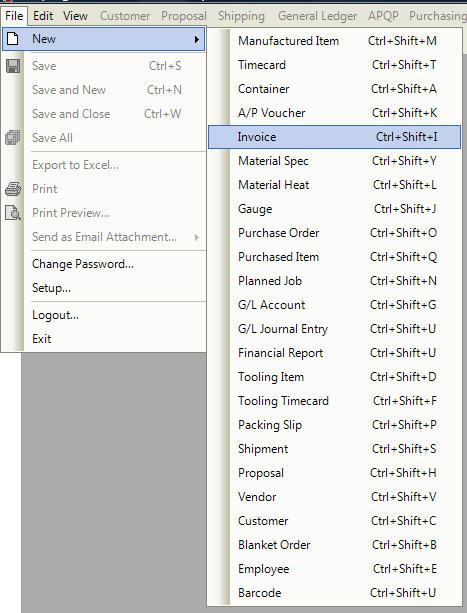
The last way is the click on the  button, and select the Invoice option.
All of these three options will open a new Invoice screen.
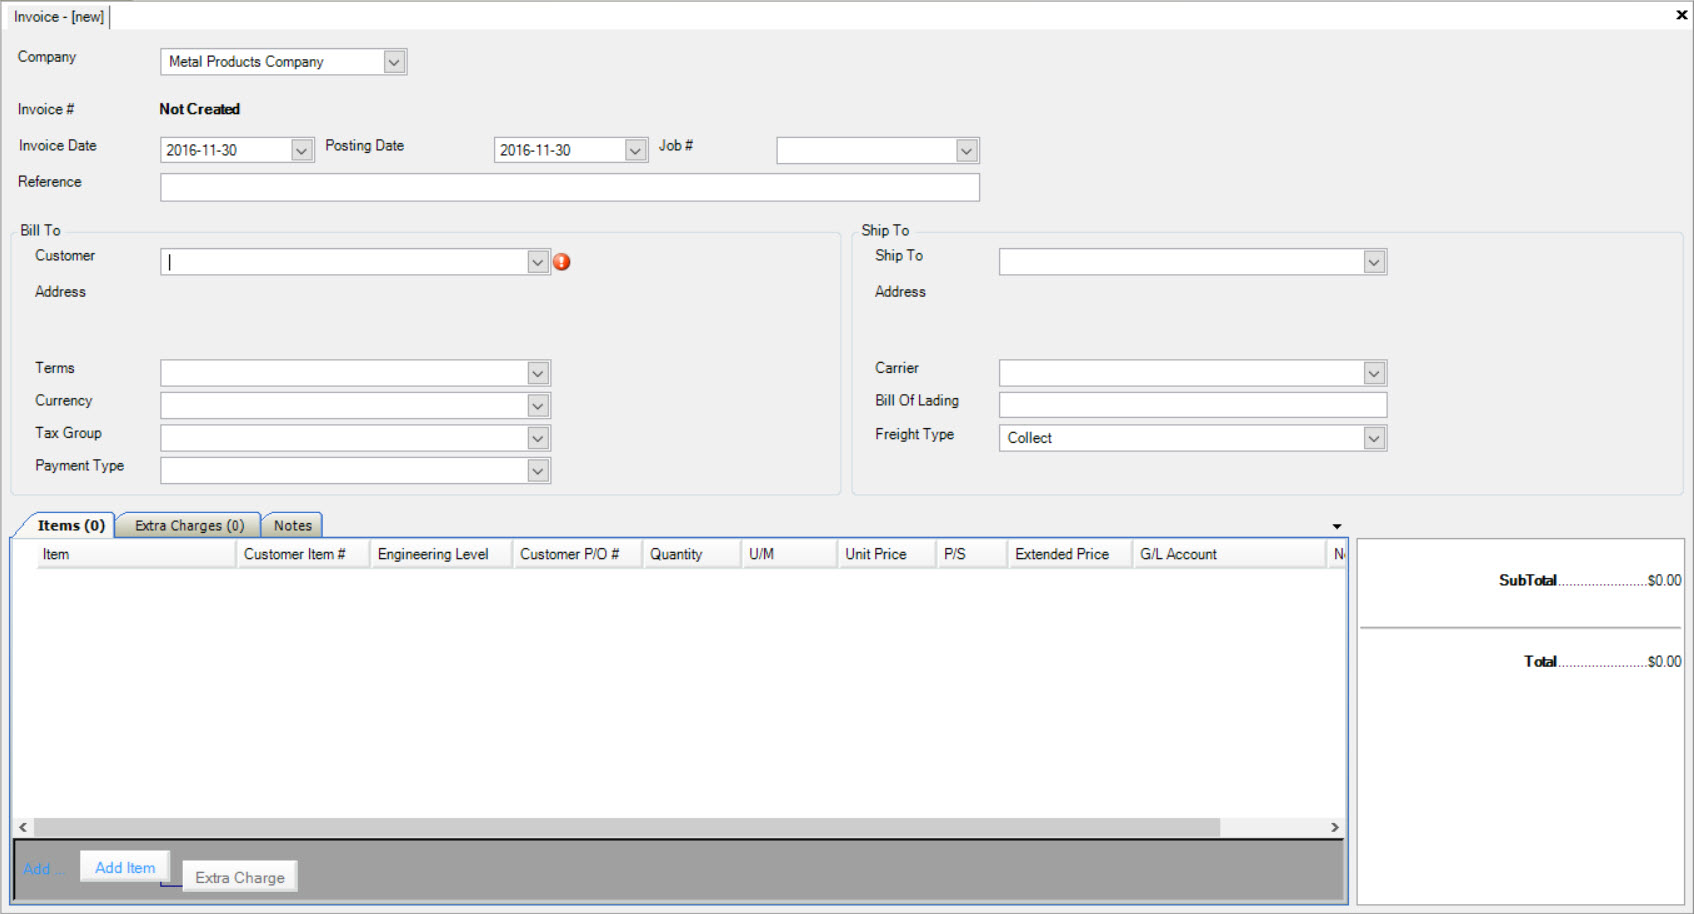
There are various mandatory fields that must be completed before the new Invoice can be saved in the system. The user will be prompted for this information when they perform a save. Once the proper fields have been entered the user can find this Invoice among others in the Pending Invoices screen.
Adding an Item to a New Invoice
To add an Item to a new Invoice, make sure the correct Invoice is open, or create a new one by following the steps listed above.
Navigate to the bottom of the screen and click on the  button.
A new row will appear on the Invoice. Select the Item you wish to add to the Invoice by using the drop-down arrow.
The system will only let you use Items that are assigned to the Customer at the Item Pricing level in the system. Once you have selected the Item, the system will populate the information in the row such as the Engineering level, Unit of Measure, and Unit Price from Item Pricing table. Make sure to enter in and verify the Item Quantity.
Note
Users must select a Customer before adding an Item.
Note
For a Credit Note, enter in a negative Quantity.
Make sure to save your changes before exiting the screen.
Deleting an Item from an Invoice
To delete an Item from a new or existing Invoice, find the Item you wish to delete and highlight the appropriate row. Use your Delete key and when
the system prompts you, click on the  button.
The Item will be deleted. Make sure to save your changes before exiting the screen.
Adding an Extra Charge to a New or Existing Invoice
Users can add recurring Extra Charges to the Extra Charges table under the Invoicing module so it is easier to add an Extra Charge to an Invoice, as more information will be populated.
To add an Extra Charge to the Extra Charge table, navigate to the  tab and click on the
 ![]() icon.
icon.
Click on the  button and a new row will appear. Select the Extra Charge you wish to add using the drop-down menu.

Enter in the Description, GL Account, Unit Price, and Unit of Measure (U/M). The Invoice will be updated automatically on the right-hand side.
You can also add a one-time Extra Charge to an Invoice. Navigate to the ![]() icon and find the Invoice
you wish to add an Extra Charge to. Double-click on the appropriate row to open it.
icon and find the Invoice
you wish to add an Extra Charge to. Double-click on the appropriate row to open it.
Make sure to click on the Extra Charge tab on the Invoice.
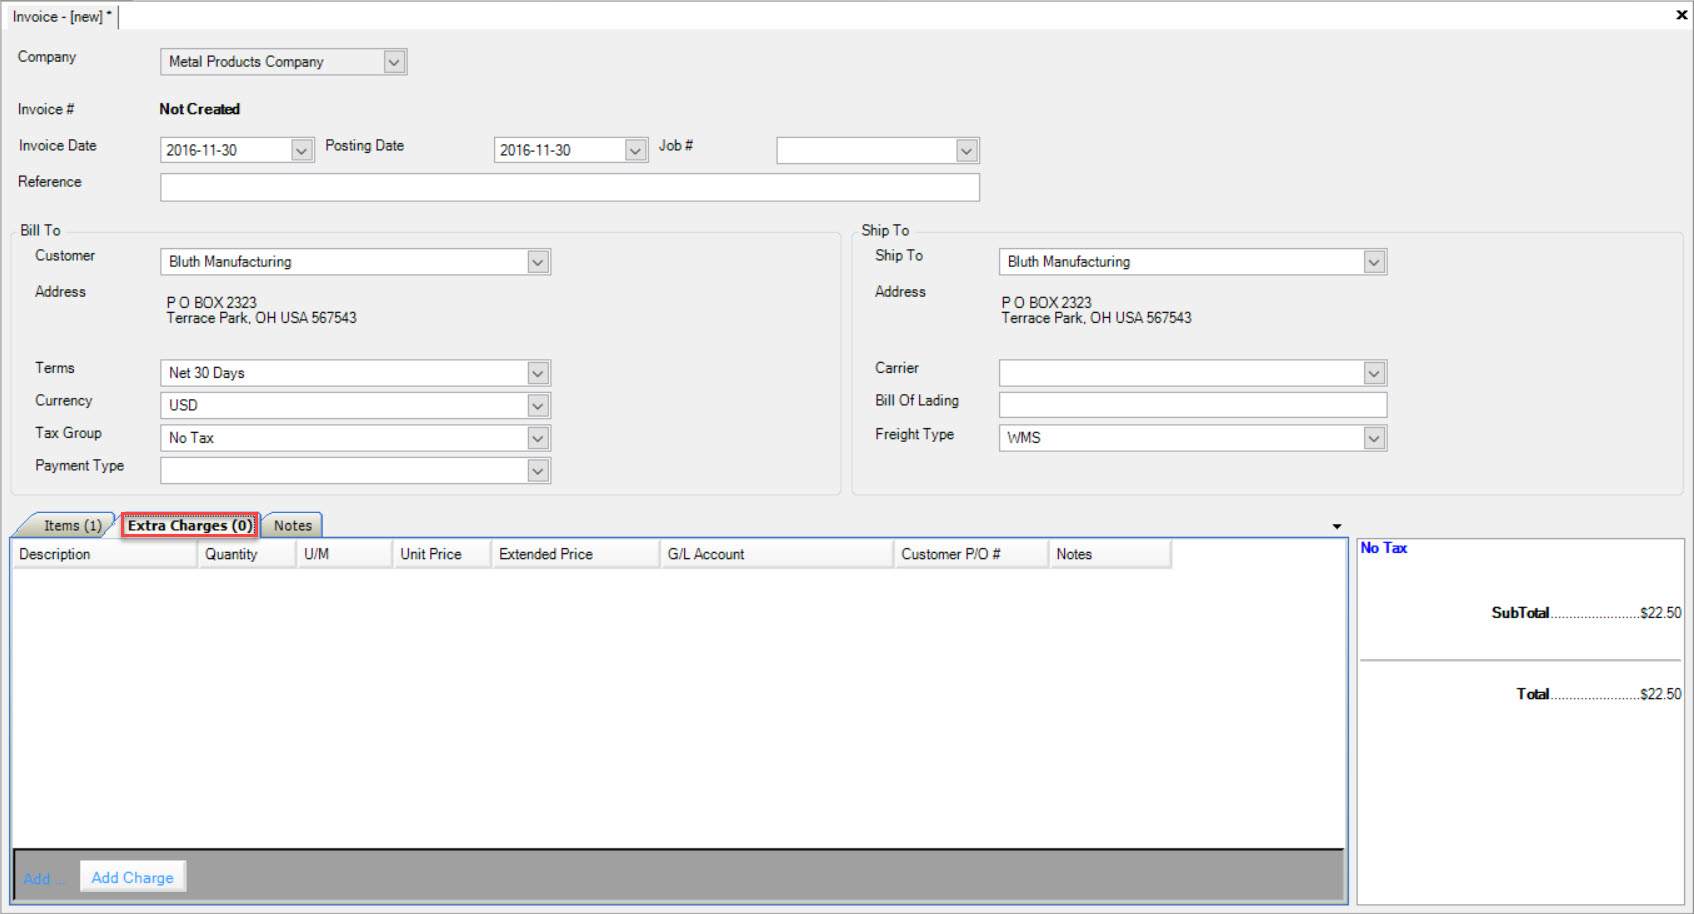
Click on the  button located at the bottom of the screen. A new row will appear where users can select the Extra Charge
you wish to add using the drop-down menu.
Enter in a Quantity, Unit of Measure (U/M), and Unit Price for each Extra Charge that you add. The Invoice will be updated automatically on the right-hand side.
Make sure to save your changes before exiting the screen.
Deleting an Extra Charge from an Invoice
To delete an Extra Charge from a new or existing Invoice, make sure the Extra Charges tab is selected near the bottom of the Invoice screen.
Find the Extra Charge you wish to delete and highlight the appropriate row. Use your Delete key and when the system prompts you, click on the  button.
Make sure to save your changes before exiting the screen.
Adding a Note to a New or Existing Invoice
To add a Note to a new or existing Invoice, make sure that the Notes tab is selected near the bottom of the Invoice screen.
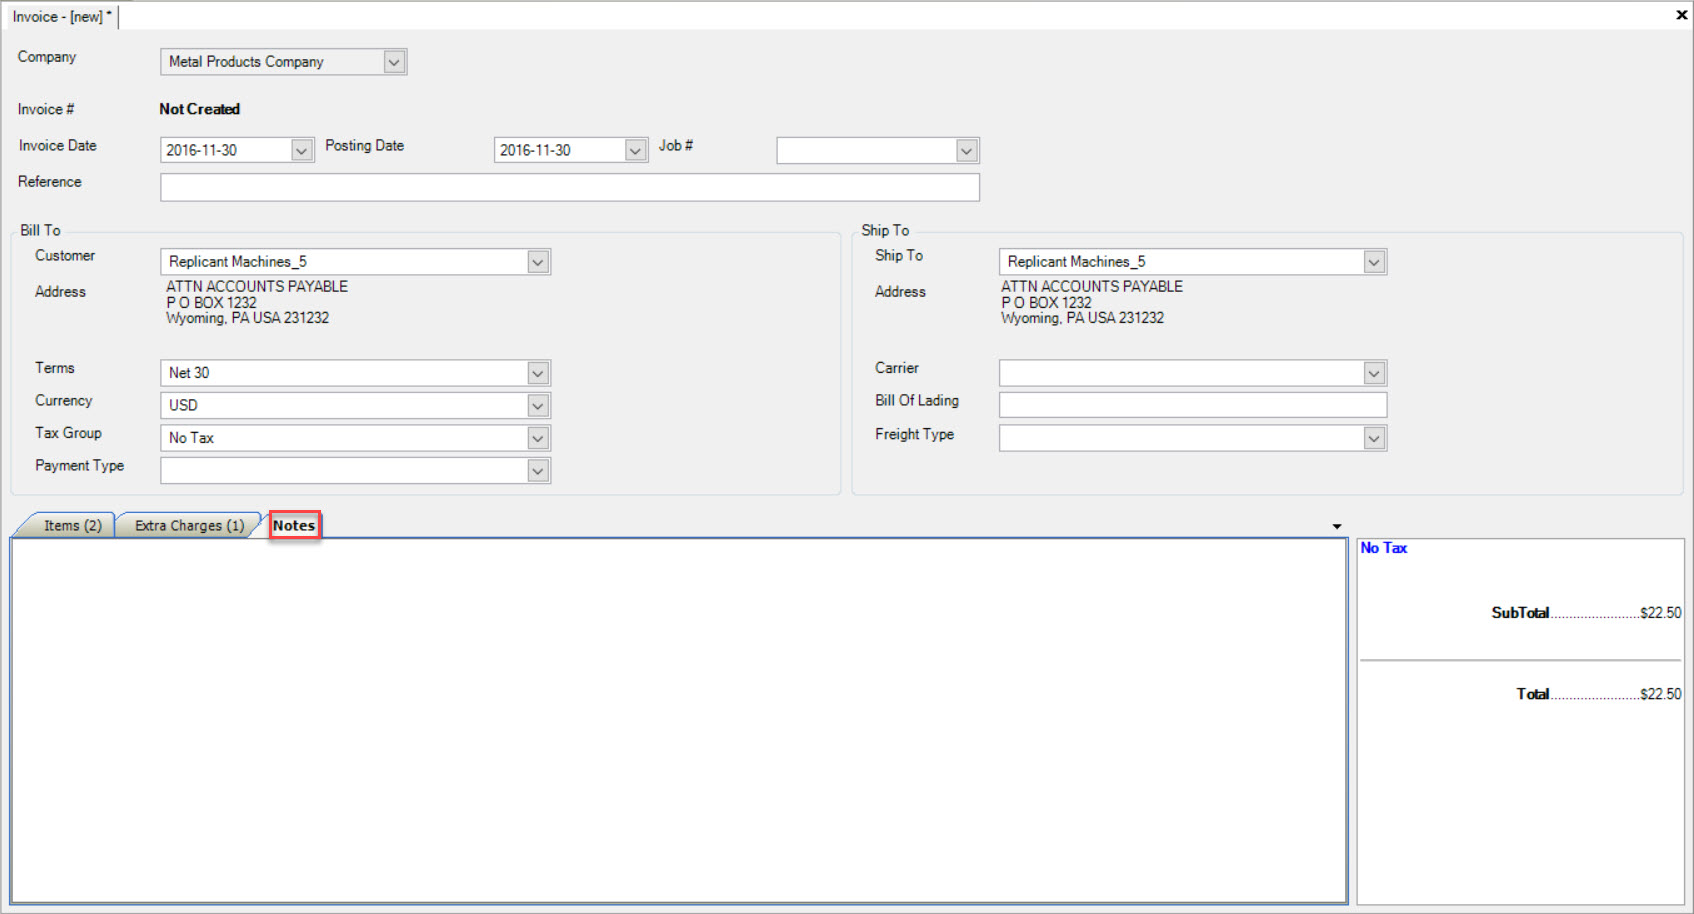
Enter in any Notes you wish to add using your keyboard in the space provided.
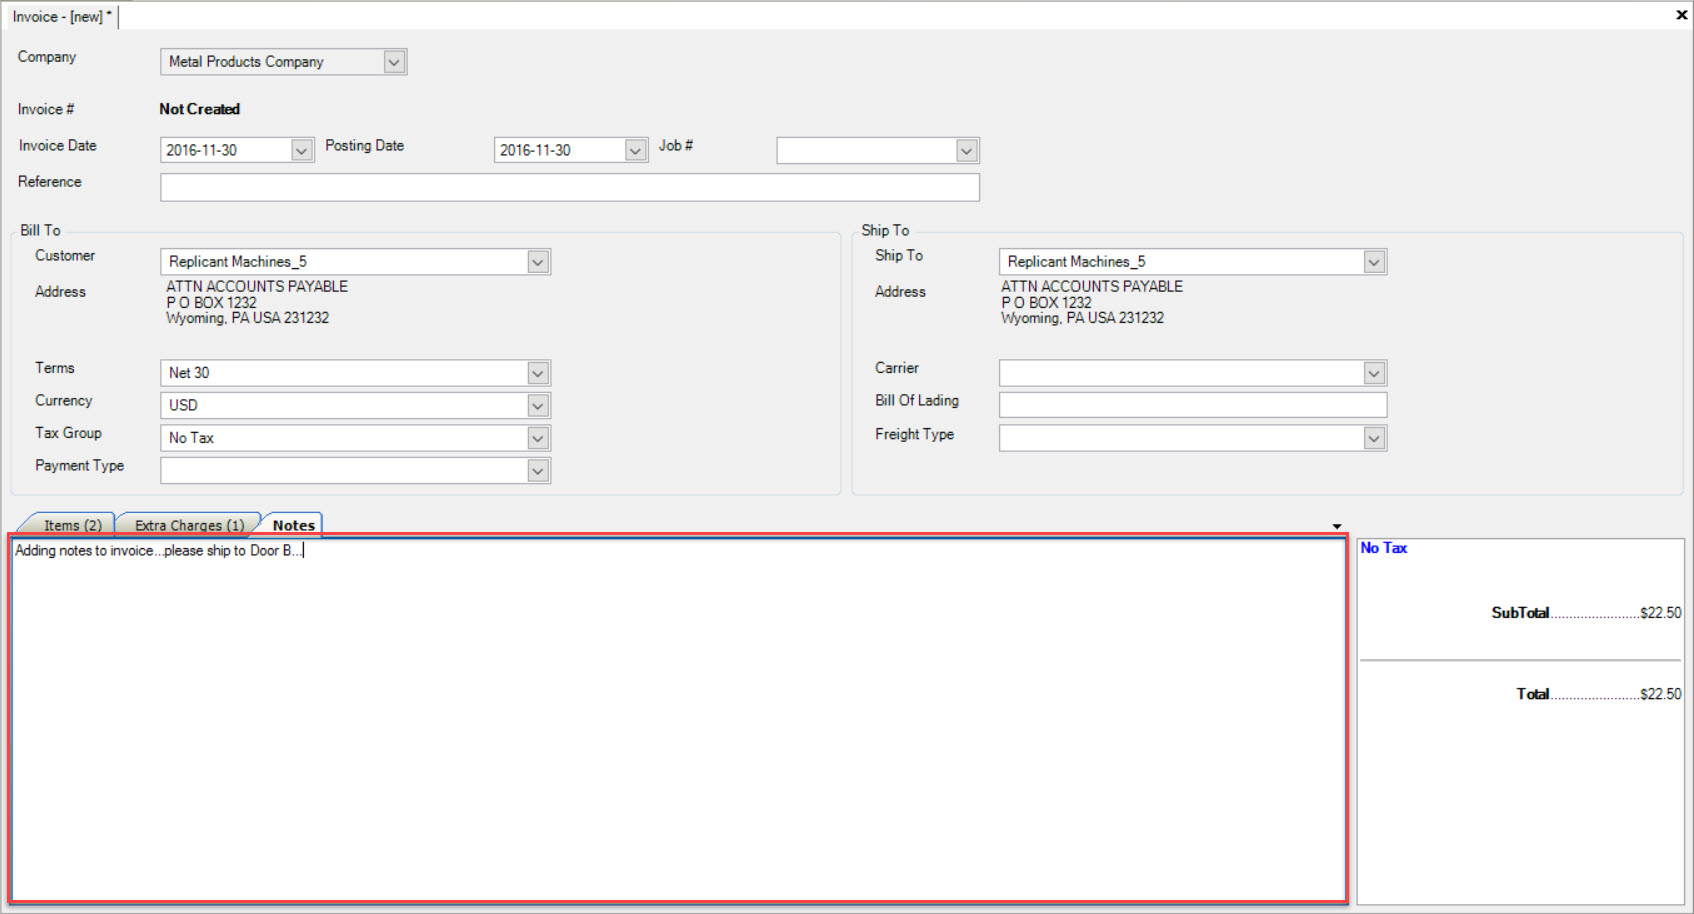
Make sure you save your changes before exiting the screen.
Note
To delete a Note, simply use your Backspace key and delete the appropriate Note(s). Make sure to save before exiting the screen.
Post Invoice
To update A/R after completing a new Invoice or editing an existing one, simply click on the Invoicing menu located at the top of the screen and select Post Invoice.

Note
Make sure the Invoice screen is opened in order to click on the Invoicing menu.
The Invoice can now be found by navigating to the  tab and clicking on the
 ![]() icon. Here,
users are able to locate the Customer you created the Invoice for.
icon. Here,
users are able to locate the Customer you created the Invoice for.
Alternatively, it can also be found by clicking on the ![]() icon.
icon.
Adding an Additional Packing Slip to a New or Existing Invoice
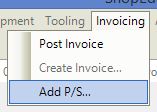
To add an additional Packing slip to a new or existing Invoice, open the appropriate Invoice (or begin a new one). At the top of the screen, click on the Invoicing menu and select Add P/S.
The Non-Invoiced Packing Slip Lookup window will appear.
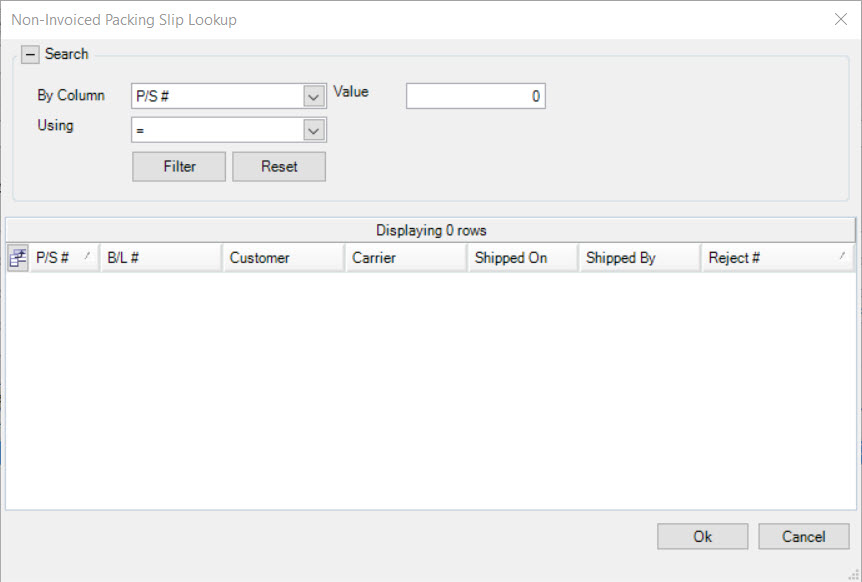
Select the Non-invoiced Packing Slip(s) you wish to add, and click on the  button. The system will add the Items from the Packing Slip to the Invoice.
Make sure to save your changes before exiting the screen.