Database Installer
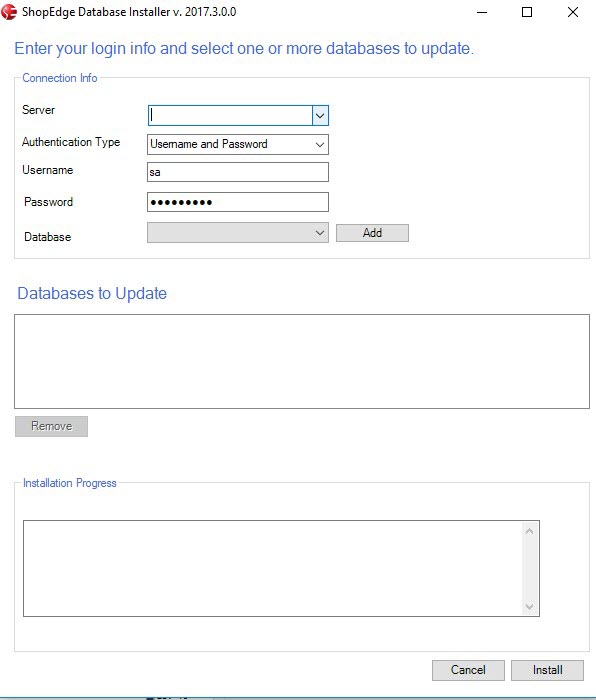
Upon launching the database installer, users will first need to fill out database authentication information.
If users are running the database installer on a database server, users will find that the database will already be listed under the server field and can be selected. If the database does appear, users must specify a connection string to connect to the database.
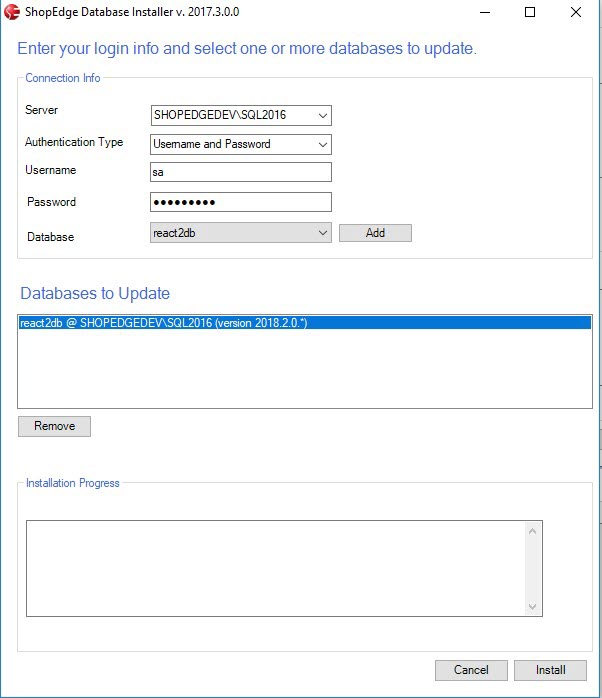
Users will also need to specify a username and password to authenticate to the database to perform an update. Once this information is filled out, selecting the database drop-down will populate the list with each ShopEdge instance installed in that specific database.
To add a database that is not in the drop-down list, click the Add button.


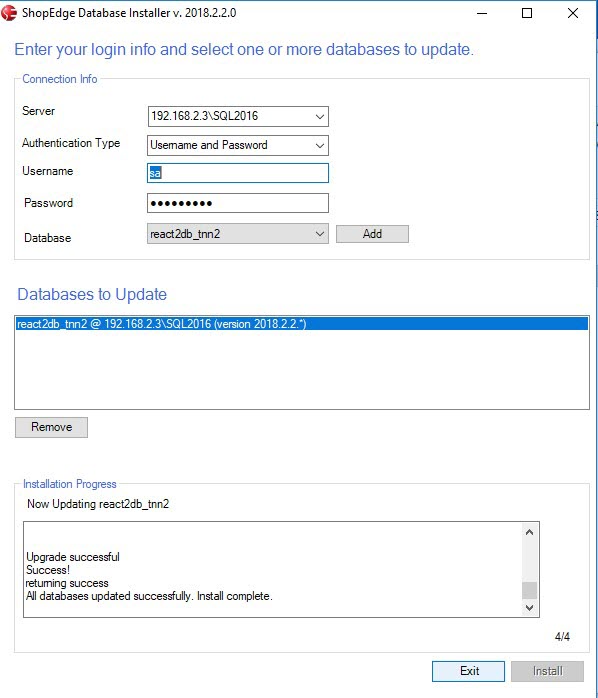
Once the list of databases to be updated has been populated, click the Install button. The progress of the installation will be listed near the bottom of the screen. Users may have to accept a windows security prompt if the database installer is not run as an Administrator.
The first step of the update involves gathering an update plan, which can take some time. After the update plan is complete, the update will be applied, and the progress will be easy to track. Once finished, users will receive a notification that the update is complete. To finish, users must click on the previously disabled Exit button.
