Navigating Admin
You can open APQP Admin by navigating to the  tab and clicking on the
  icon.
icon.
This will open the Admin screen.
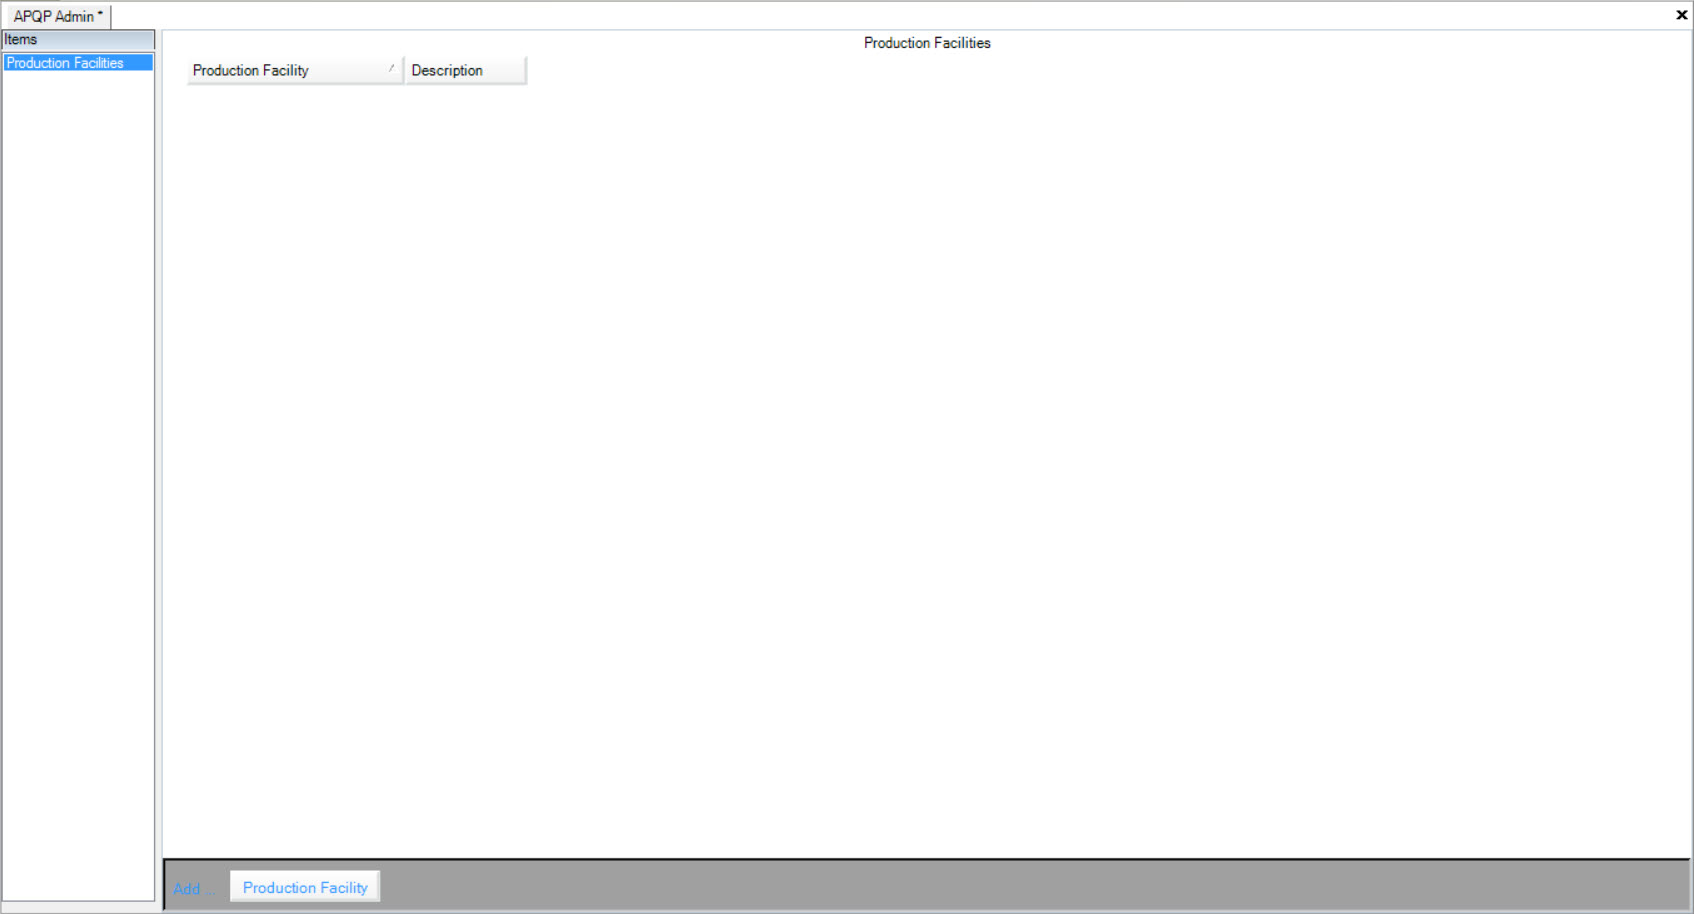
Adding a Production Facility
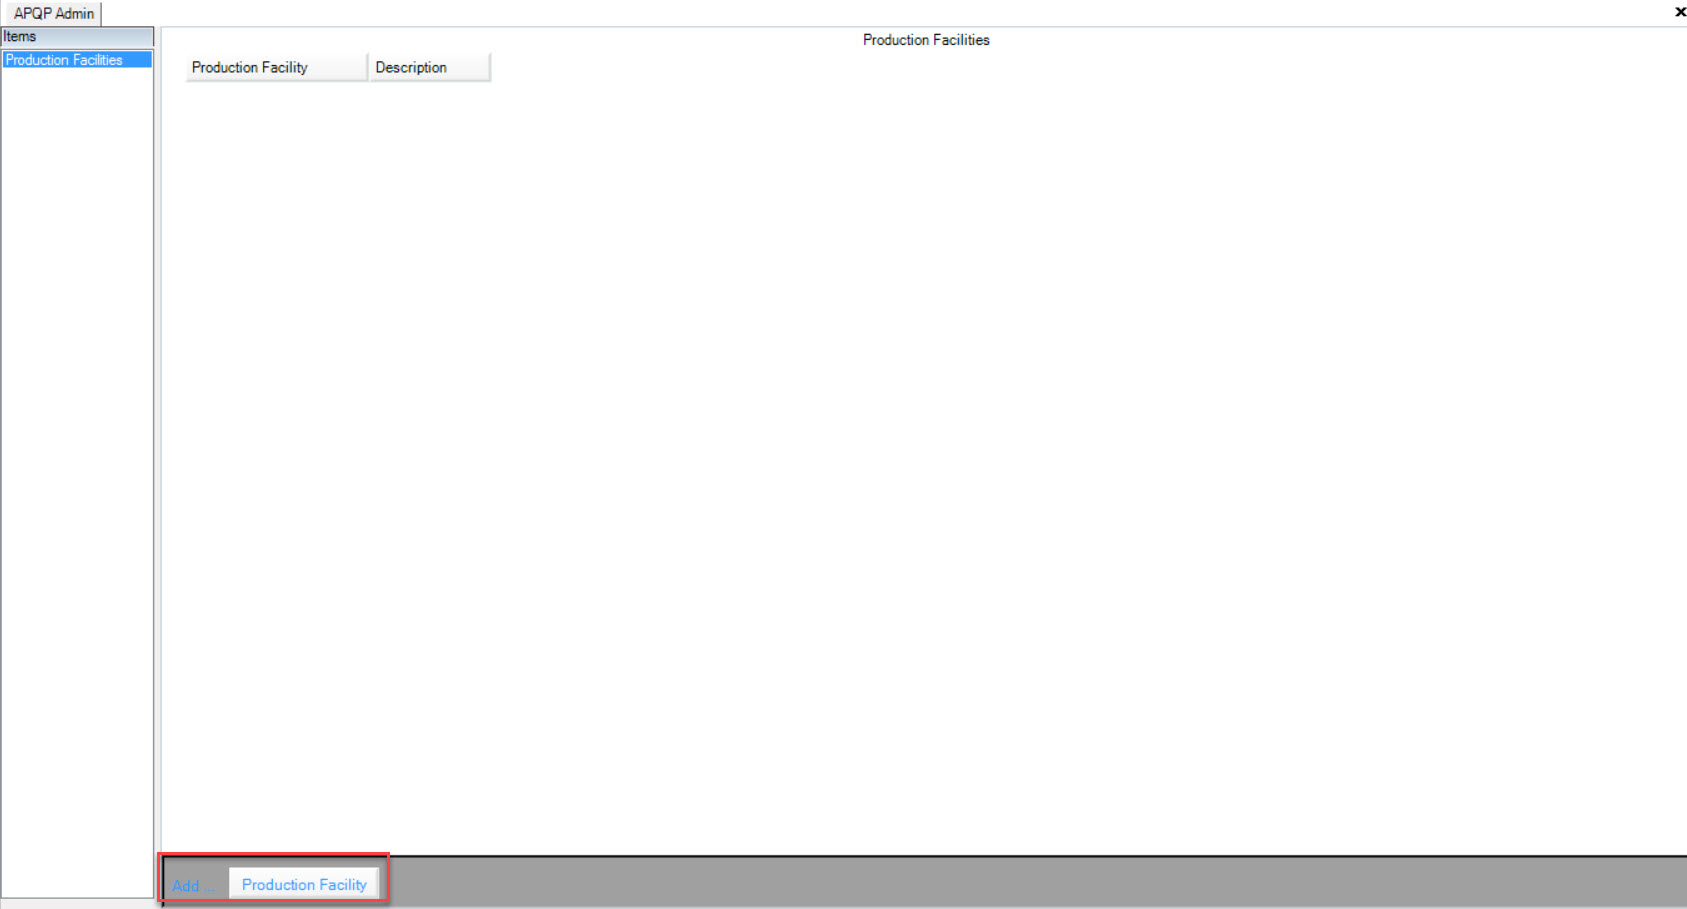
Once you have the Admin screen open and you wish to add a Production Facility, click on the Add...Production Facility button located at the bottom of the screen.
A new row will be added where you can manually key in the new Production Facility and Description.
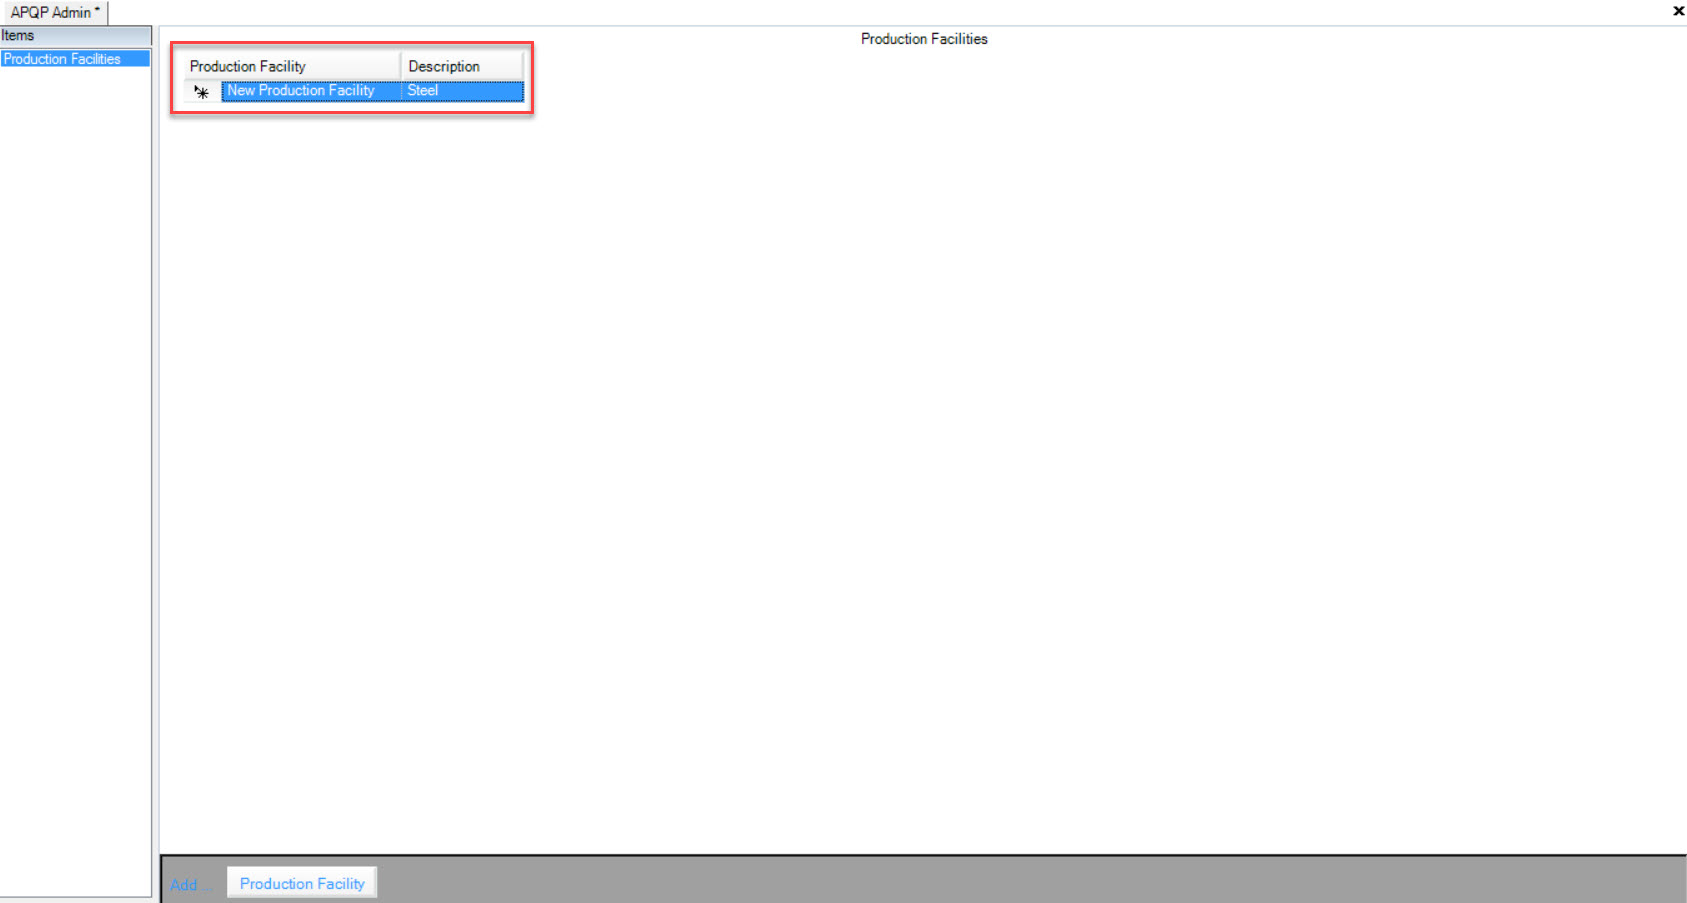
Make sure to save your changes before exiting the screen.
Editing a Production Facility
To edit a Production Facility, locate the one your wish to make changes to and click in the text box.
Once you have made the necessary changes, make sure to save before exiting the screen.
Deleting a Production Facility
To delete a Production Facility, highlight the appropriate row of the one you wish to delete.
Use your Delete key on your keyboard and when the system prompts you, select Yes.
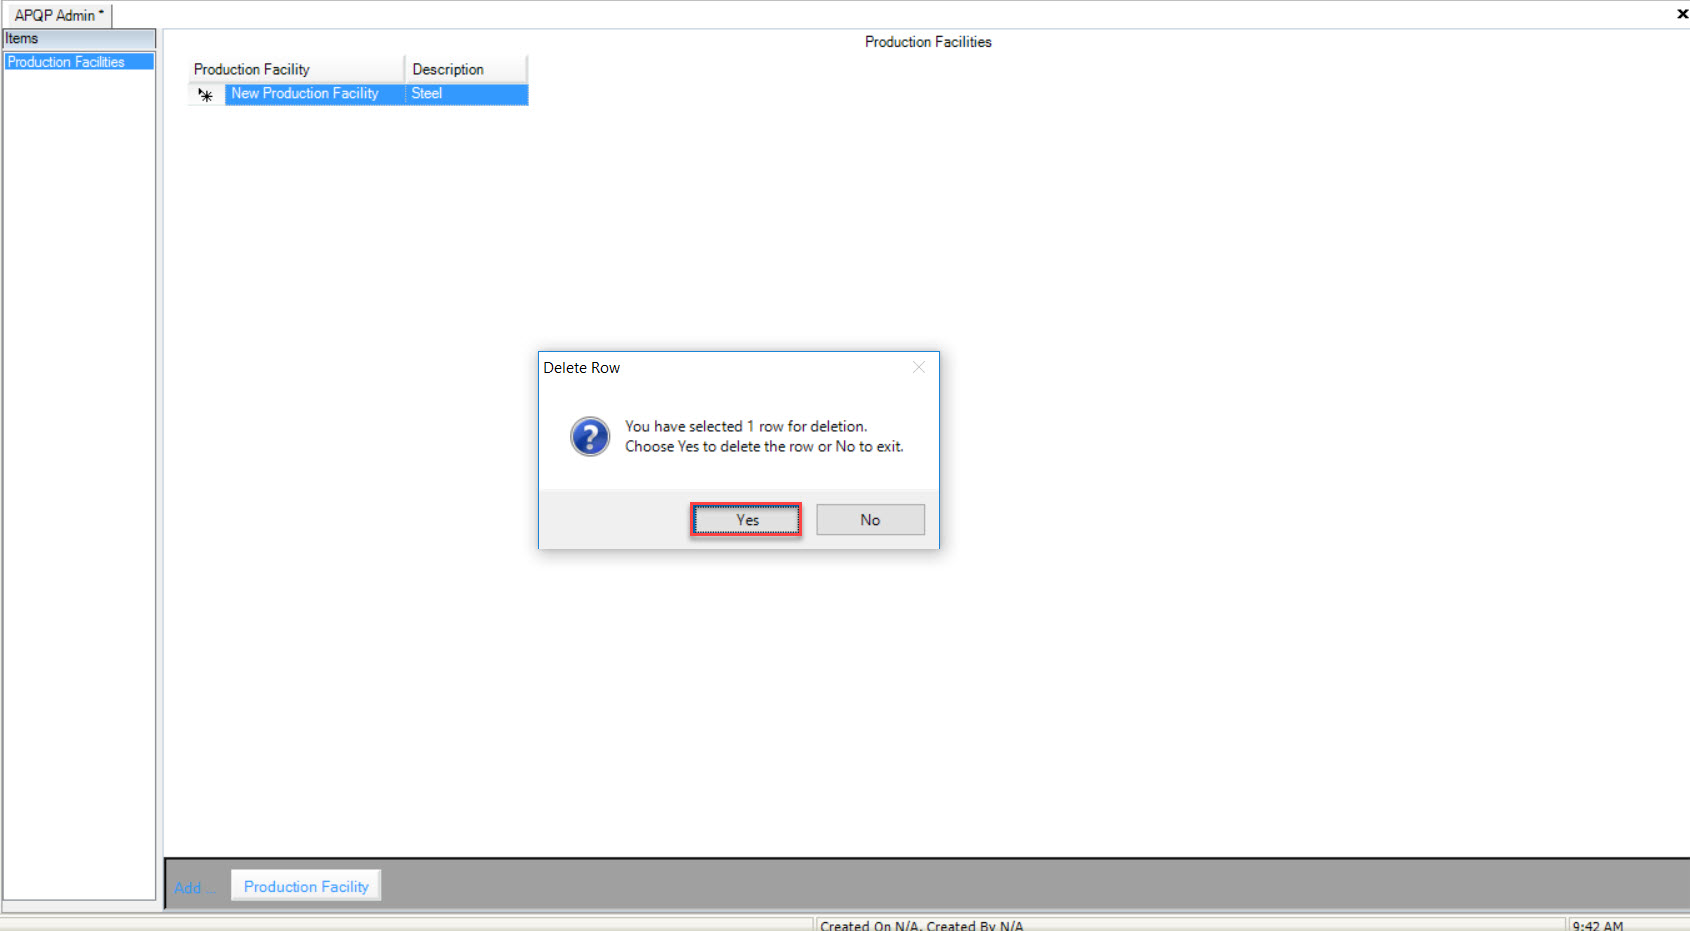
The selected row will be deleted immediately. Make sure to save your changes before exiting the screen.
Creating a New Job
There are three different ways to add a new Planned Job to the system. The first way is to press the Ctrl + Shift + N keys. The second way is to navigate
to File > New > Planned Job.
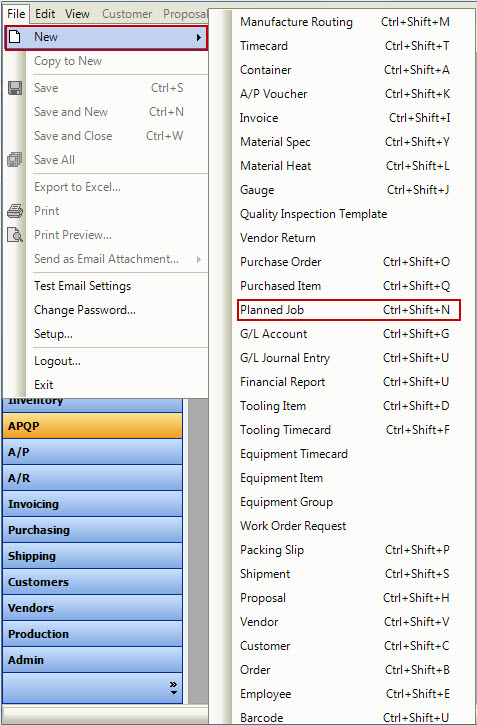
The last way is the click on the  button, and then on the Planned Job option.
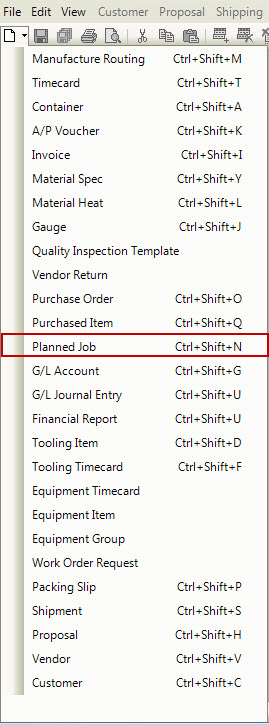
All of these three options will open a New Planned Job screen.
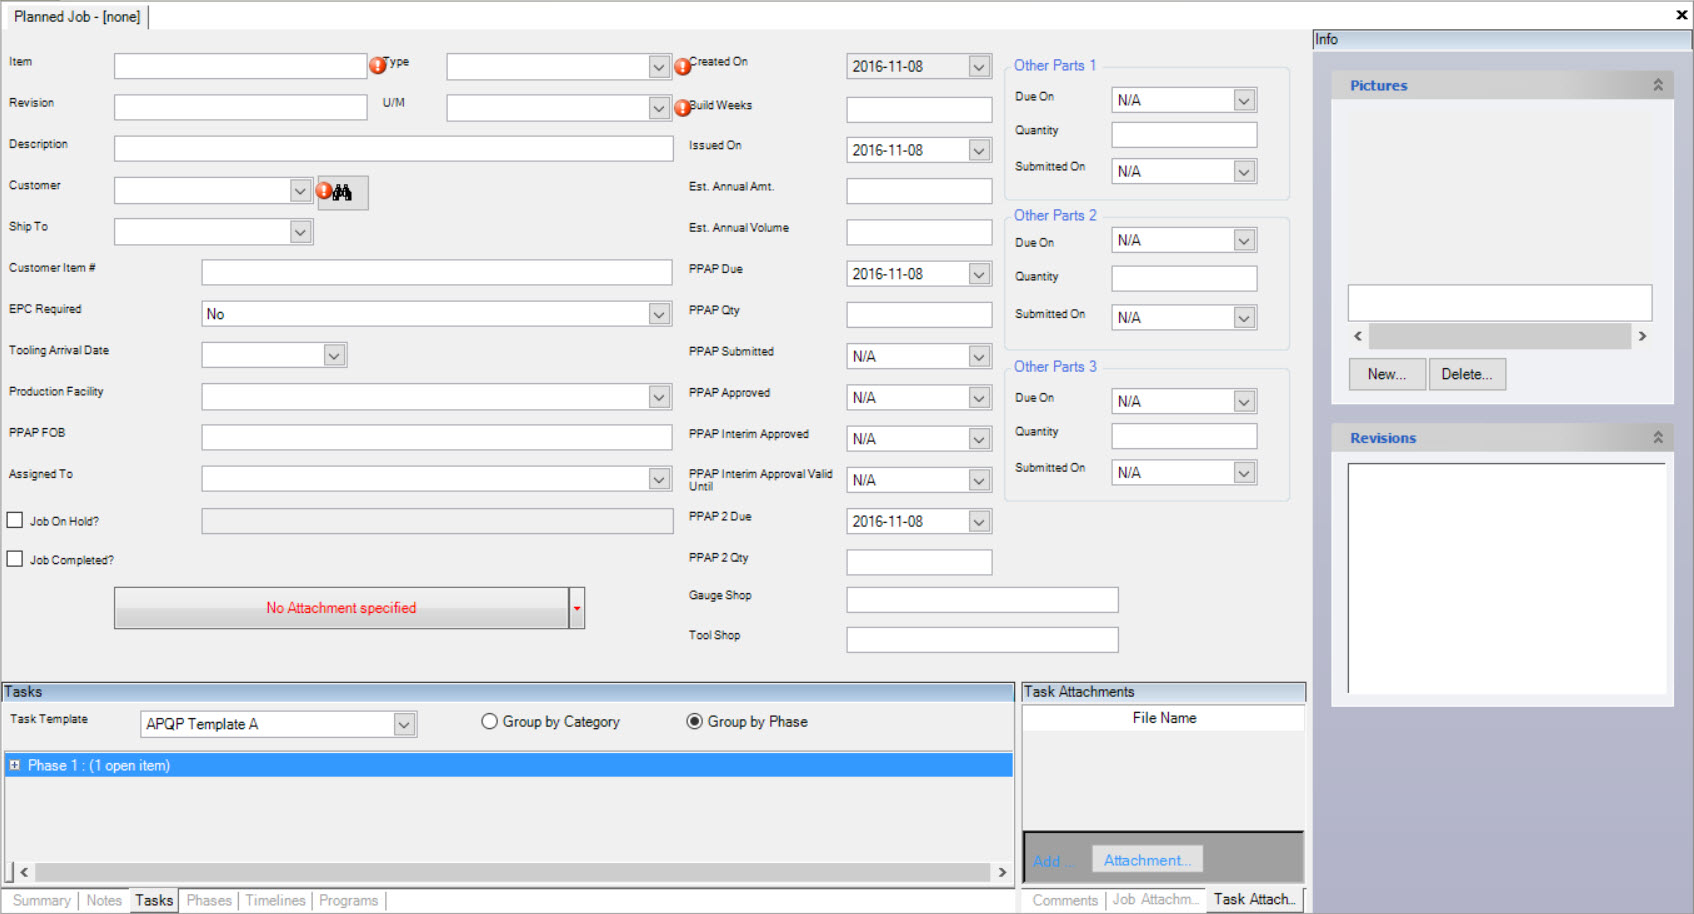
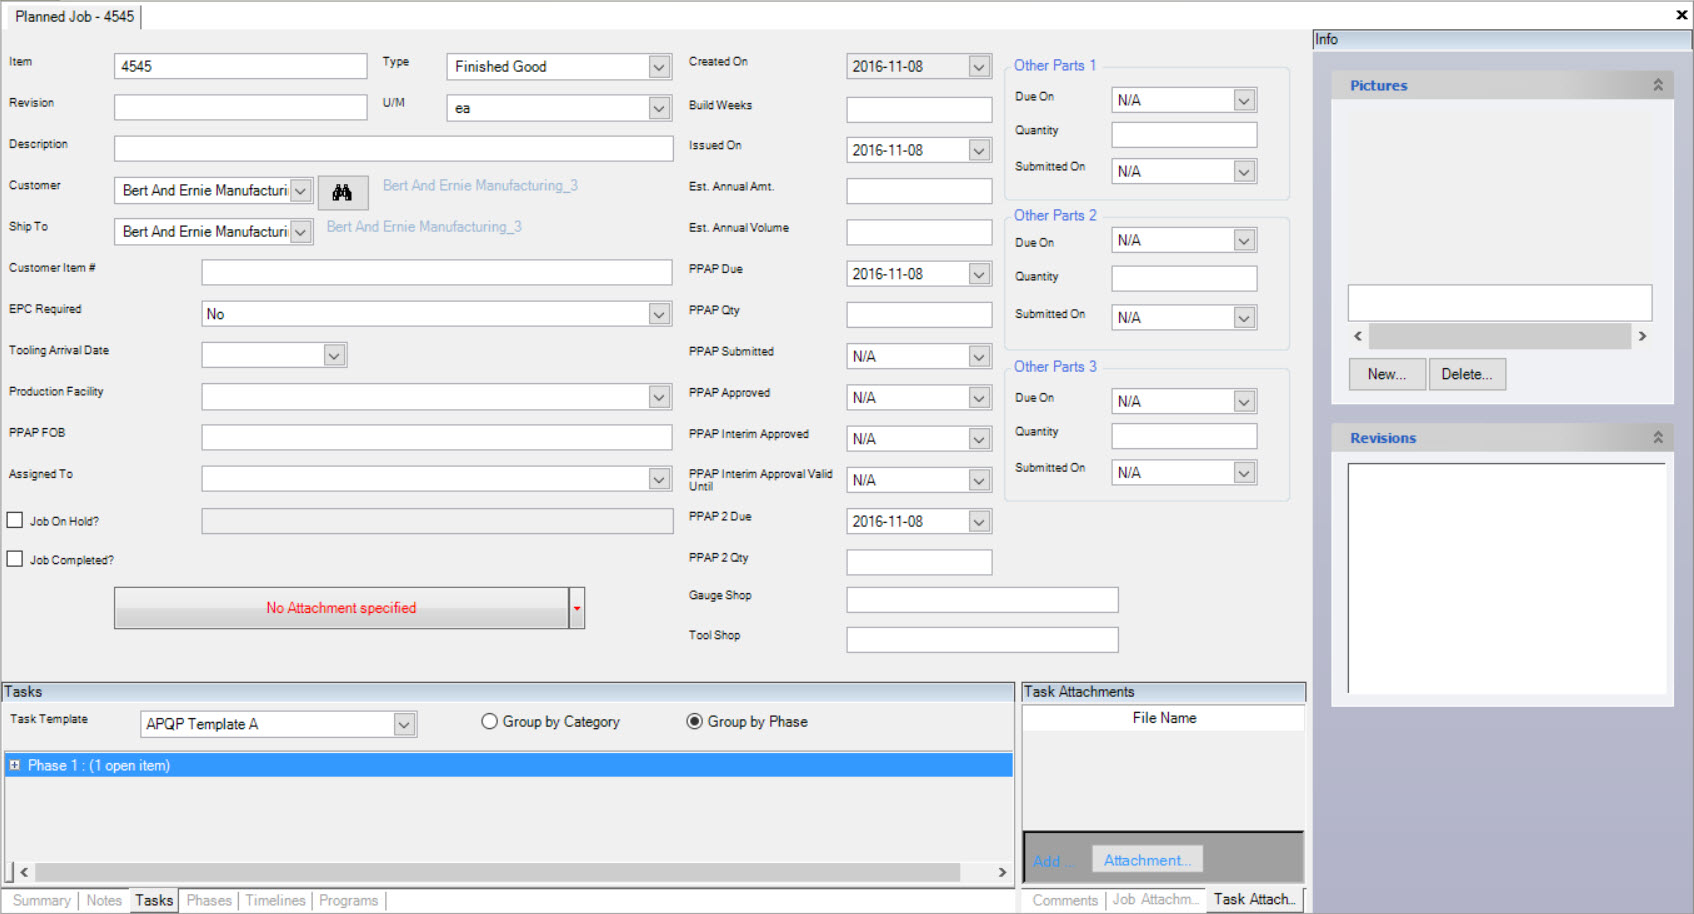
Enter all the relevant Planned Job information and click the  icon to save your changes.
Note
You must enter in the Item, Type, Unit of Measure (U/M), and Customer to be able to save the new Planned Job.
Note
Changing the Issued on or PPAP date will update all Tasks with new due dates based on the offset set in the Task Template.

 button, and then on the Planned Job option.

 icon to save your changes.
 tab and clicking on the


